


|
|
|
|
|
|
Conceptual design:

Well, here we go again with another project! With BSG finally complete, the family settled in at the new house, and my work area in place, I can mod once again.This project will be a more traditional mod, in the sense that it won't be scratch built, or have fabricated engine pods or other appendages attached to it. It will be simple, clean, and functional. I originally came up with the idea to do a case mod that revolved around the number 3. As far as components go, it will have 3 video cards, DDR3 memory, 3Ghz processor, 300Gb hard drive, and three water cooling loops. One of the main features of the case will be three Primochill Typhoon III dual-bay reservoirs with attached pumps mounted in the drive bays. It was from these pump/res's that the watery theme was realized. The name lends itself well to the underlying water elements while staying consistent with the number "3". The case I'm starting with is a Lian Li V2000. It will have a trident-shaped window on the side that will wrap around the corner towards the reservoirs, and three pass-through holes at the bottom where the three 120mm rads will be located. Here is a preview animation of the case: With most of the planning done and parts ordered, I should be able to finish this mod fairly quickly. Special thanks go to Moddersmart.com for working with me to get everything I need for this project!
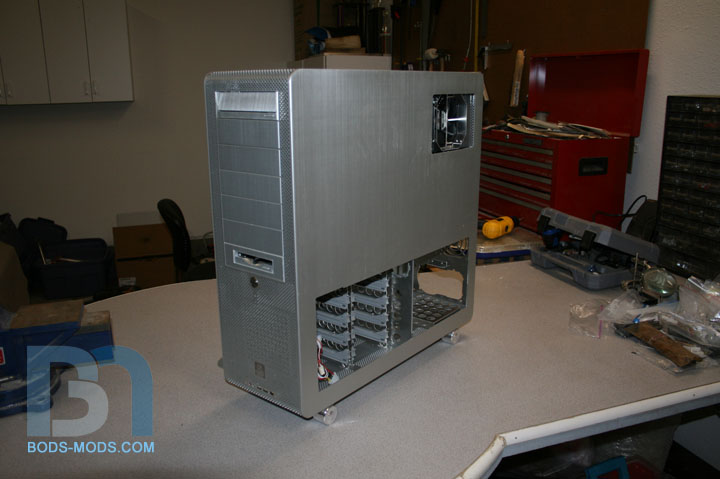
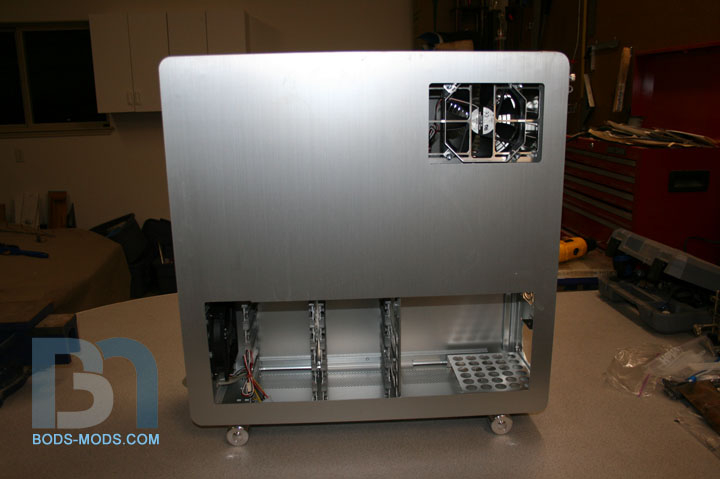
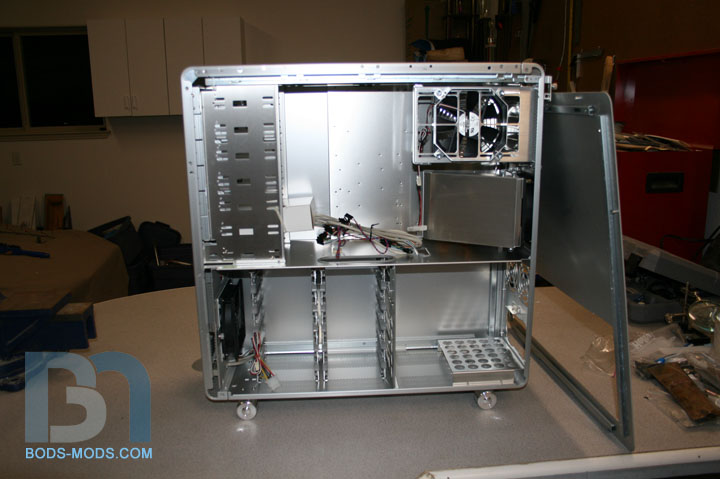
Ok, so here's the case. First time I've worked on a Lian Li, and I must say it is a pretty stout case! Well built and nice thick aluminum panels. And I'm off and running.

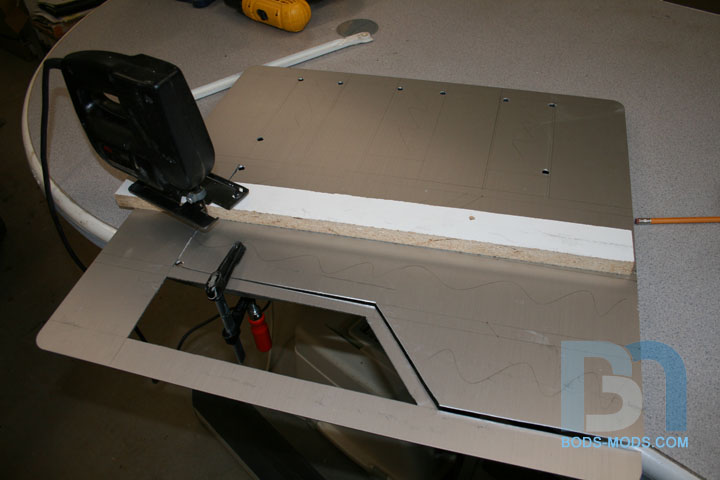


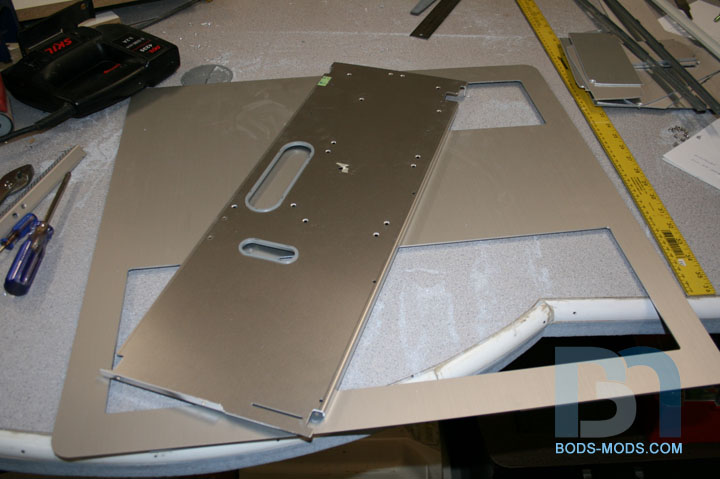
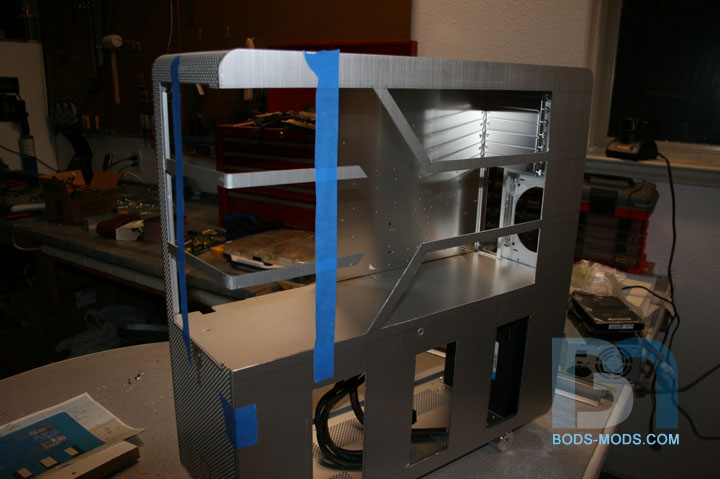
After gutting the case, I started in on the side panel window design and pass-through holes. If you remember the case came with a windowed side panel that also had a fan hole in the upper right corner. Luckily, Moddersmart had a solid panel for the case lying around so I got that too. :) I penciled out the lines for the cutouts. I didn't bother to protect the surface with tape, since I will be sanding and painting later. Drilled some pilot holes for the jigsaw and started cutting. Cuts complete, but I made a tiny boo-boo. I mistakingly drilled one of the pilot holes in the wrong spot. Doh!! :x Here is the panel on the case. To fix the whoops, I cut a round disc and plugged the hole, and will bondo over it later. On to the other side panel!
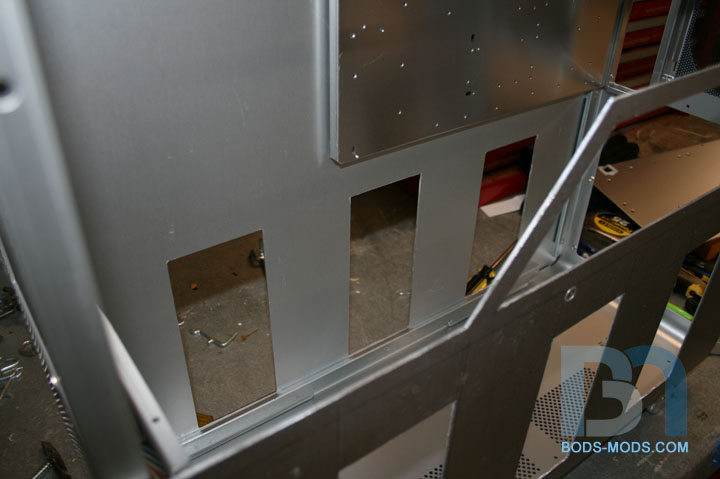
To cut the other side panel, I used the first one as a guide. After cleaning up the cuts with a file, I layed the two panels together and drew out the three holes.
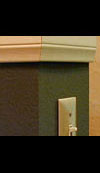
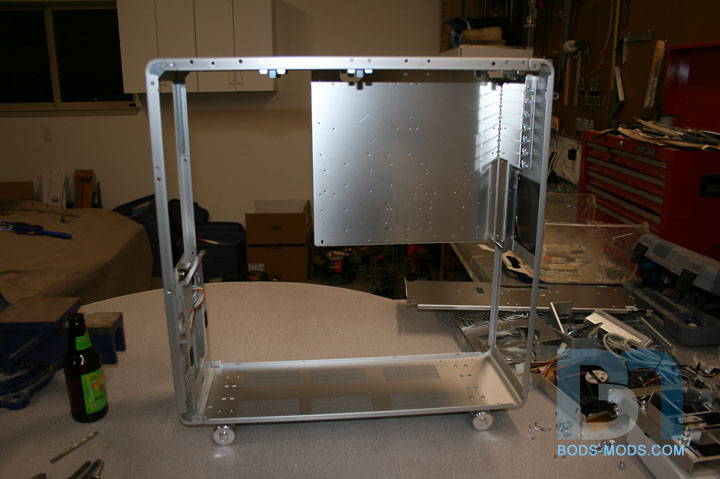
Then I removed the front post.
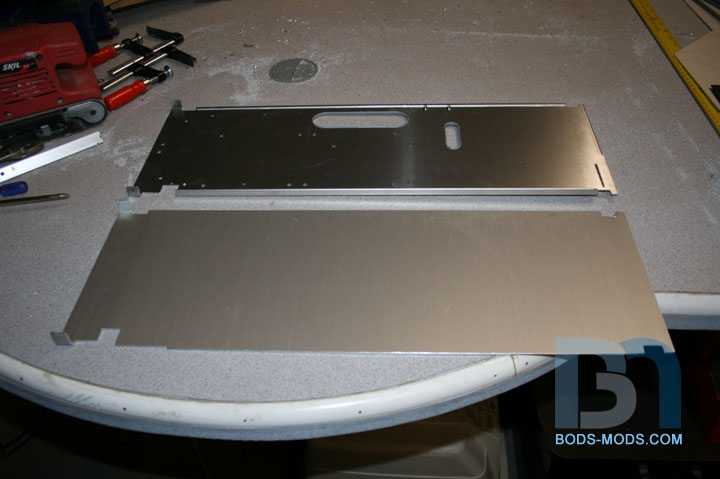

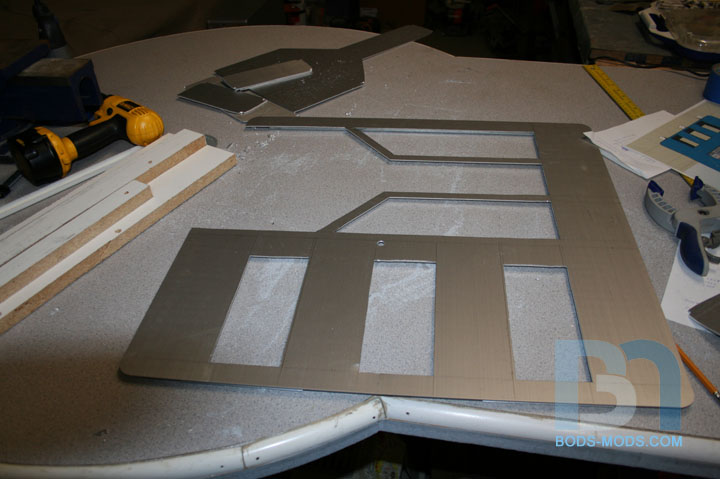
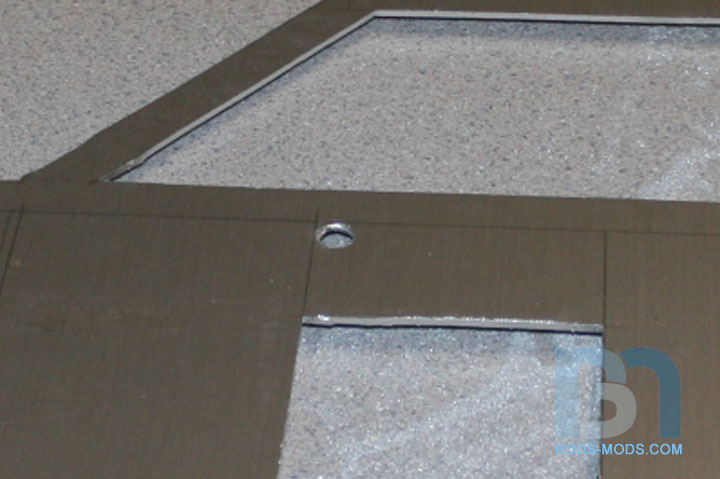
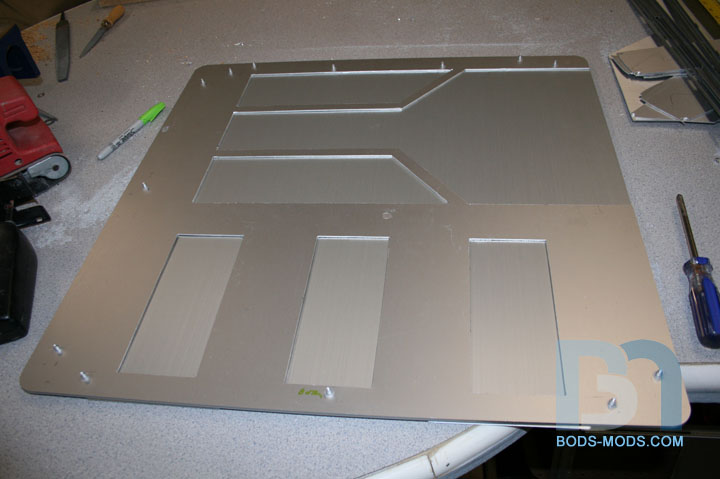
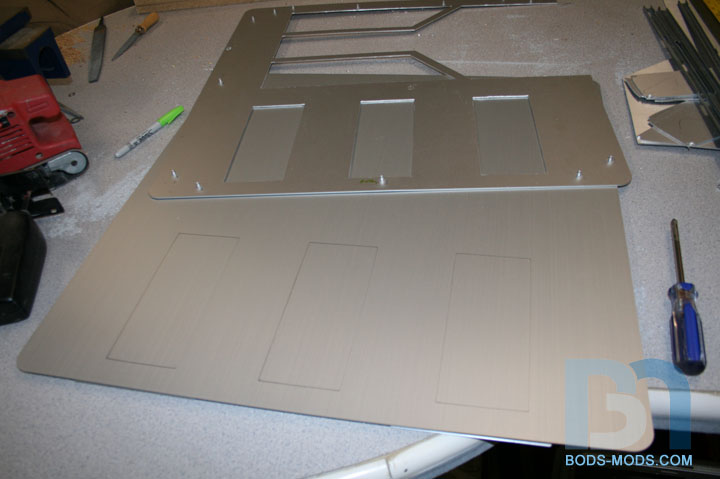
Instead of just working with the existing floor, I opted to make a whole new one out of the old windowed side panel. This provides me with a clean slate so I can make my access holes wherever I need them. Using the old one as a template, I marked out the side panel. Had just enough material in the middle. I won't rivet it in just yet. Gotta first make all the holes I need for cabling, tubing, etc..., and paint. Next up will be the back panel, psu mount, and bottom radiator mounting brackets.

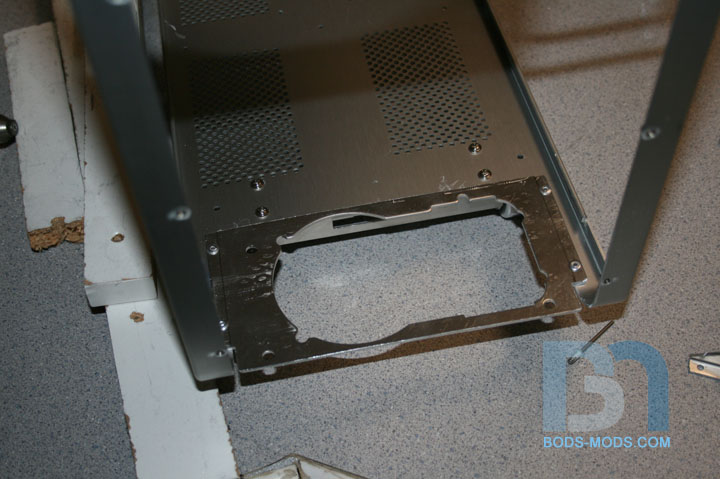
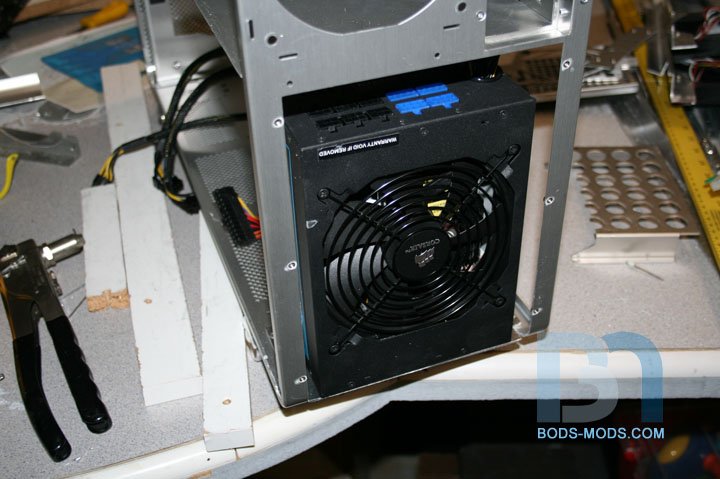
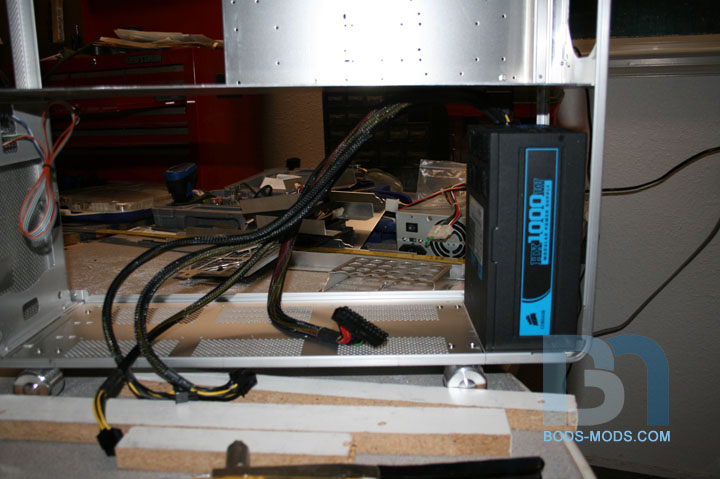


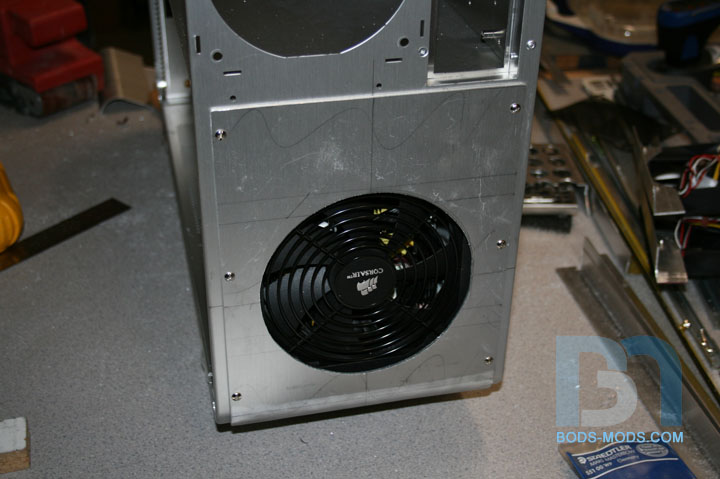
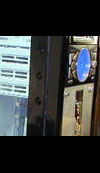
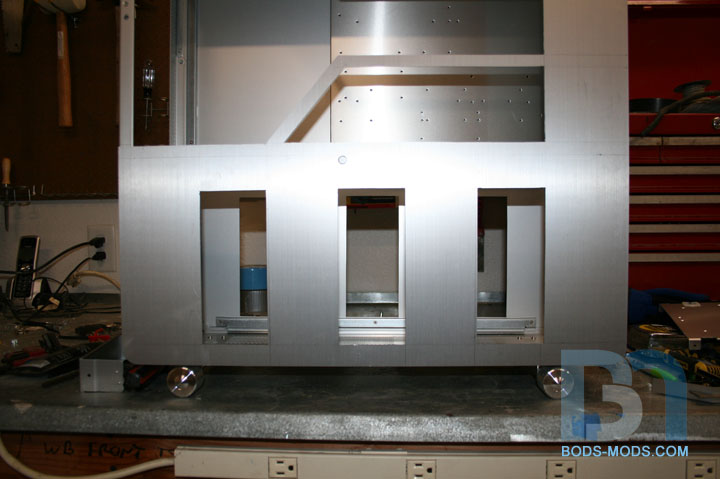
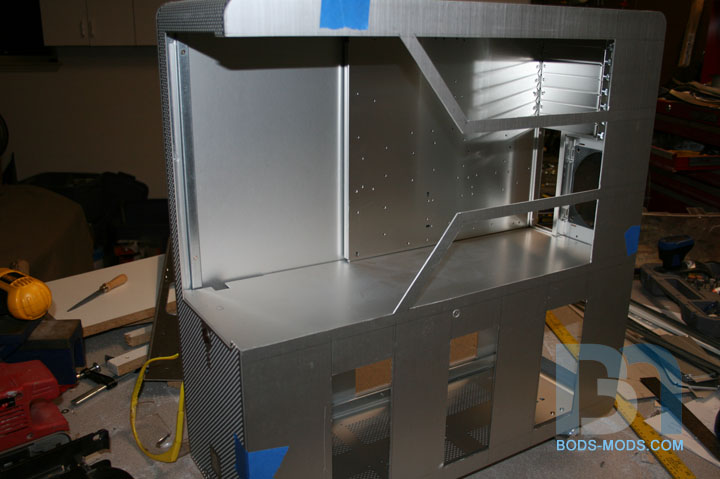
Work continues on the PSU area. In order to fit the power supply where I wanted, I have to stand it on end. Which meant that I had to remove part of the case for airflow and to reach the power switch. I turned the case over and removed the back wheelset, and cut the area away. I later had to remove a bit more from the bottom of the case to clear the power switch. You will notice in the next couple of pics I repositioned the wheelset forward a bit. I'm cutting off the PSU mounting portion of the original back plate and relocating it. Now I can place the PSU in for a test fit. I'm using Corsair's 1KW power supply, which can accommodate the three EVGA GTX 260 cards in SLI. It has six 6-8pin cables right out of the box. No need for molex adapters! It is quite long, but it fits! Since I mutilated the original backplate, I needed to make a new one. So I grabbed some left-over aluminum panel and cut one to size. Then I curved the bottom portion so it would match the corner curvature of the case. Looking around the garage, I found a ladder wall hook to have a suitable tube diameter to bend around. Last thing to do was to cut the fan hole. The Corsair psu has a 140mm fan, so I found the center, used a compass to draw a 5 1/2" circle, and cut it out. I'm working on getting some grills made, so that will cover up the hole and finish it off.
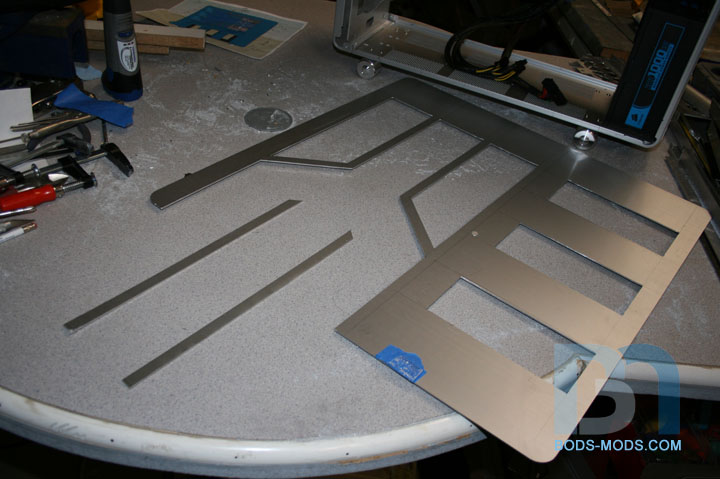
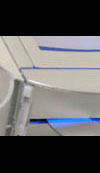
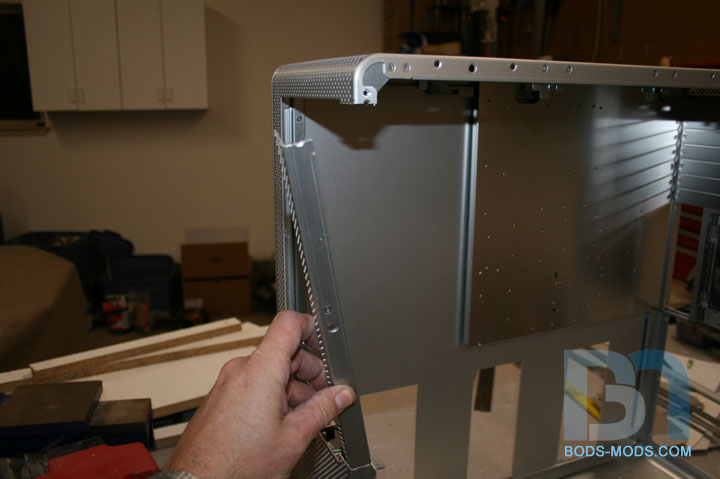
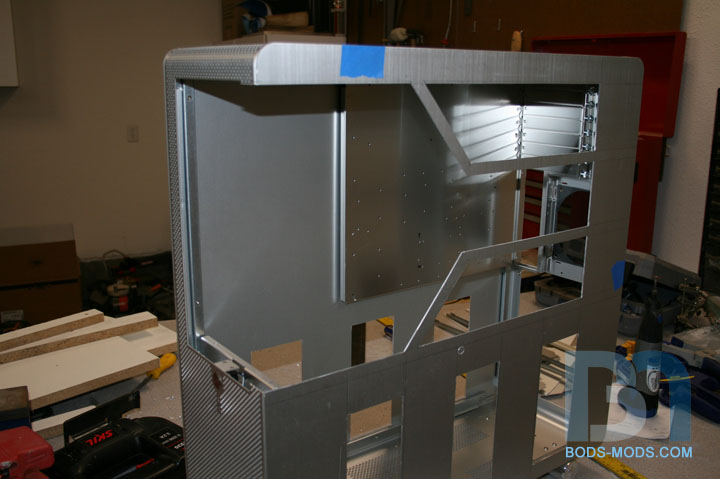
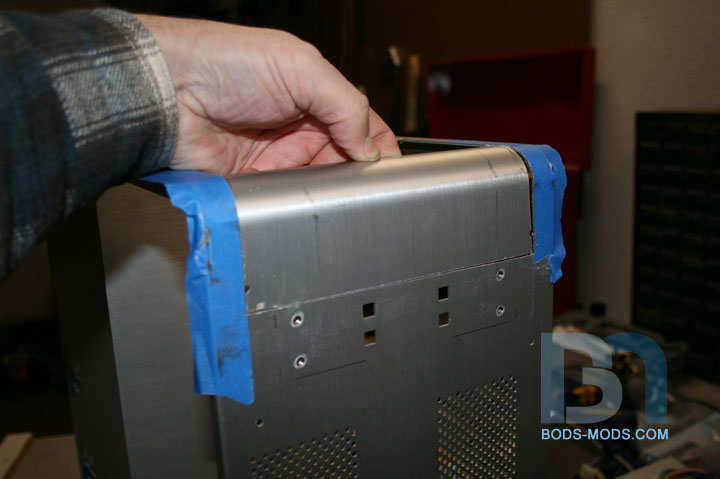
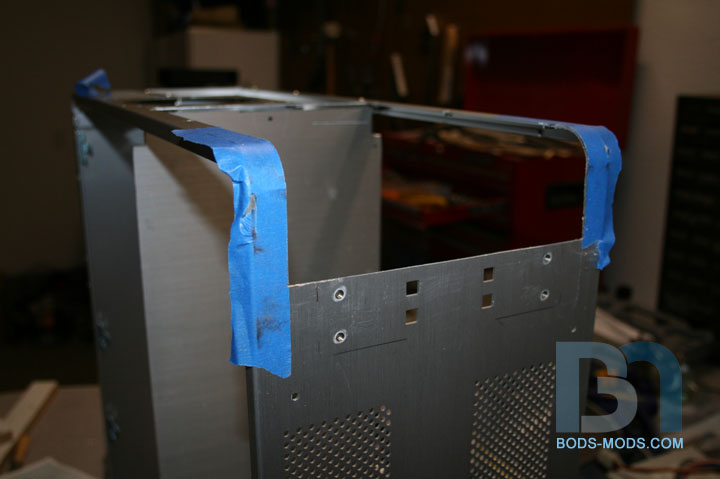
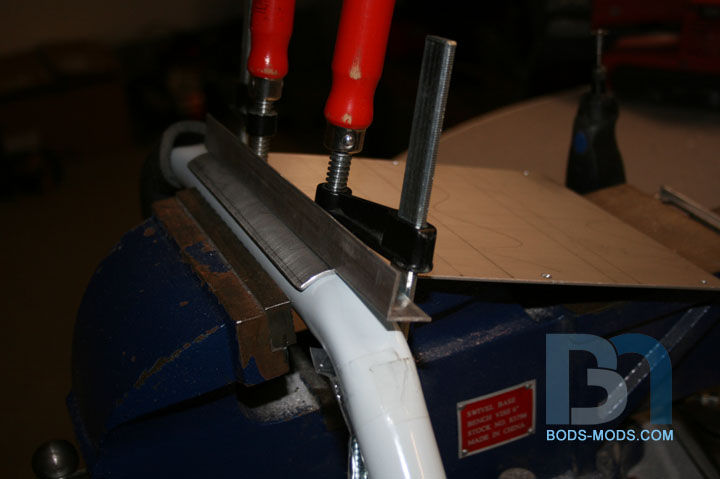
Got a bit more work done last night. Made the pieces that will go in between the Typhoons and around the corner to complete the trident shape. I used more of the left-over side panel and cut two 9/16" strips. Then I bent them 90°. Here's a shot of them in place to give you an idea. They will just be mounted to the wrap-around window with double-sided tape, as I dont want any visible fasteners.