
|
|
|
|
|
|
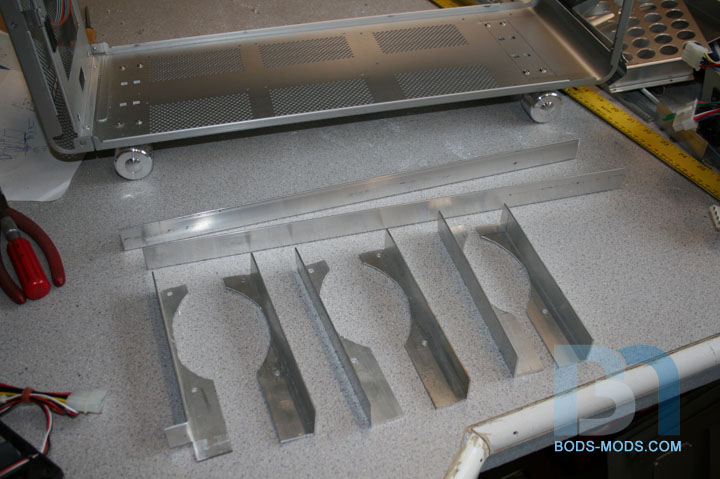


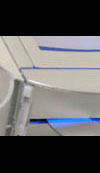
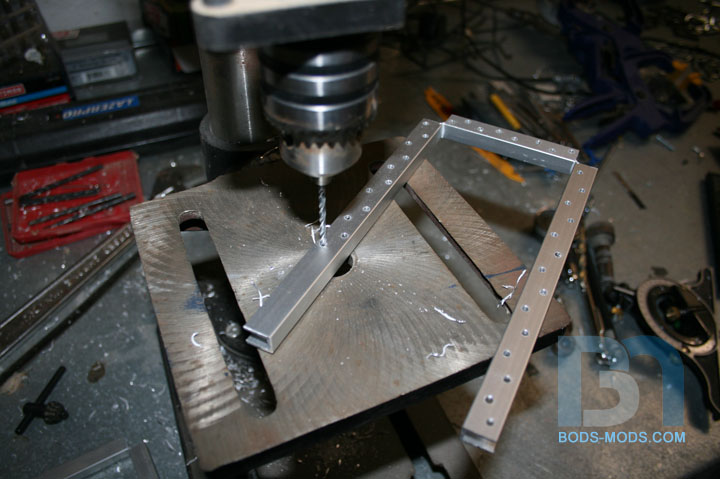
Smallish update just to let you know I'm still working on it. Laying out the rads and fans placement, I whipped up some quick mounts from angle bar. Then I laid them out to see where they will eventually go. I'm working up some custom acrylic one-piece mounts that will look much better than these ones.
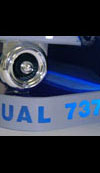
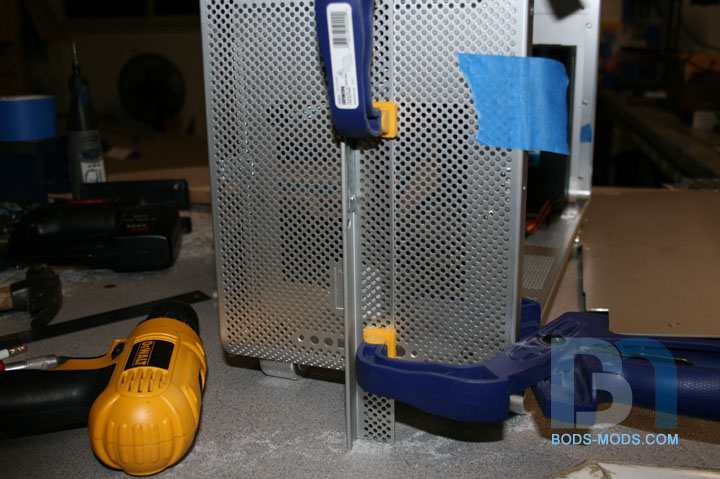
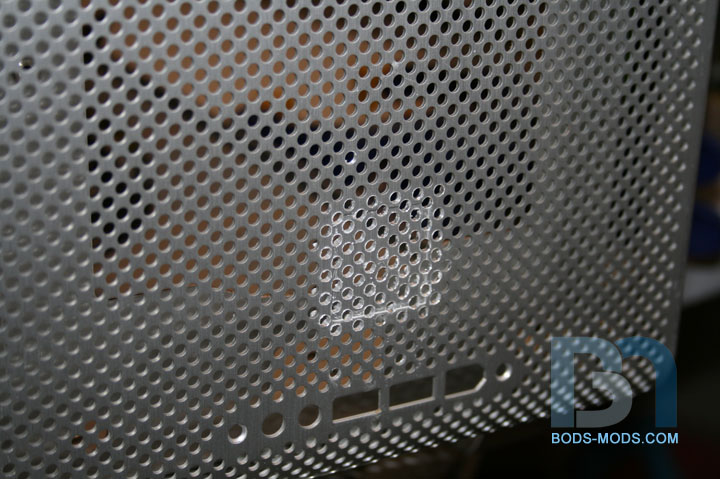
I also did some cosmetic work to the front of the case. I used the corner piece I cut out as a guide to drill out the missing holes. I will have a custom name badge mounted over this area, so it has to look uniform, which is why I drilled out the old LL badge.
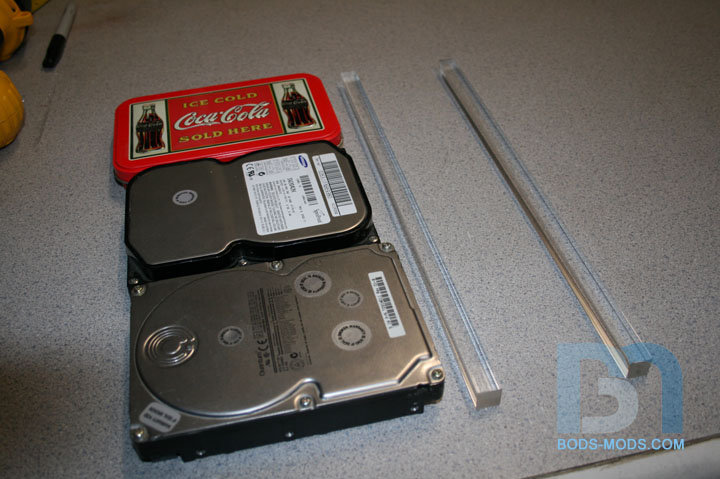
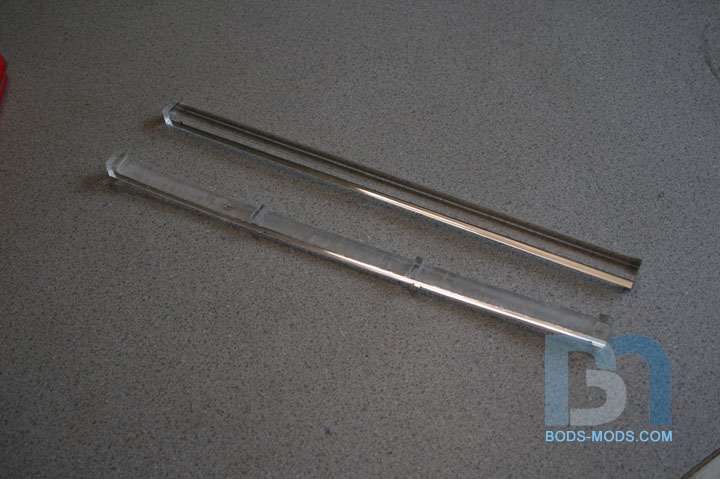
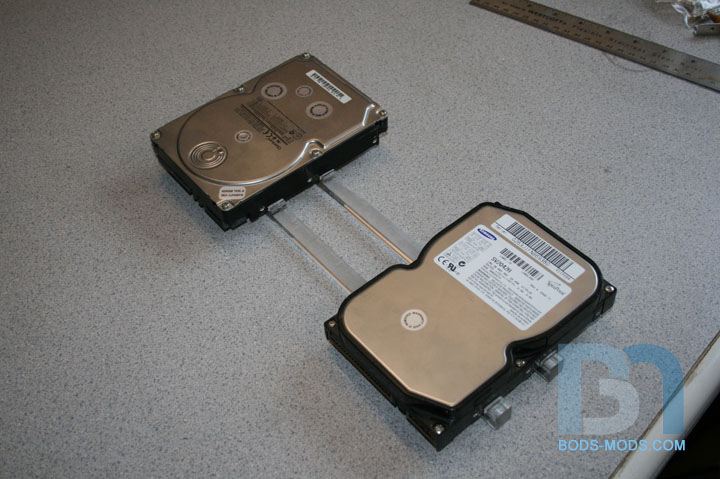
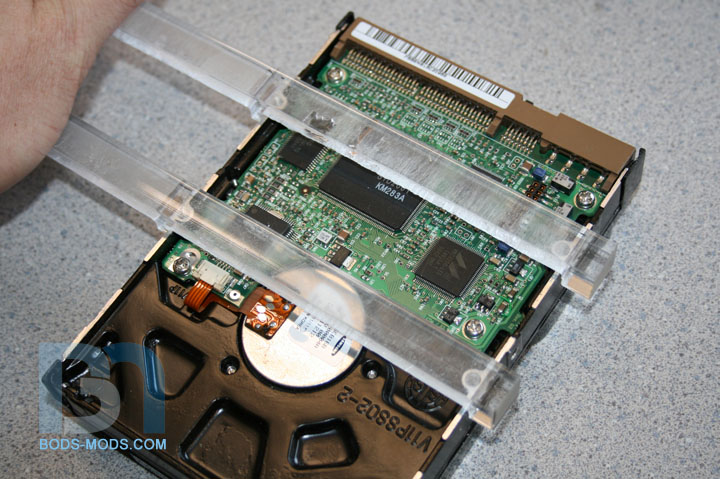
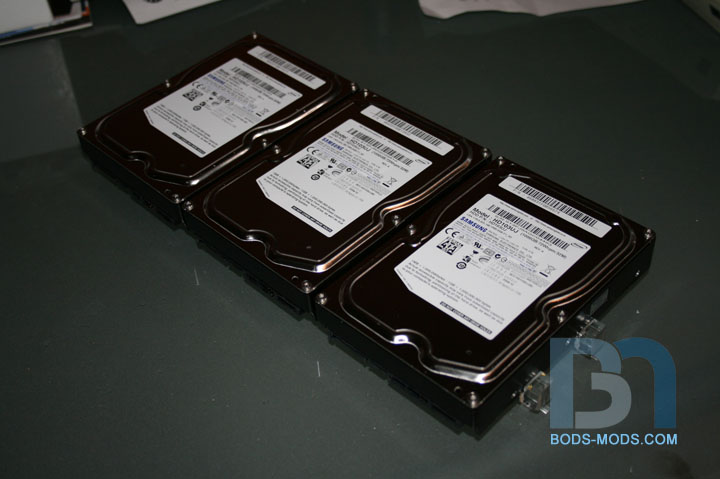
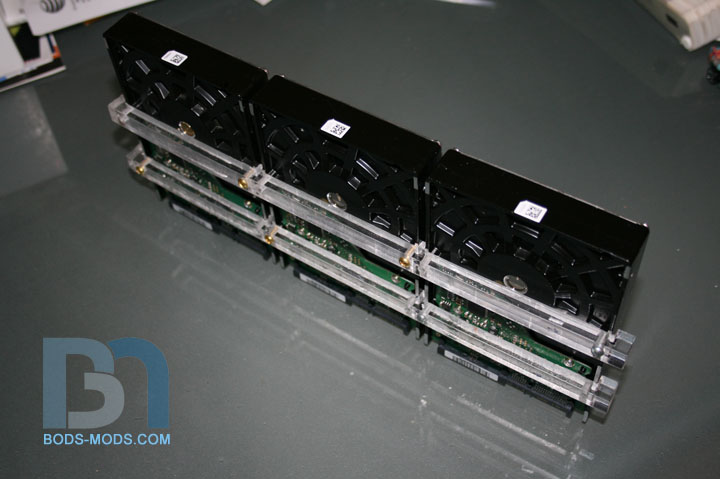
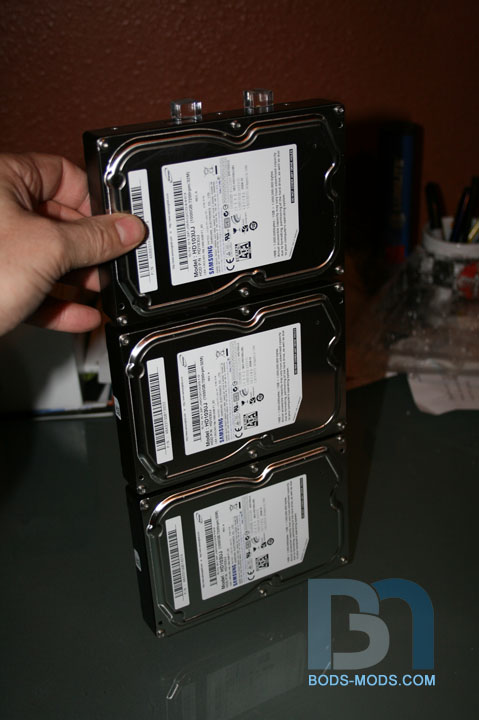
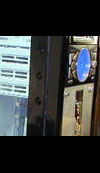
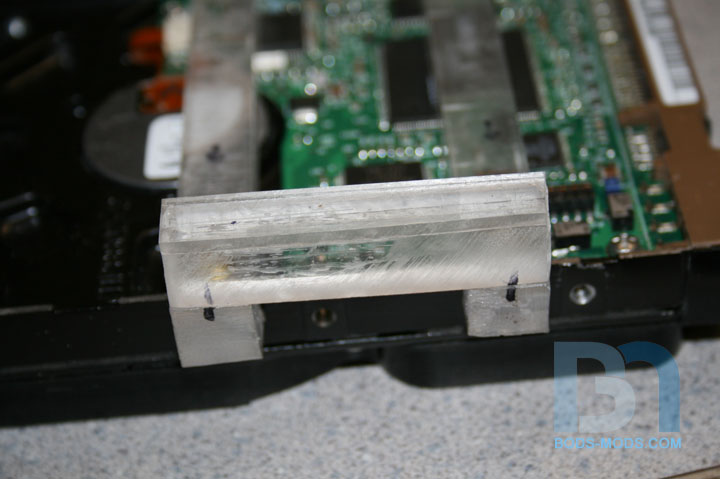
Got more accomplished this weekend. Worked on the side panels a bit more, and got the hard drive mounts done. After contemplating how I was going to mount three hard drives in the case, I decided to go about it a bit differently than the standard drive cage. I came up with a way to stack them up, but on their sides, so there will basically be a wall of drives next to the motherboard. I used some 1/2" square acrylic rod, cutting two pieces equal length. I only had two old drives, so I used a Coca-Cola tin as my third, just to get an idea of overall height. three drives stacked comes out to 12", and I have 13" total height from the floor to the top of the case. So I spaced them out so I had 3/8" on top and bottom, and 1/8" in between. I marked the rods and cut out three 4" sections for the drives. One done, one to go. I will be utilizing the drive's bottom mounting holes, instead of the usual side holes. After some filing and general clean-up, I brought the 1TB Samsungs out for a test fit. To secure them in the case, I will drill and tap some holes in the bottom ends, and in the back side for the top. Once I get to the lighting portion of the build, I will probably add some led's as well and light them up.
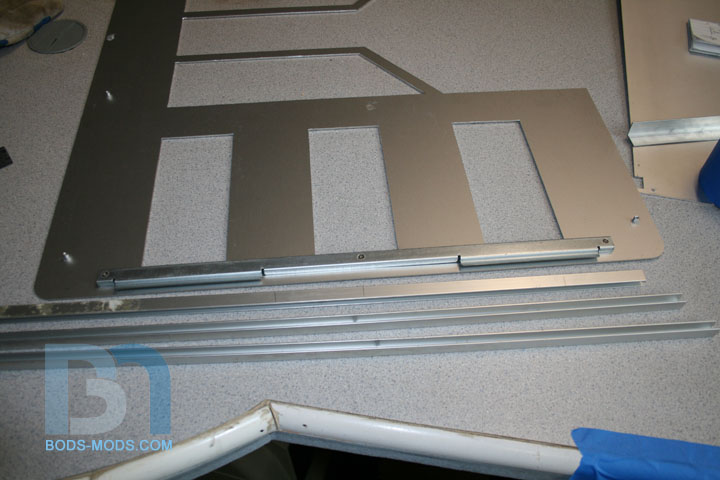
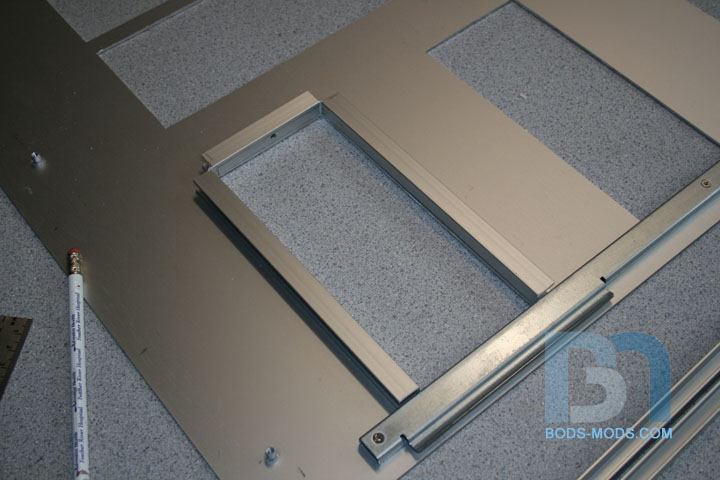
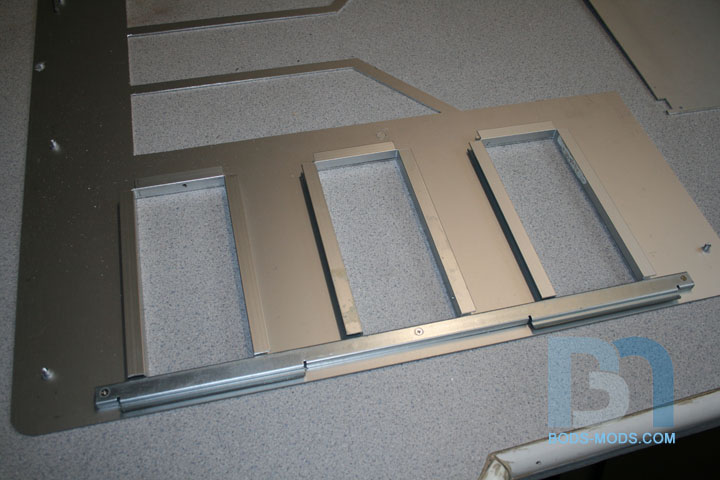

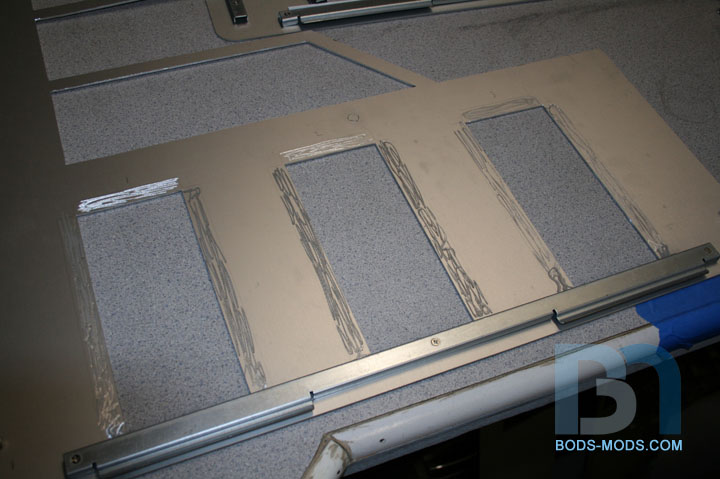
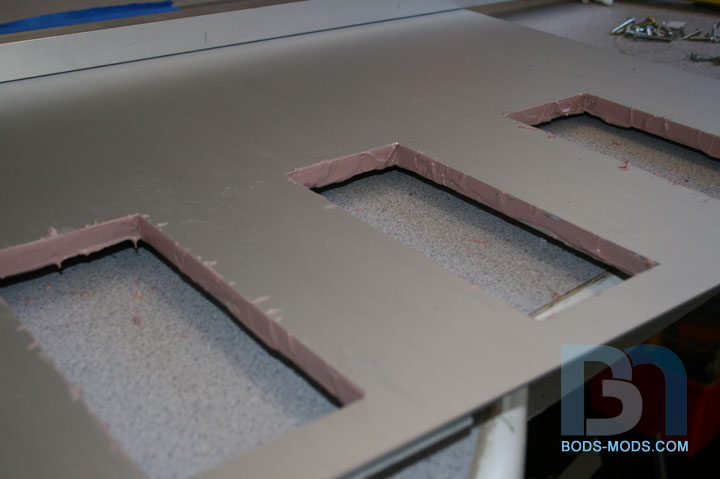
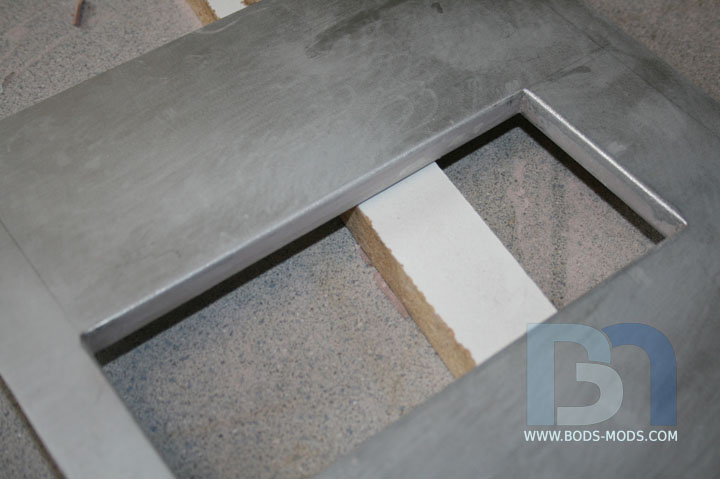
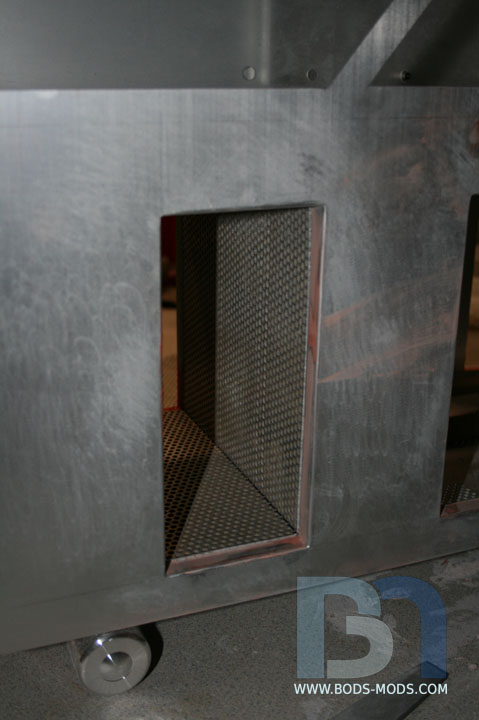
Work continues on the side panels. In order to get a nice clean transition through the side panel, I need to add a lip around each hole. You can see in this first pic there is already a bottom lip, which is the channel used to secure the panel onto the case. So I had some U-channel lying around, and will continue the lip around each hole with it. All I had to do was make a cut into the open end of the channel, leaving the back side in tact, then bend 90° for each corner. Three done, three to go for the other side panel. To secure these to the side panel, I will be using some cold weld epoxy. I'm drilling a bunch of holes to give it something to grab onto. And on the panel side I ground it up a bit, again for better adhesion.Once I get it all epoxied up, I'll add some bondo around the seams and smooth it out. From the front it will look like the side panel is 1/2" thick. But more importantly, I will have a flat surface to which the rectangular tubes will mate.
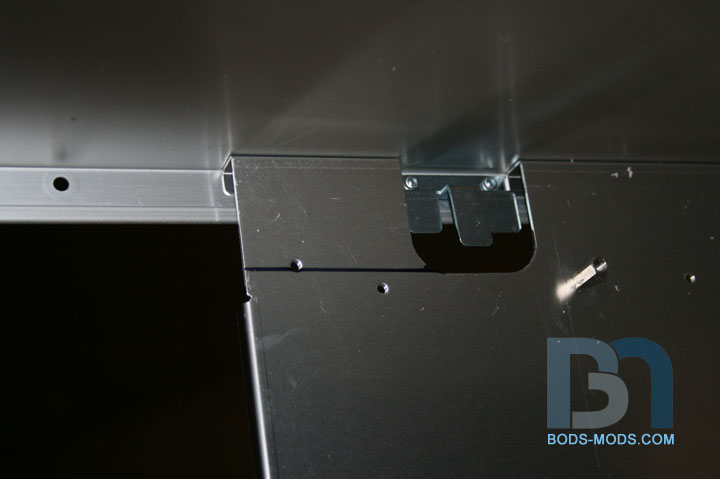
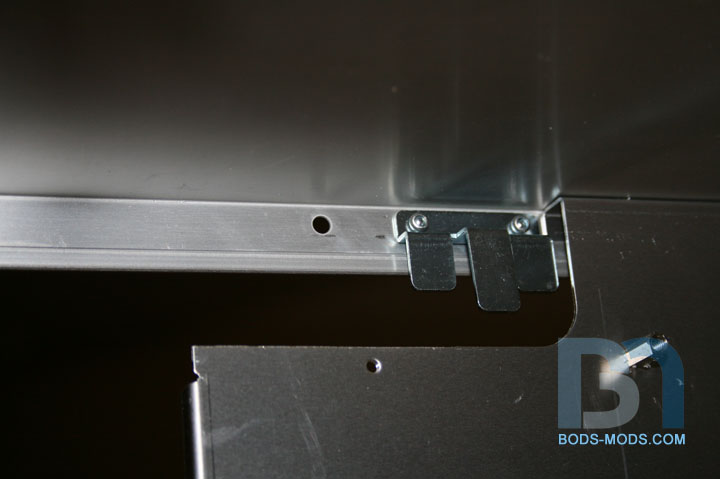
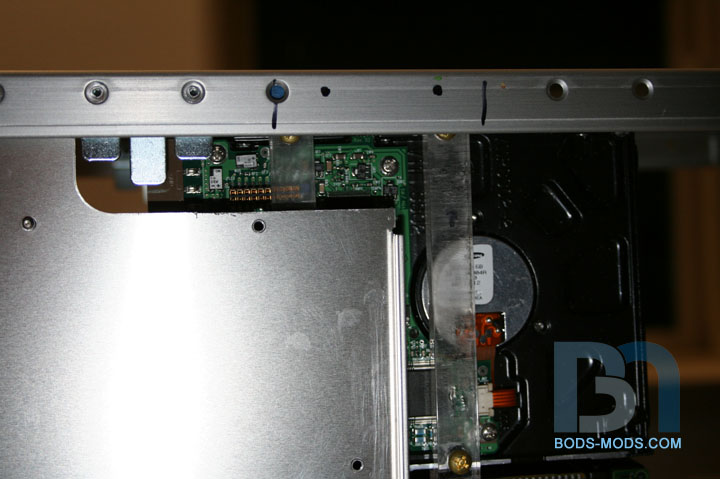
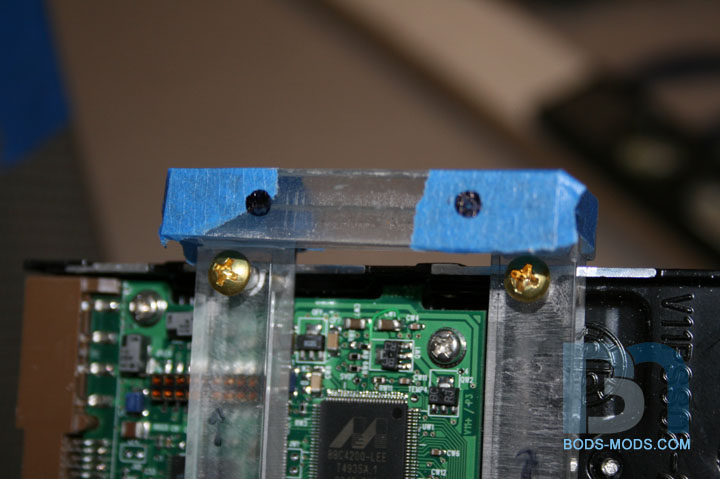


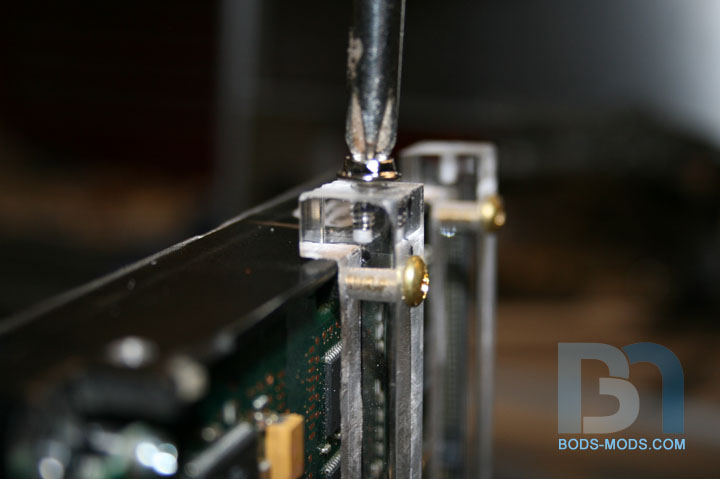
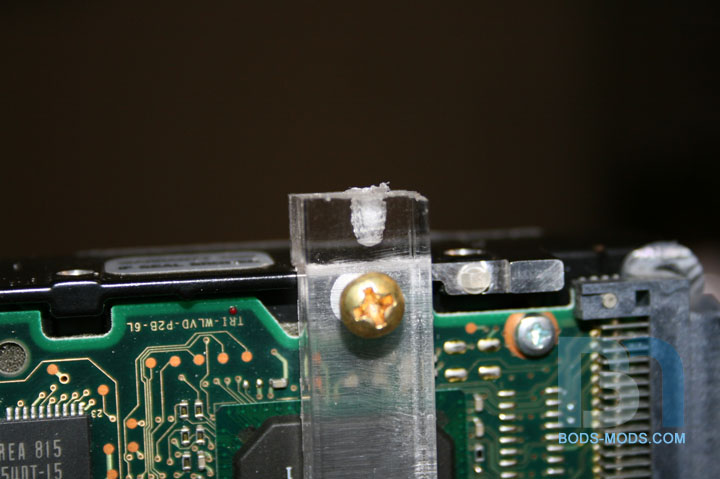


Getting back to the hard drive rack today, I was able to get it mounted to the case. I wanted to position the hard drives evenly in between the reservoirs and the motherboard. As such, it turns out that I will have to notch the tray a bit at the top. So I marked the area where I needed to trim, and cut it away. Then I made an acrylic spacer to fit the lip of the case. I marked two spots for new holes, then once they were drilled out, I marked the spacer. Once that was drilled out, I glued it onto the hdd posts. Using countersunk fan screws, I secured the top to the case. For the bottom of the posts, I just marked the area of contact on the floor, drilled a hole and marked the bottoms of the posts. I seem to have misplaced my 6-32 tap, so I just used one of the screws instead. No, they weren't self-tapping screws. Since I was screwing into acrylic, I took my blow torch and heated up the screw a bit, then just screwed it into the hole, waited til the acrylic solidified, and backed it out again. Voila! Instant threads!
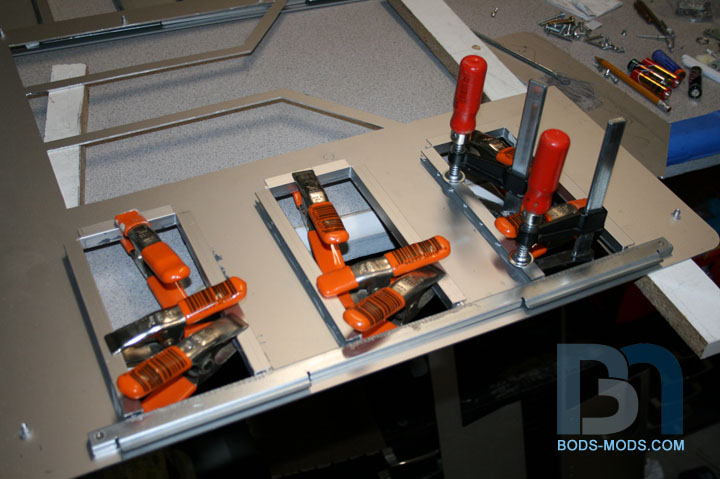

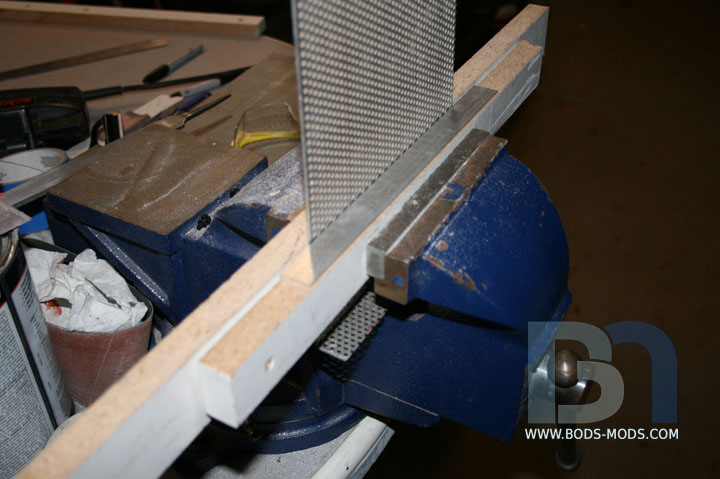
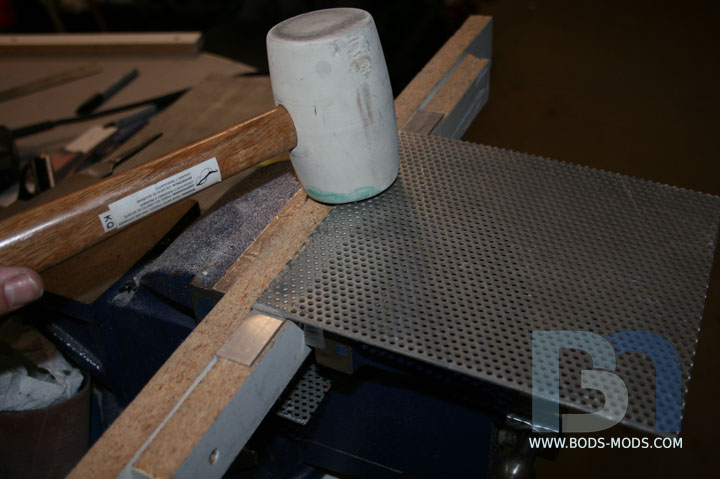
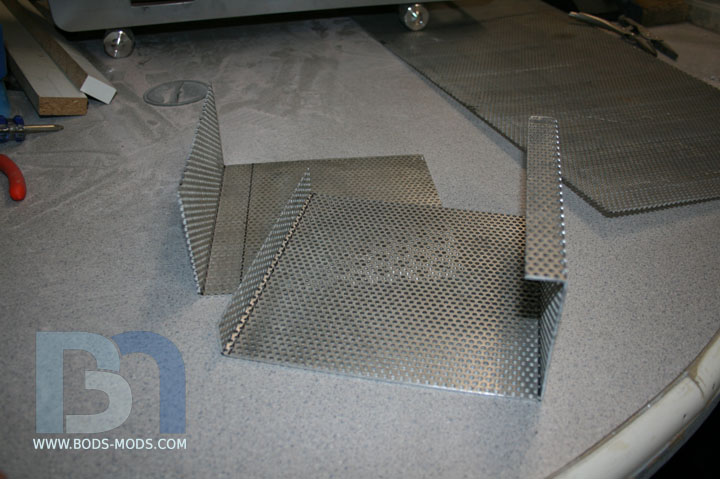

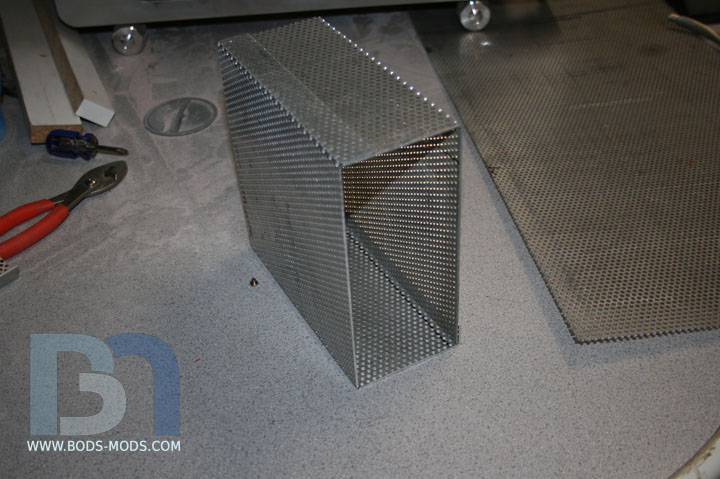

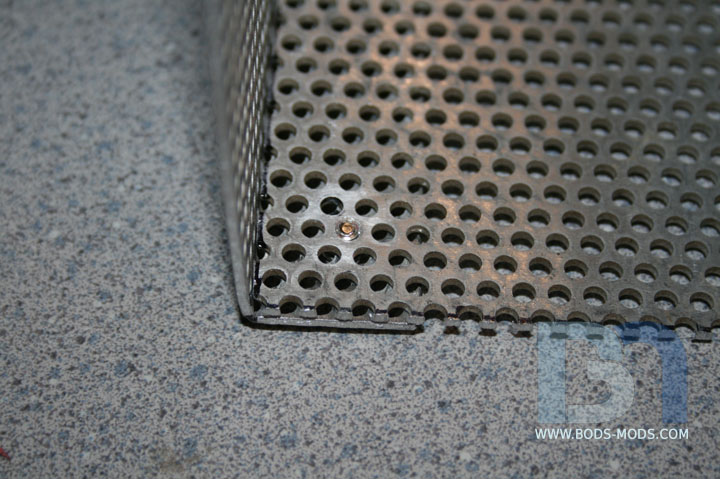
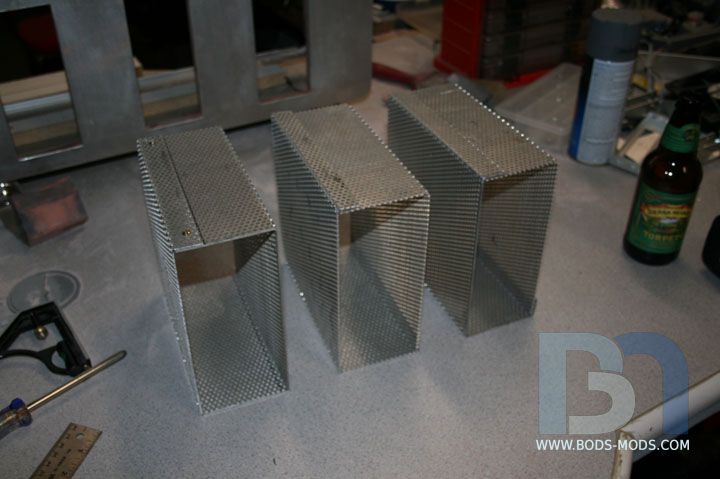

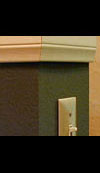
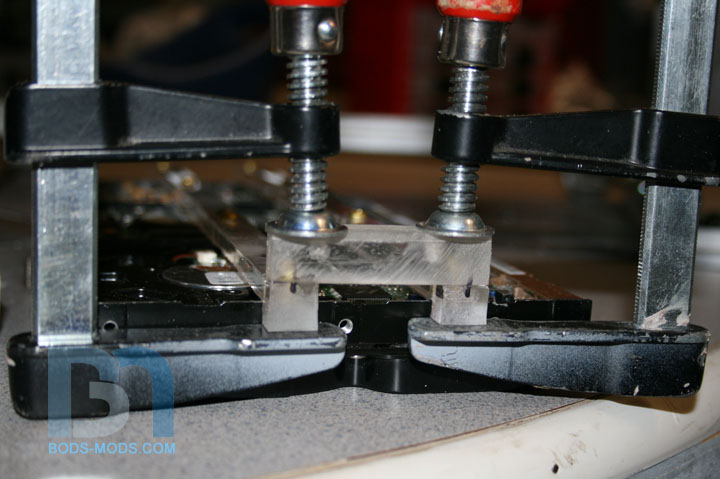
For the last week and a half I've been chuggin away at these side panels. The last side panel update I left off with prepping them for the cold weld epoxy for the edging around the holes. So here is a shot of the edging being epoxied down, held in place with as many clamps as I could find. It's been pretty cold up here, so I brought the panels inside to set up overnight. After that, I applied a bit of bondo to smooth out the transition between the panel and the edging. After the requisite amount of sanding and filing, here is the result. I also went ahead and rounded the corners for a nicer look. Since it's too cold to paint, I set the panels aside and started on the three mesh boxes. I scored a sheet of aluminum mesh from a local metal supply warehouse. 12x48 for $20. So in order to get three 7"x3" boxes out of that piece, I had to do two parts per box. So I cut the first piece and measured out my bend lines. Using a couple pieces of mdf and a piece of L bar, I started my bends. I used a rubber mallet to bend the mesh over. Got the first two-part box cut and bent. They slip together like so. Since the inside of the boxes are what will be seen, I made sure my overlapping ends were on the outside. I'm securing them together with some short screws that fit perfectly into the 1/8" holes. The mesh doesn't line up, so I drilled out the outside to match the inside, and screwed them together. A shot of the screw from the inside. Pretty subtle, and once painted, will be unnoticeable. Got all three boxes bent. I got them propped up on some wood pieces right now, but they will eventually sit on the custom rad/fan mount I designed.