

|
|
|
|
|
|

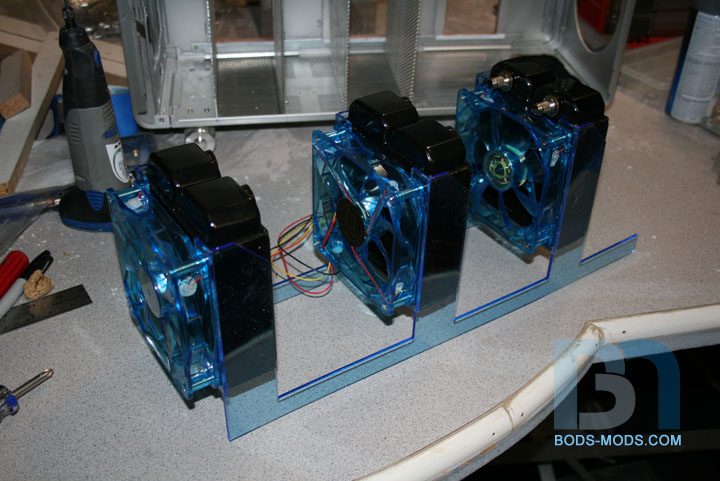
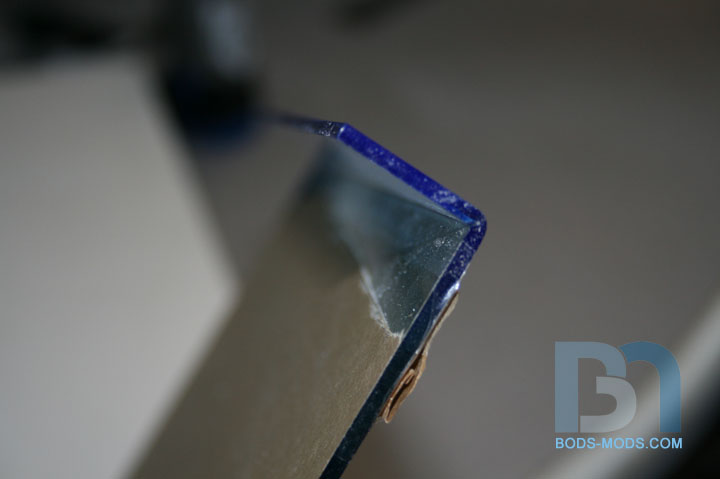
Ok, got the acrylic pieces in and they look sweet! So I went straight to work on the rad/fan mounts. Rather than designing them as two one-piece rails and bending the mounting tabs, I opted to have them cut separately so I could glue them together. That way I get a clean 90° corner. Here they are with the tabs glued on. I didn't waste any time putting the fans and rads in place. I will secure the rails to the bottom of the case with some brackets.

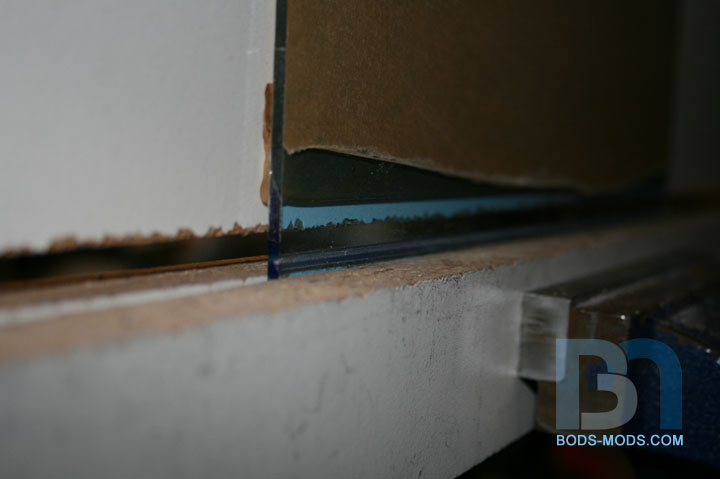
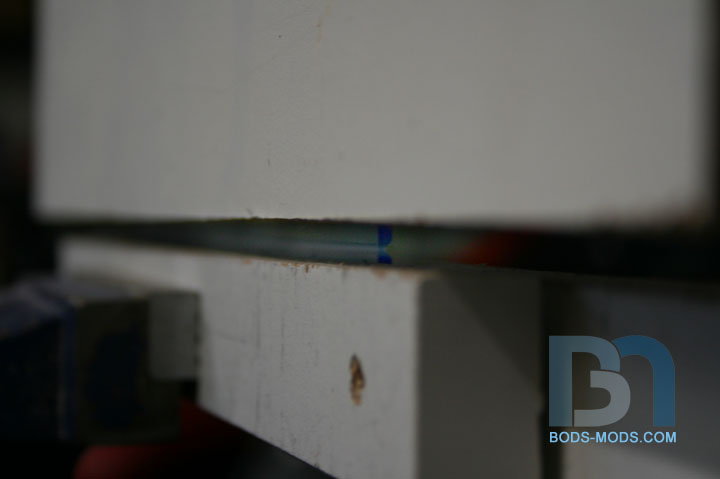
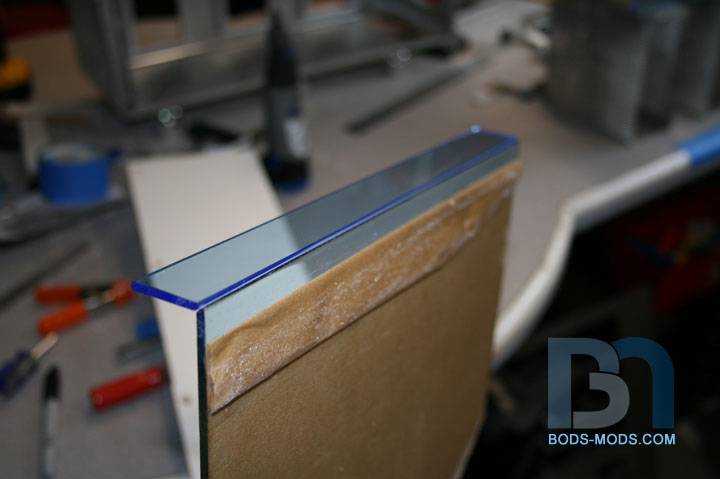

Time for the weekend update! Worked on more acrylic stuff. Here is the center window, with the backing peeled off the end that will wrap around the corner of the case. You can see I had them route a V-notch at the bend point to facilitate a sharper corner, and make it easier to bend with a heat gun. The idea in setting up for the bend, is to direct the heat right where you want it. So I sandwich the acrylic between two pieces of MDF, with a larger piece clamped just above the bend line. This helps direct the heat and also helps keep the acrylic flat as I bend it down. Some closeup shots of the isolated area to be heated.. After applying the heat, the acrylic is slowly bent to shape. The weight of the large MDF actually did most of the work.
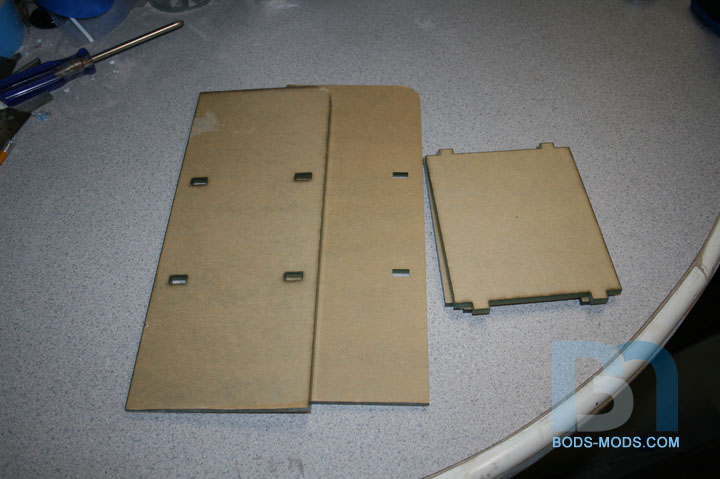
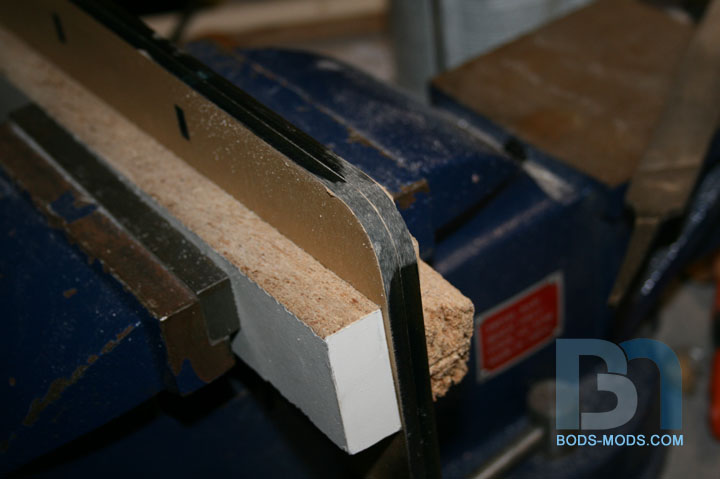

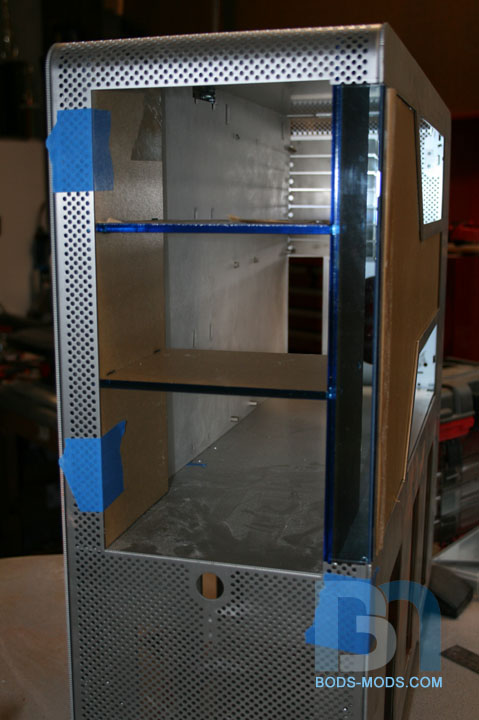
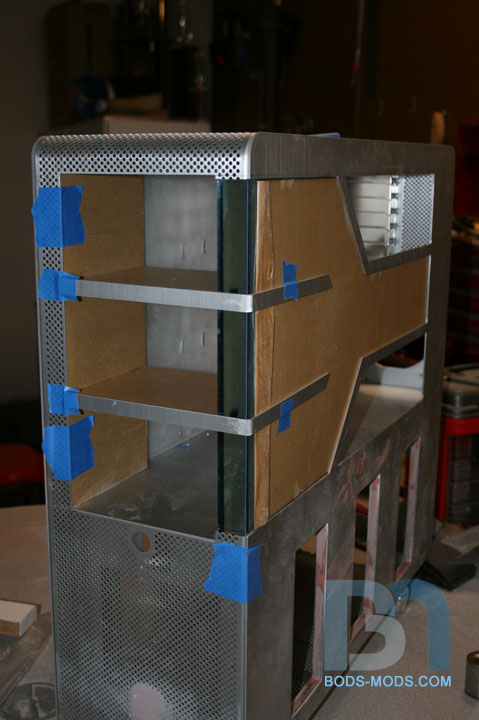
Next up is the res rack (formerly the 5 1/4 drive bays). After numerous measurings, I made up a design that would take the place of the drive bays, and accommodate the three pump/res's with room for a slot loading DVD drive at the bottom. Cross members were strategically placed so they would be in between the pump/res's and eventually hidden from view behind the two trim pieces. In order for the rack to be flush with the front of the case, I had to round the top corners to fit the case's radius. I used a socket with a matching radius to mark the acrlyic. Once I get the Typhoons in, I will drill the mounting holes to match, then glue everything together. I'll be working on securing the res rack into the case today. You also may have noticed I made an acrylic cover for the inside. This will go behind the motherboard and hard drive rack, and will be painted to match the interior.
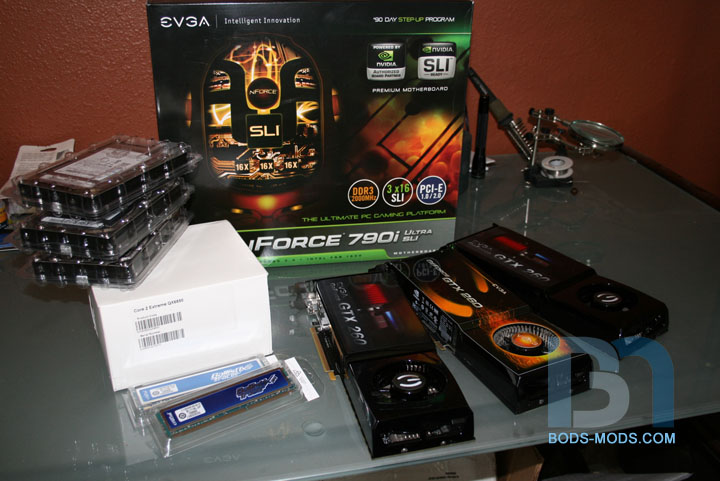

Ok, now for some goodies! :D I thought I'd reveal some of the hardware that will be going in this thing:
EVGA 790i motherboard
Intel Core 2 Extreme QX6850 3Ghz CPU
EVGA GTX260 cards (x3)
4Gb DDR3 Crucial Ballistix Tracers in blue 1600Mhz
Samsung 1TB HDD (x3)
Corsair 1000W PSU (shown previously)
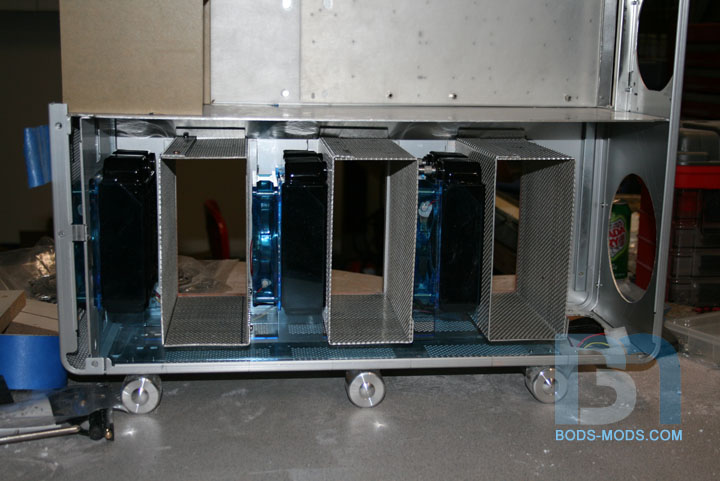
So I've been trying to see how I can run the tubing to/from the radiators, through the floor and up to the reservoirs and blocks. Using Sketchup, I went through different configurations, but came to realize I just don't have enough room under the floor. This is due to a blatant miscalculation on my part at the very beginning of the build: I simply cut the holes in the side panels too large. As you can see in this pic, the mesh boxes are so tall, they block the radiator ports. Even with 90° elbow fittings, I don't think I can make it work.
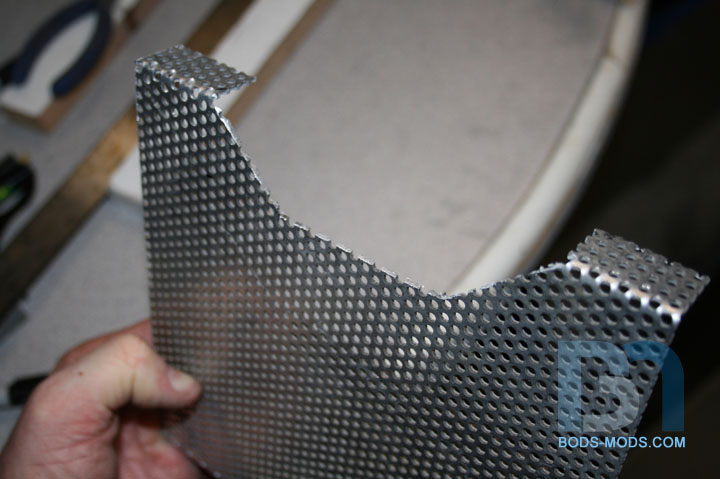
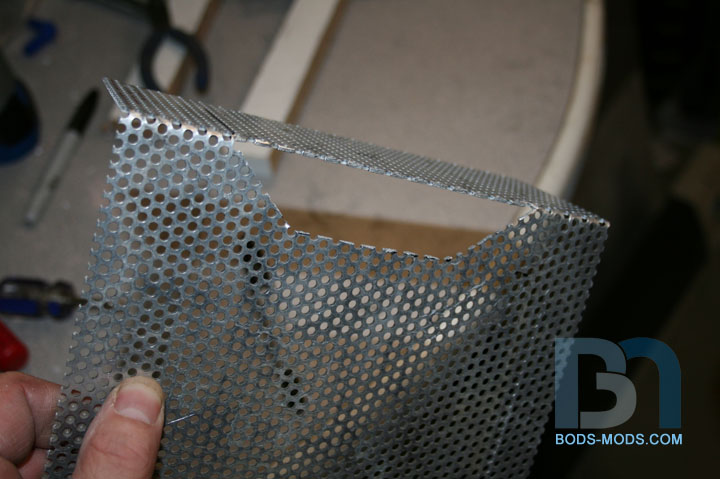
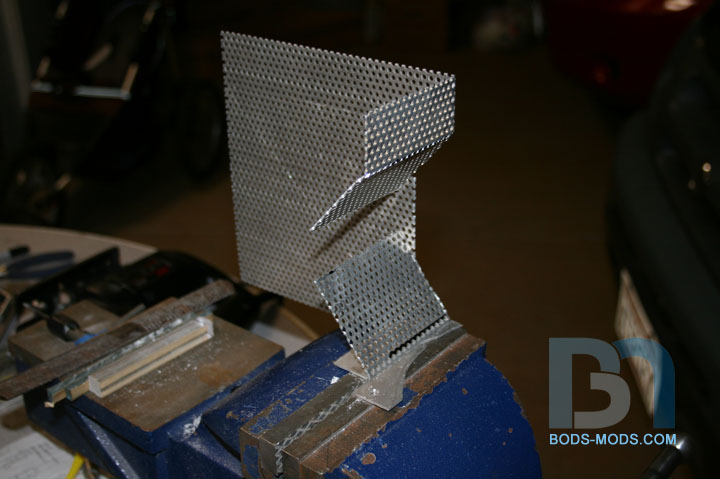
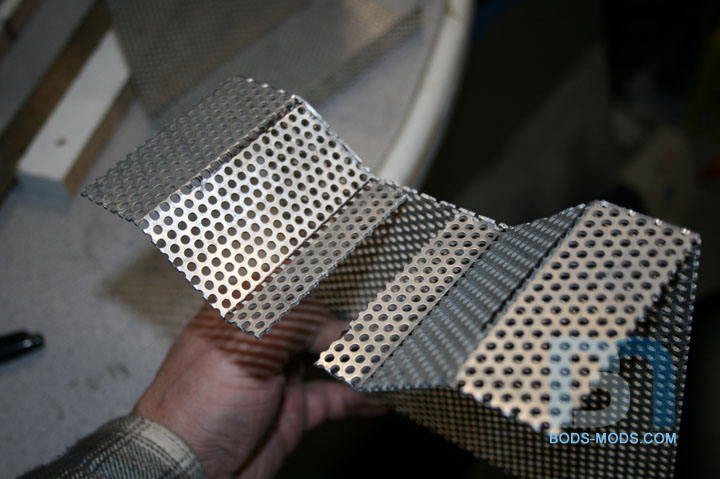
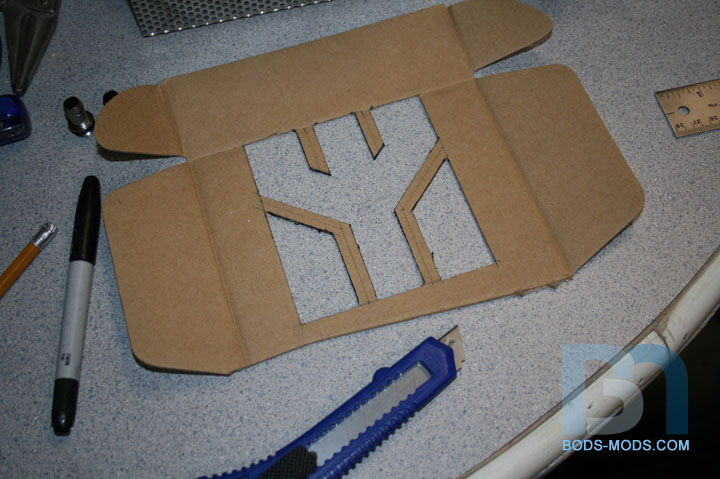
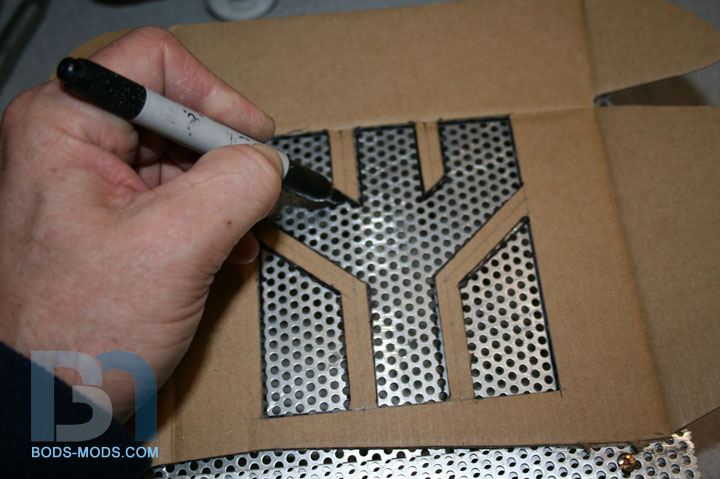

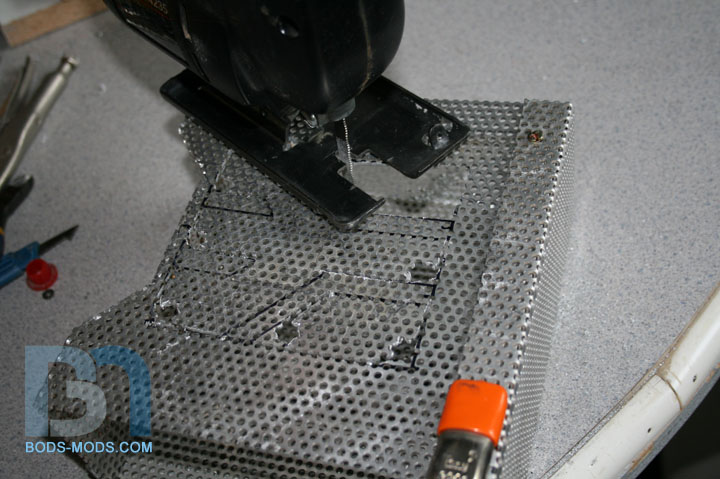

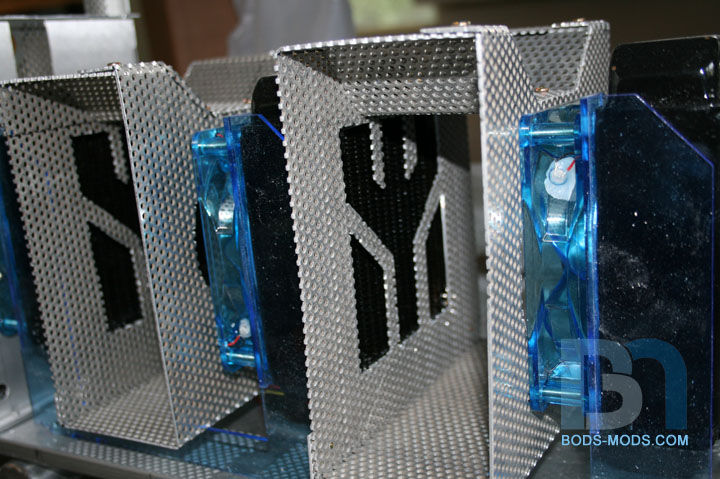

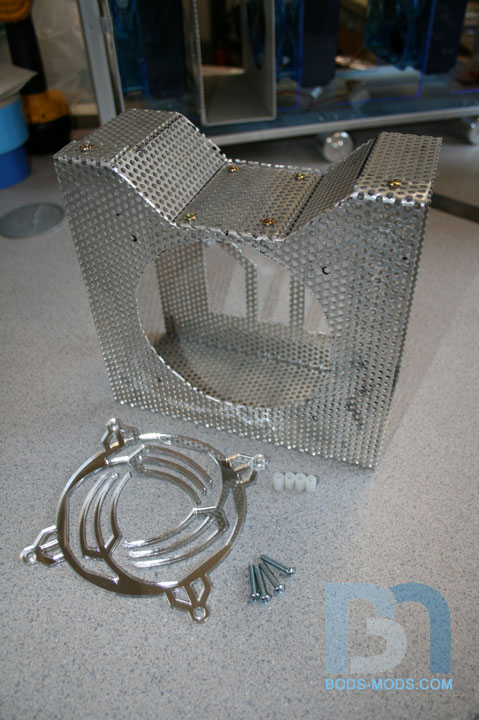
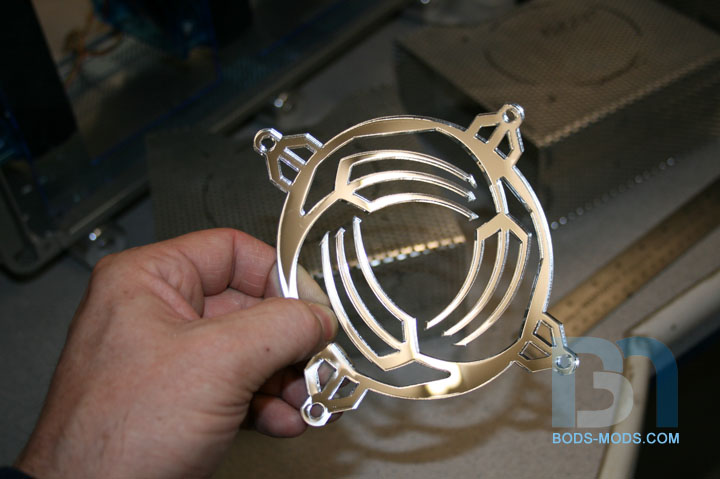

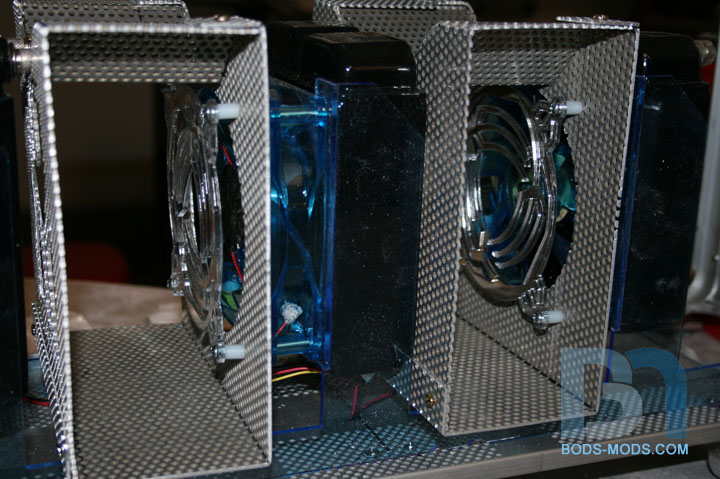
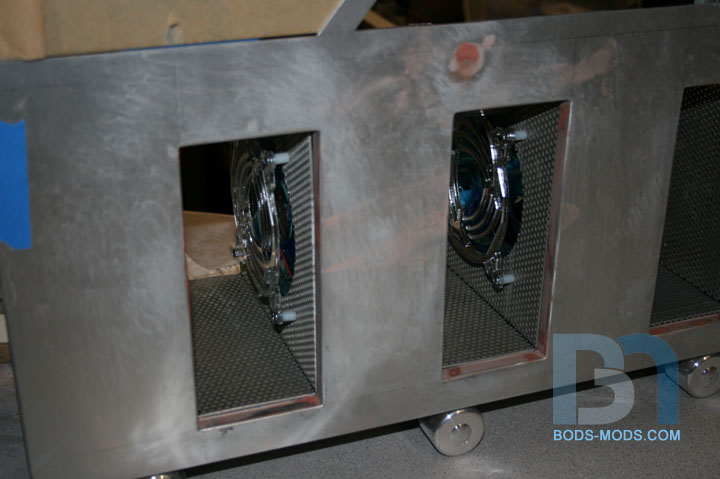
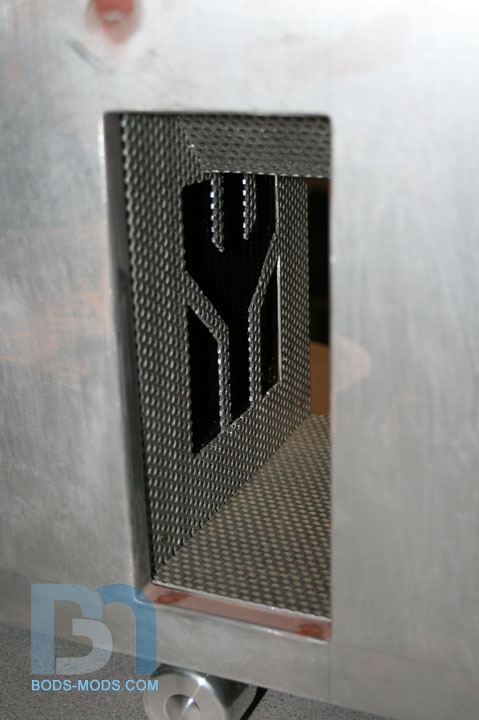
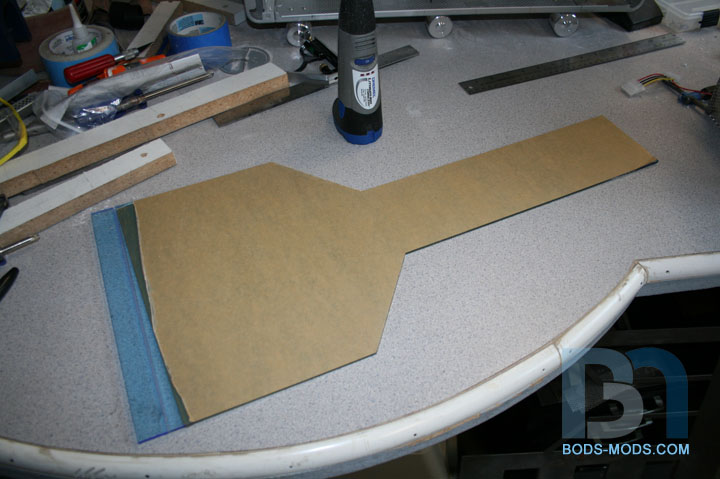
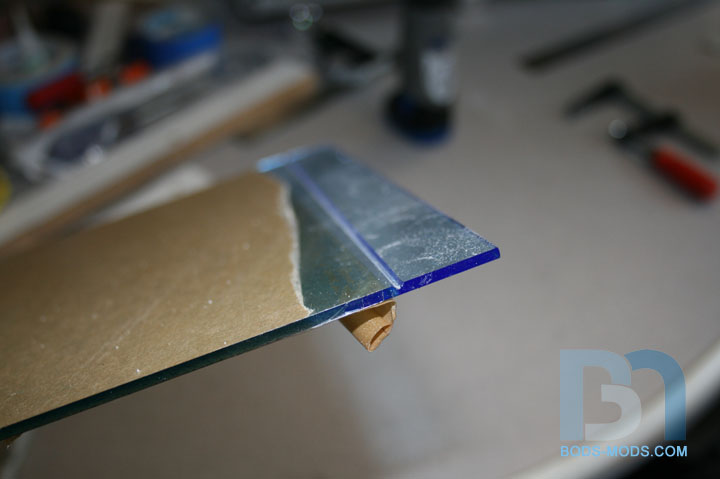
Did a bunch of work on the mesh boxes, and made notches in the tops so the fittings and wc lines would clear. I cut one side, then the other. For the top, I made a cut down the middle, then bent each part to line up with the side cuts. Since this mesh would cut down on airflow if left as is, I need to remove some material on both sides. For the radiator side, rather than just cutting a boring square hole, I thought it would be cool to mimic the side window design. So after measuring the radiator, I cut out a cardboard template and used it to transfer the design onto the mesh boxes. Using the drill press, I made numerous starter holes, and proceeded to cut it out with the skil saw. What I couldn't get with the skil saw I finished up with the rotary tool, then filed the edges down. Once that was done, I turned the boxes over and cut the round hole for the fans. For the fan grills, I came up with a design that incorporates the trident shape, and had Moddersmart cut them out of mirrored acrylic. I used some 3/8" nylon spacers to set them off the mesh a bit, and secured them with 6/32 screws that screw right into the mesh. Any excess protruding through the back was cut off. This way the mesh boxes are totally self-contained and can be removed easily.