


|
|
|
|
|
|
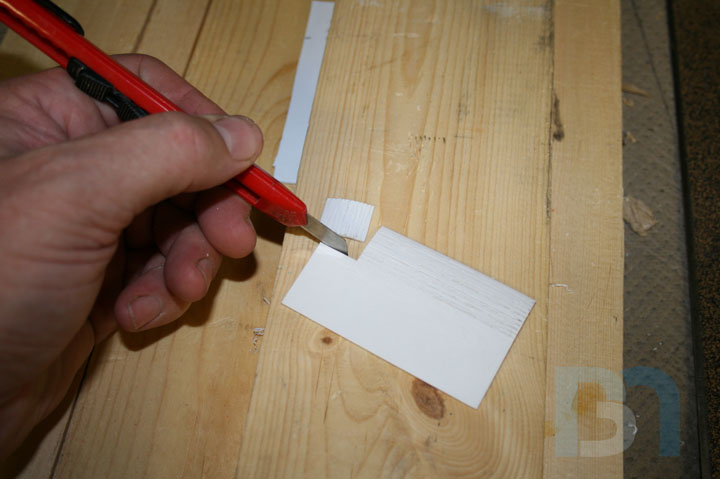
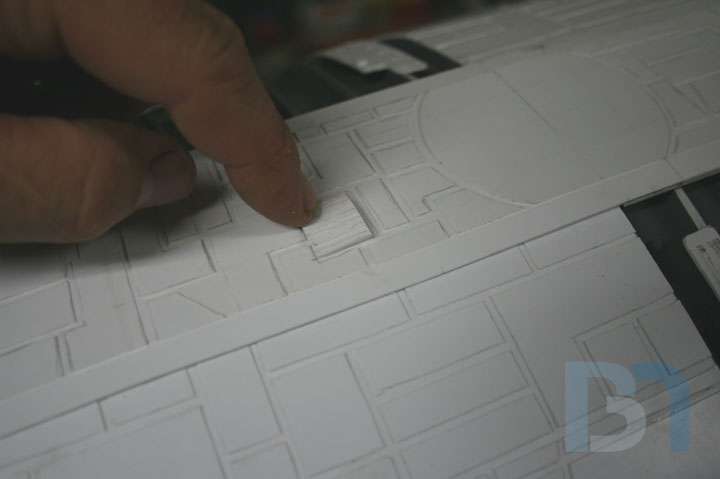


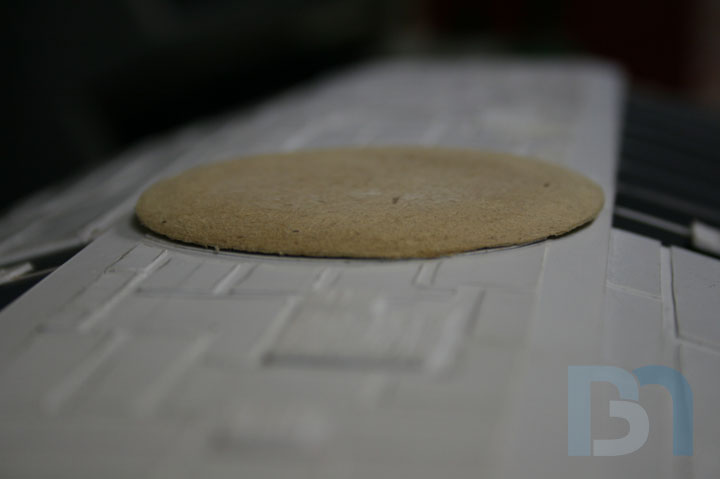

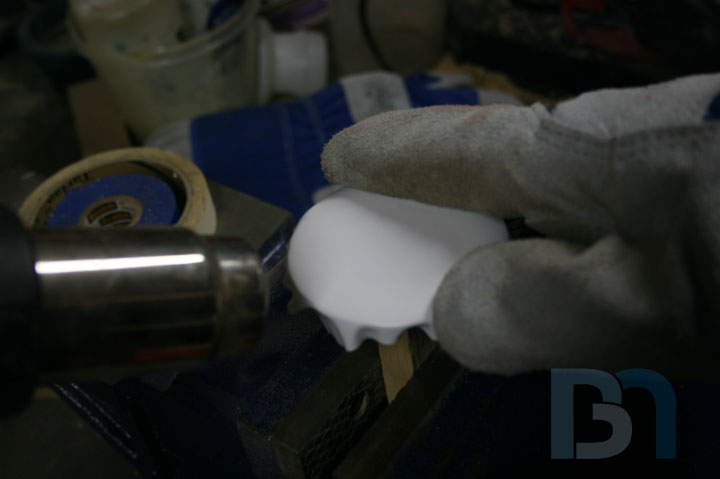

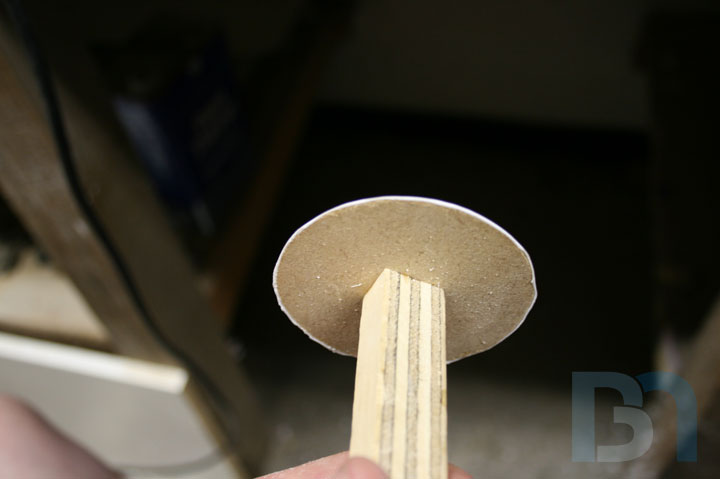
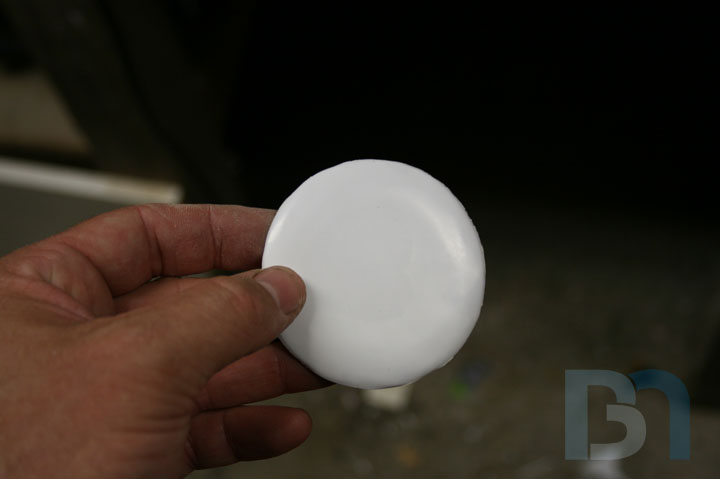
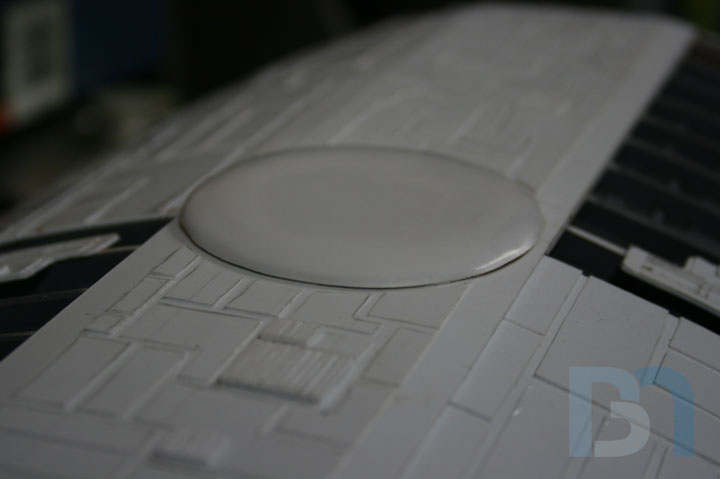
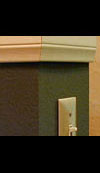
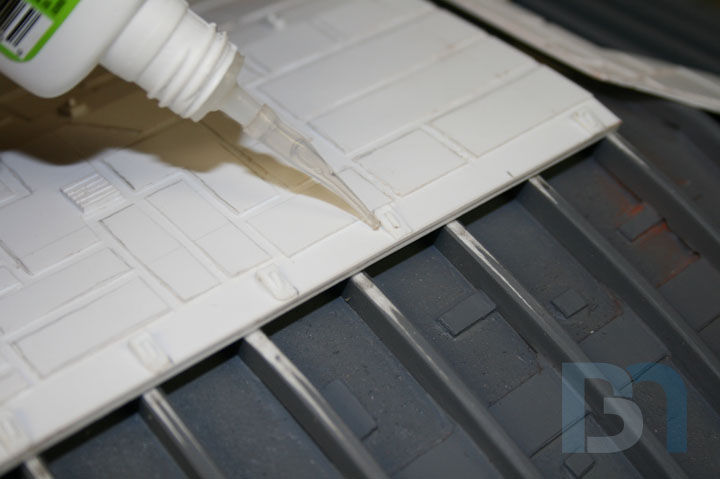
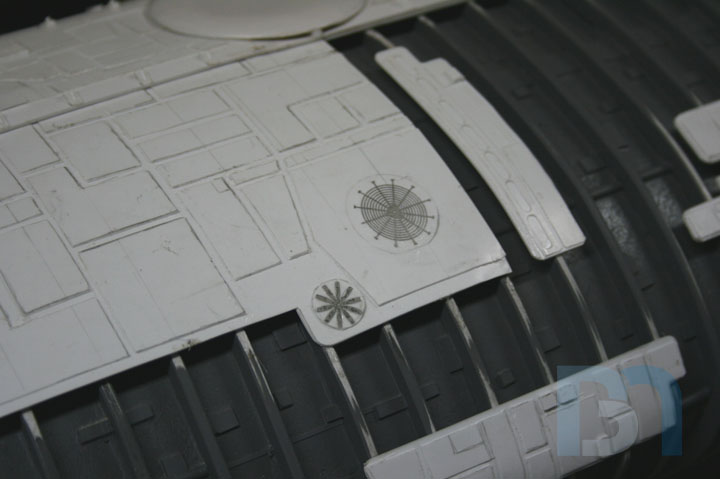
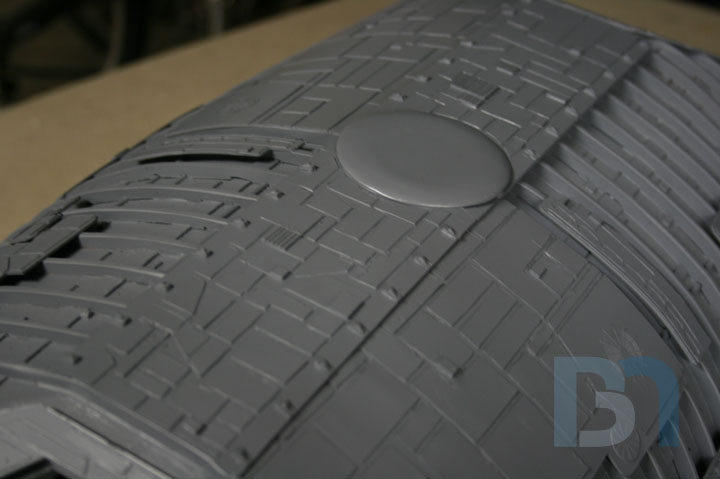
Adding more detail pieces on the top. This will be some grates on a couple of the panels. Took a piece of styrene and drew out some lines. Cut out some material with my acrylic cutter, taking care not to cut all the way through. I wanted to add this raised circle portion in the middle of the top panel and put the BSG insignia on it, but I didn't have a thick enough piece of styrene. So I found a scrap piece of press board and cut out a circle, and sanded down around its circumference to get the required shape. Next was to skin it with a thin sheet of styrene. In order to work with it, I temporarily glued the wafer to another scrap piece of wood for a holder. Cut out an oversized piece of styrene, glued the center down, and turned on the heat. Didn't need much! Once I sand down the edges, I will glue it down permanently. Then once the whole thing is painted, I will go back and apply the insignia along with the requisite weathering and such.

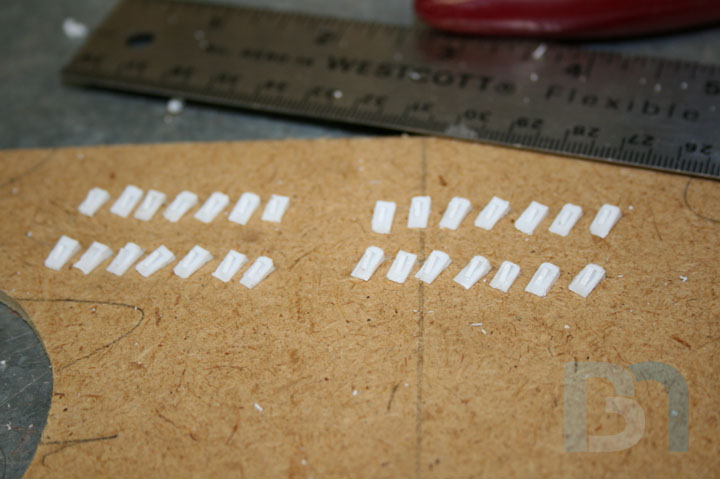
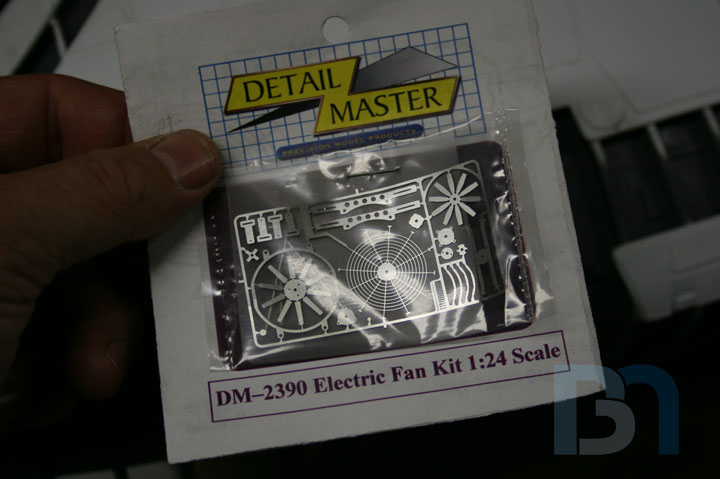


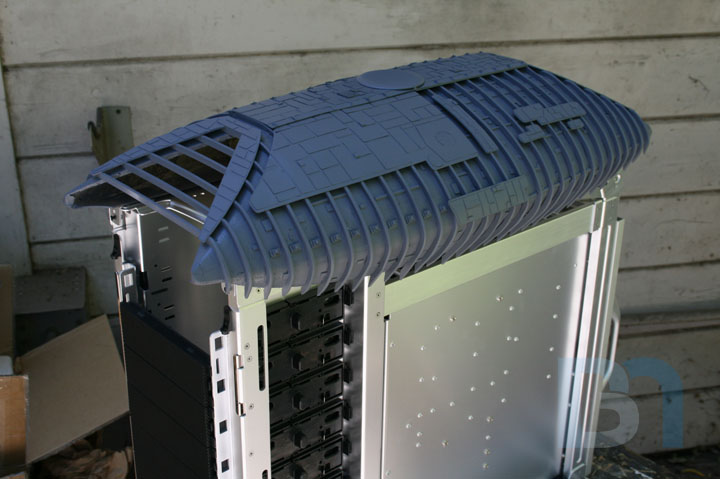
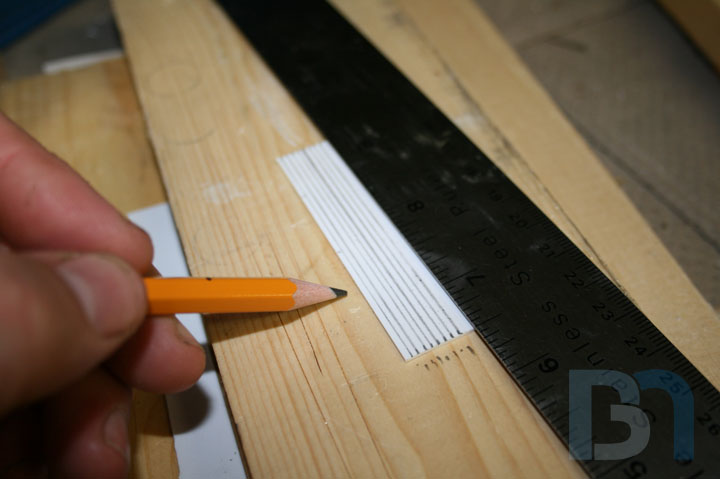
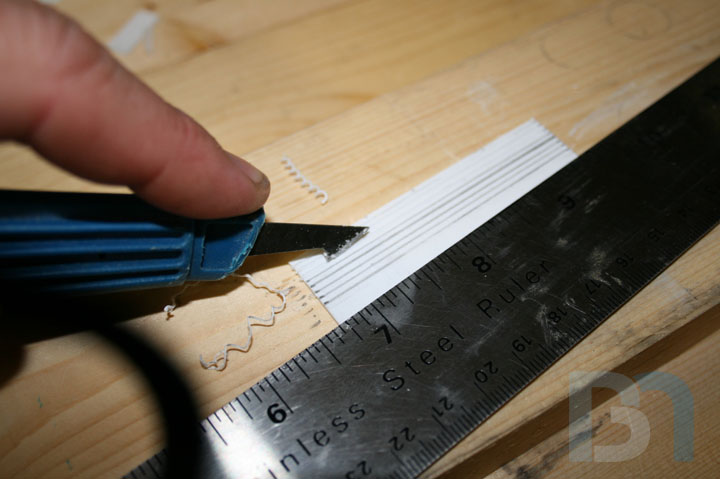
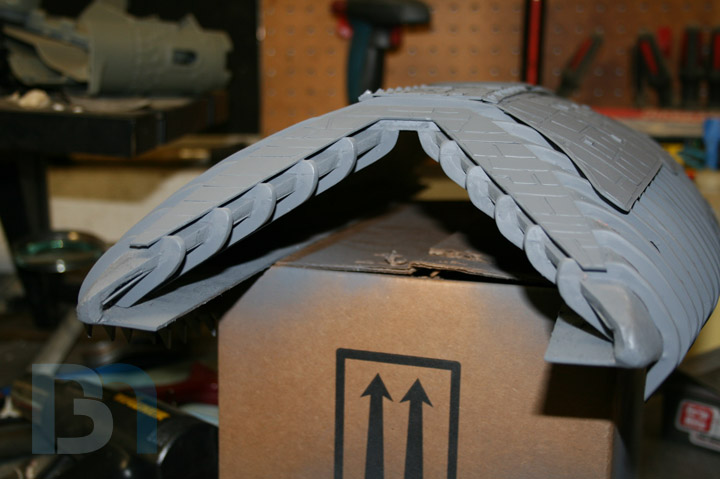
Here we go, more detail pieces. These will run along both edges of the top armor panel. I cut a bunch of wedges off a piece of styrene, then a bunch of smaller wedges from a tiny piece of scrap .040 sheet. It looks tedious, but once I got going, it didnt' take long. I had to make 28 of them. I used a piece of tape to keep all the small wedges in place until it was time to use them. I had a package of detail pieces lying around, so I thought I would throw some onto the armor. I will be doing some kit-bashing later.
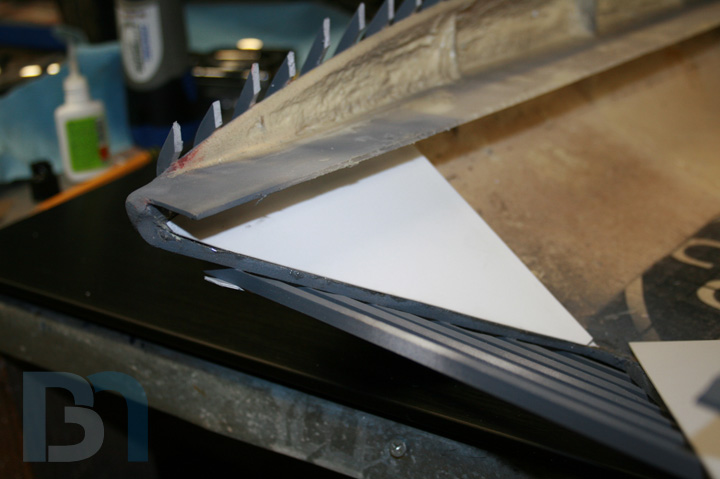
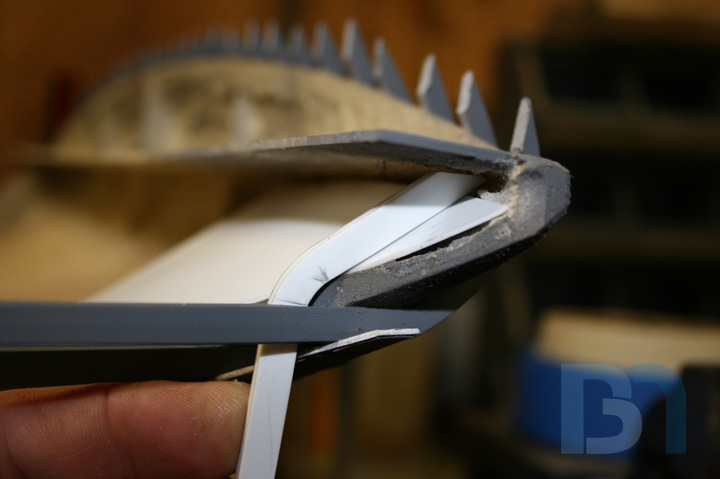
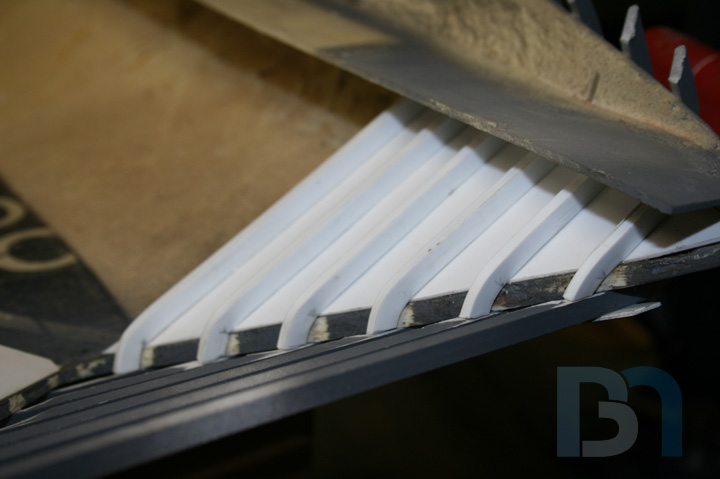
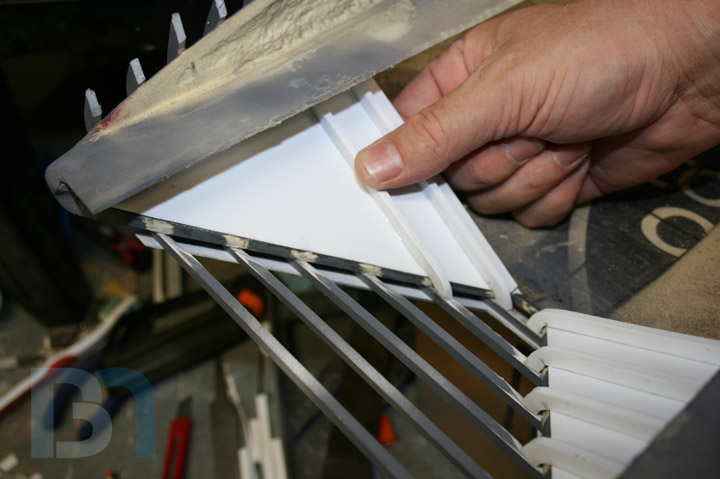

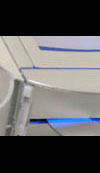
Working on the ends now, and into the interior of the landing bay. I am attempting to continue the ribs around the edge of the opening and down the inner panel. I start by cutting the triangular panels to shape and gluing them in. Then I can perform additional gratuitous styrene stick heat manipulation. Since I need to perform the same manipulation on a number of unsuspecting styrene sticks, I decided to make a quick jig so each bend is the same. Now it's just a matter of measuring and marking for the position of each bend. This is why I left the cross beams in place before. I wasn't sure where to cut them. Now that I have these pieces in place, I can lop them off. After a small application of bondo at the seams, I did some sanding and a quick shot of primer to see where I'm at. Looks like there's a bit more work to be done before the joints are no longer visible. Then its on to the other end!
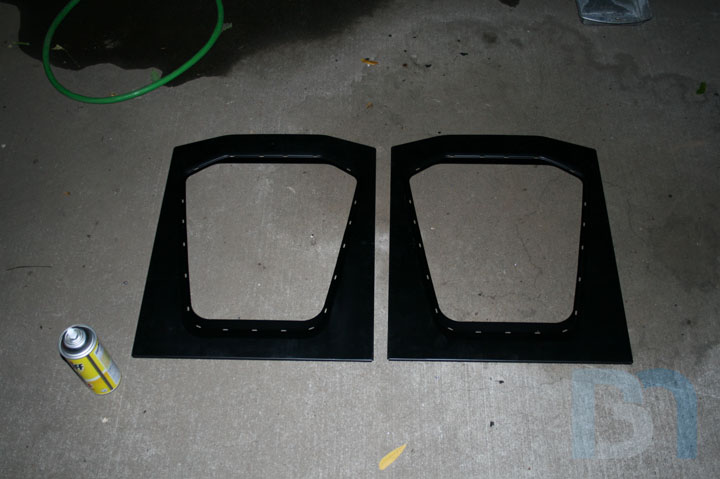
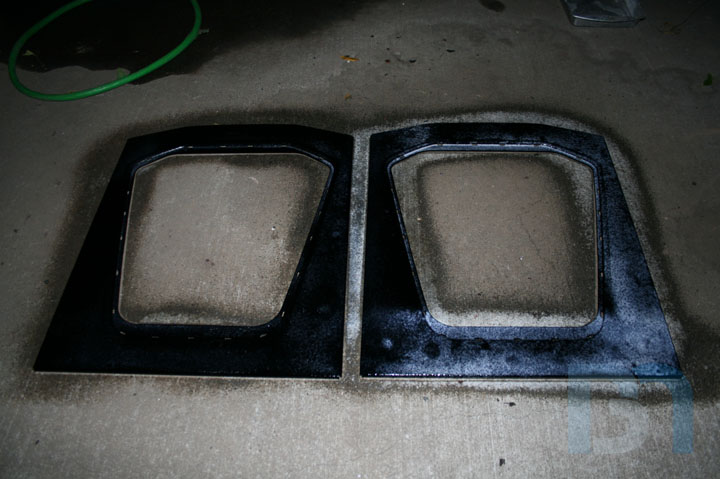
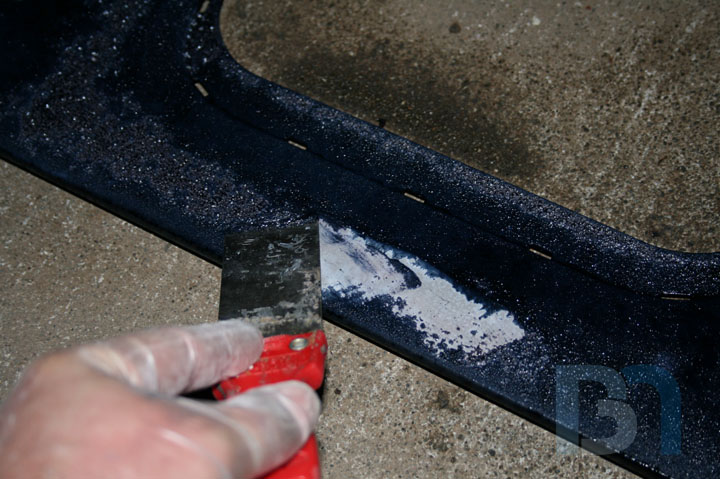
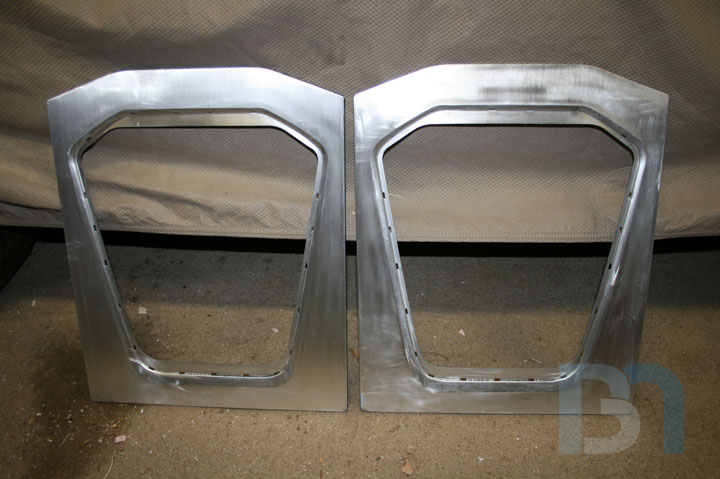

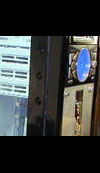
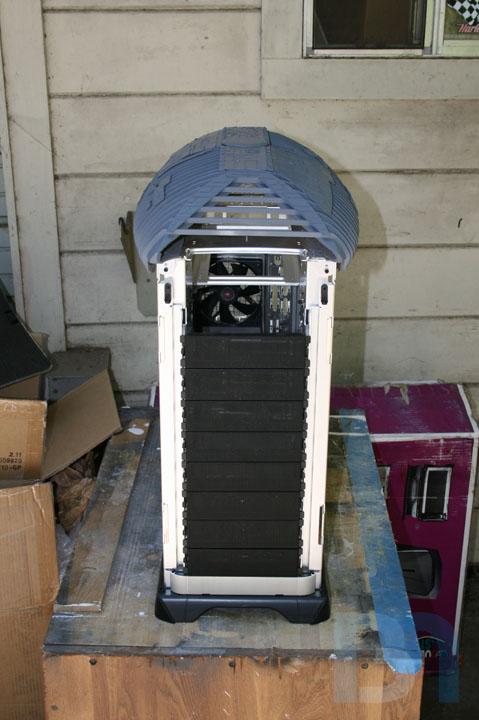
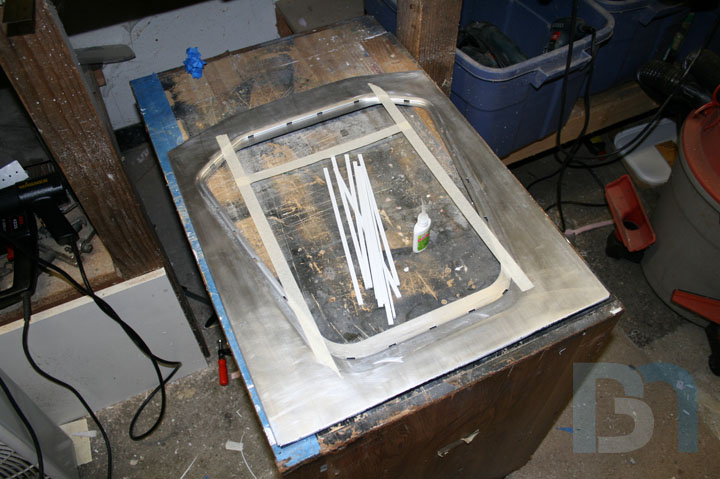
Starting a different part of the case!! The next part of the case that will get the ol' rib/armor treatment is the side panels. After asking around about what the best way to remove anodizing from aluminum, I ended up with basically two answers: Oven cleaner, and basic sanding. So I figured I would test the former, and if it didn't work out, I would settle for the latter. After a quick spray, the oven cleaner immediately starts bubbling and fuming. (Good thing I was wearing gloves, a face mask and was outside.) I had read that when using oven cleaner, to let it sit at least 45 minutes before the anodize begins to fall off. In my case, just 15 minutes was enough to do the job! My guess is that the 45 minutes refers to pieces that are "hard Anodized", which penetrates deeper into the aluminum and thusly takes longer to remove. The anodizing on the Stacker is apparently really light and doesn't take much coercing before coming off. Now that I have a nice and clean aluminum panel to work with, I can lay out my armor and start cutting! This armor shape delineates the rectangular window in the middle, with the peripheral areas of the panel getting more ribbing.
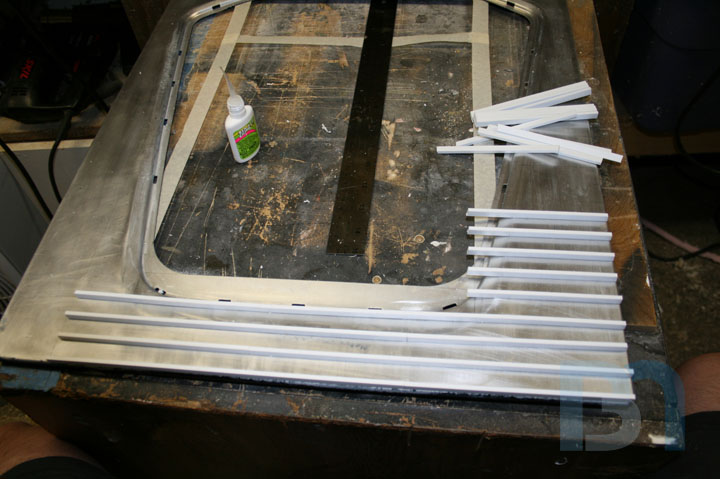

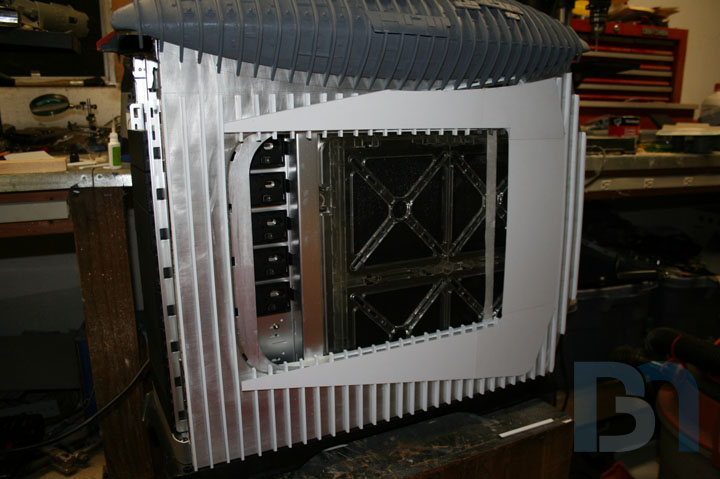
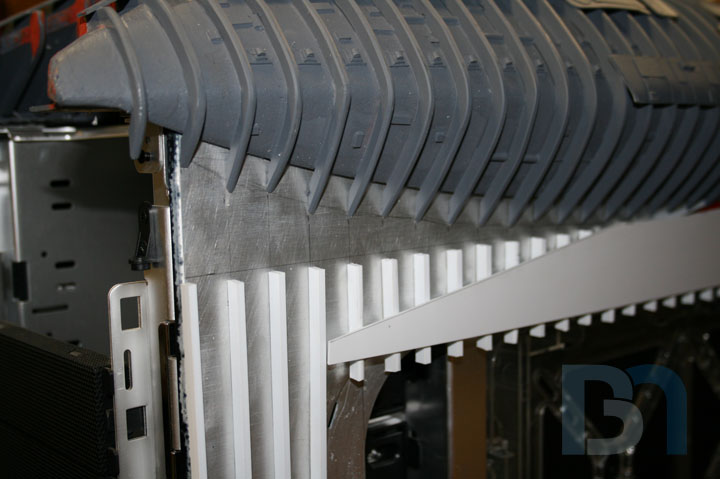
More ribbing done. I used some masking tape to give myself some guidelines, and line out the window area. The top needed some extra thought, and how it would meet up with the landing bay. So a quick test fit was in order. Again, but with the armor panel. You can see I had to cut a bit away at the back. I will add another armor piece to the landing bay to match it. I kept the top front area clean of ribbing because in order to remove the panel, it will have to slide back and out from under the landing bay. So any ribbing would be in the way here. Rather than hide this area, I'm going to do some creative detailing to make it look like a well-used portion of the ship. Wear marks, scrapes and the like will enhance the overall look and feel.
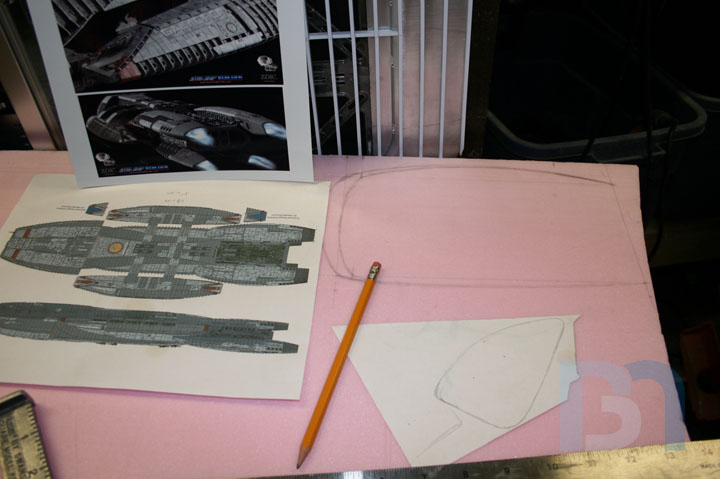
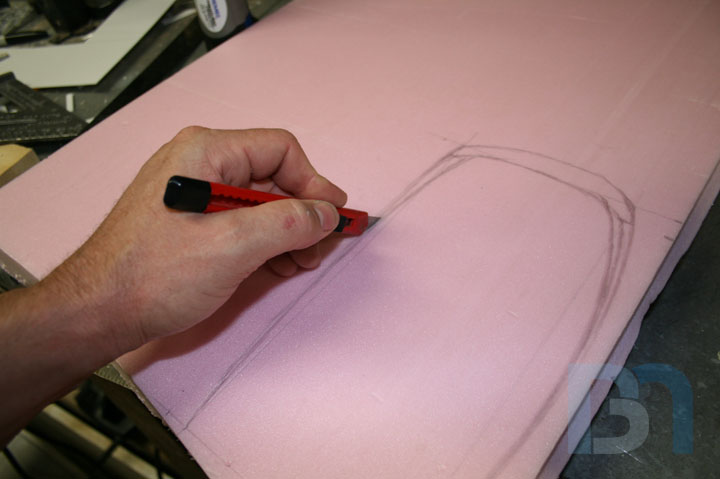
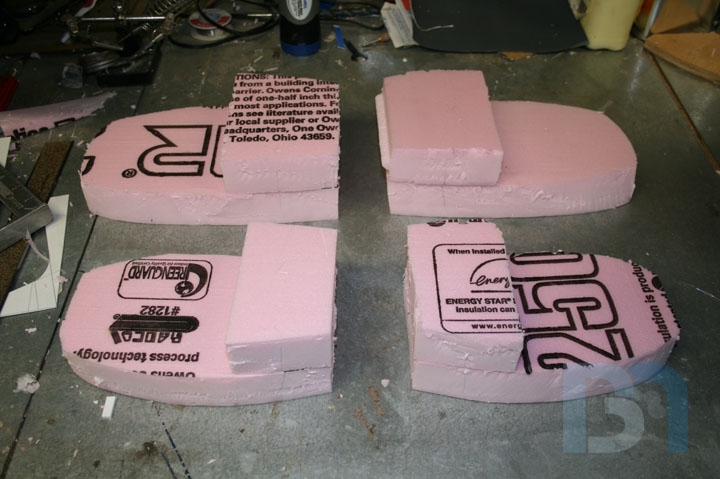
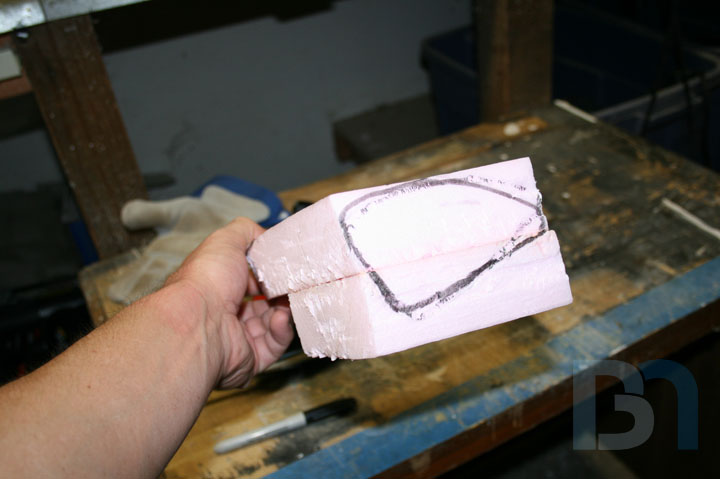
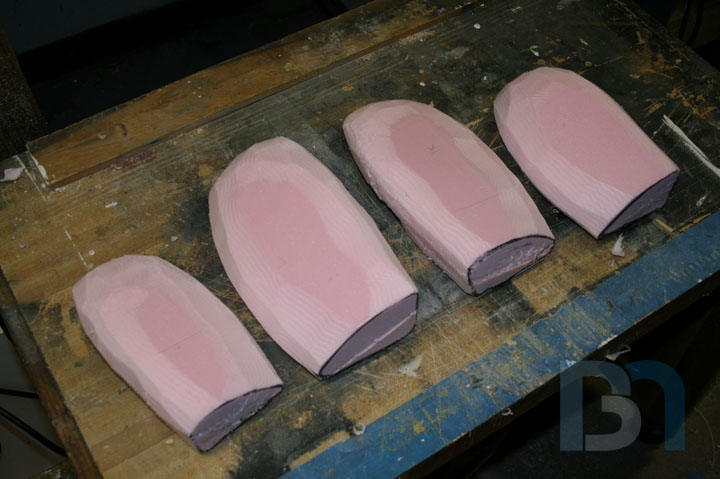
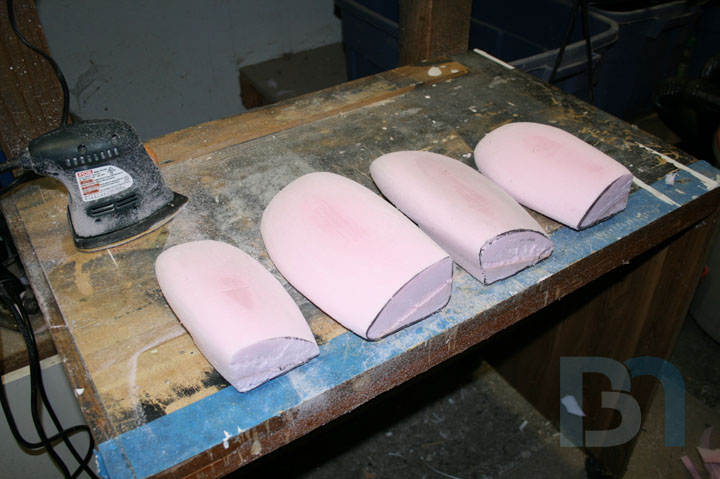

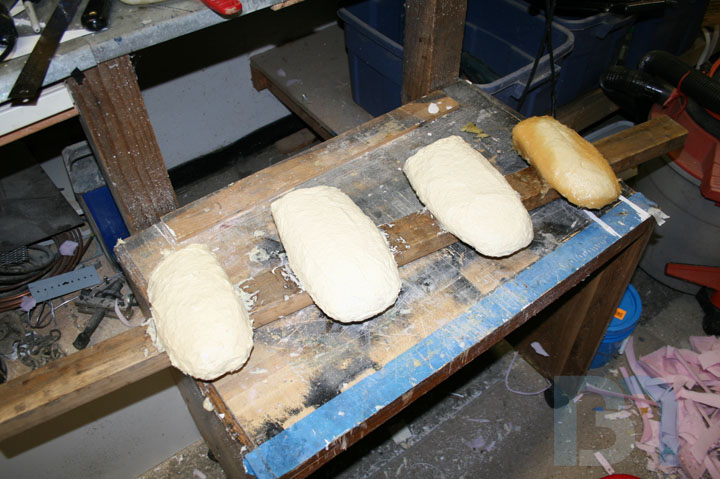
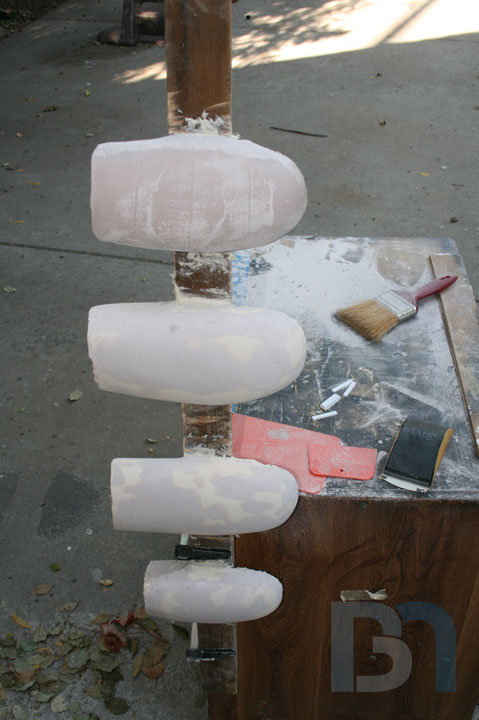
Made some decent progress on the engine pods. Studying the ref pics and figuring where the pods would go on the case, I determined the size & shape, and drew the outline onto the foam. The large pods at the back are 2 1/2" wide, so I have to double up on the foam to get that thickness. Had to make four total. Two being mirror images of the other two. I drew the shape of the nozzle onto the end to give me a starting point. I carved them down using an electric carving knife, then went back over them using the orbital sander to smooth them out. I glued the pods temporarily to a 2x4 so I could easily maneuver around them while I spread the plasti-paste. Got the first one covered. Here you can see the stuff is already setting up.
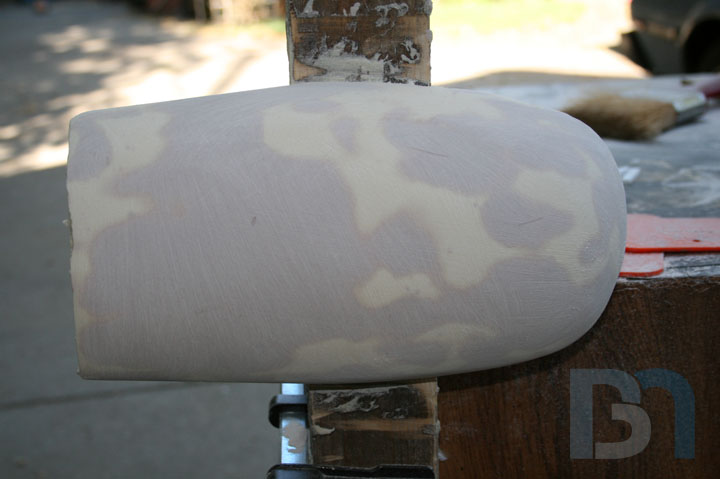

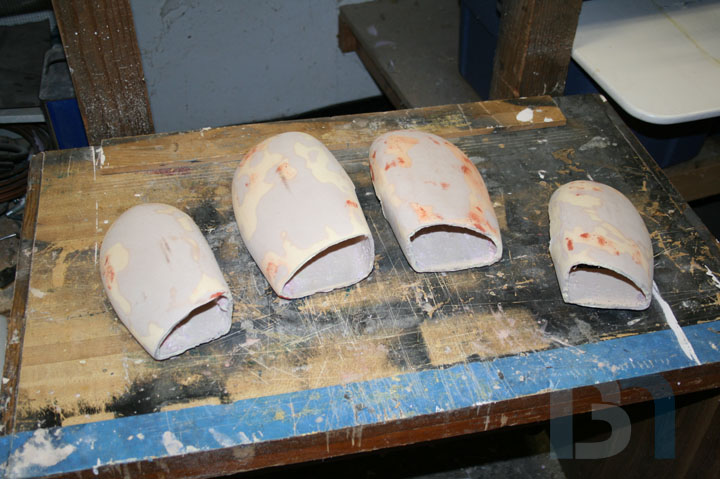


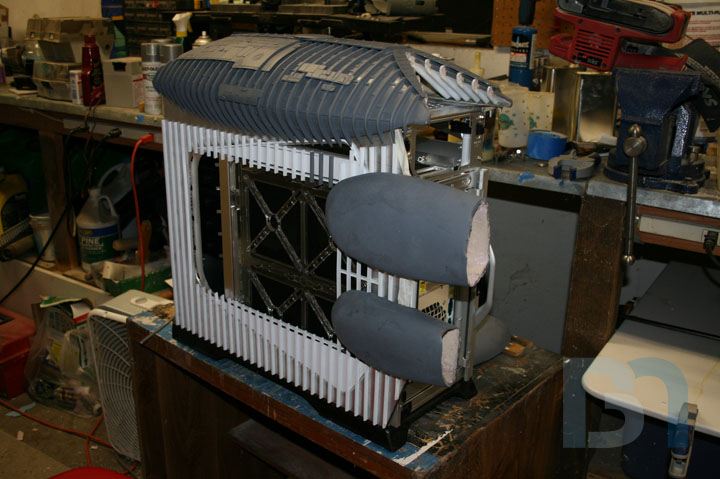
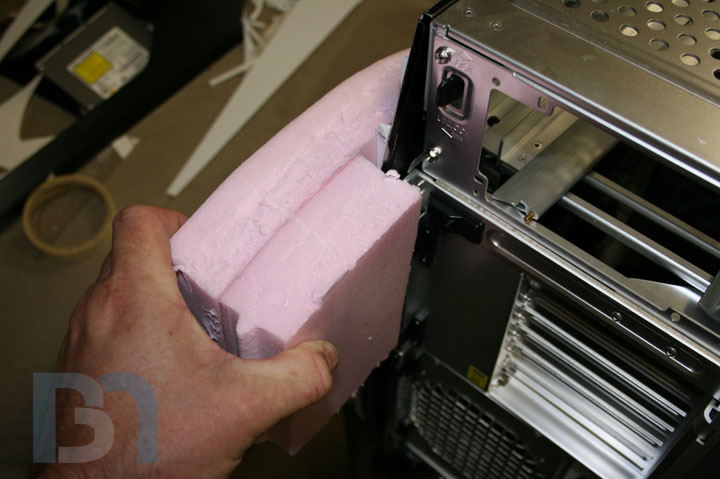
After many hours of sanding, bondo filling, and more sanding, I got the pods to the shape I wanted. I used 80grit to get the basic smooth shape down, then I went back over everything with the orbital sander and 120grit to sand out those scratches. Close up of the back end, you can see the thickness of the plastic. There are some thin areas, but for the most part I got a pretty consistent layer all around. I will beef up any thin areas with bondo from the inside. I threw them on the case to see how they fit, after hitting them with some primer.
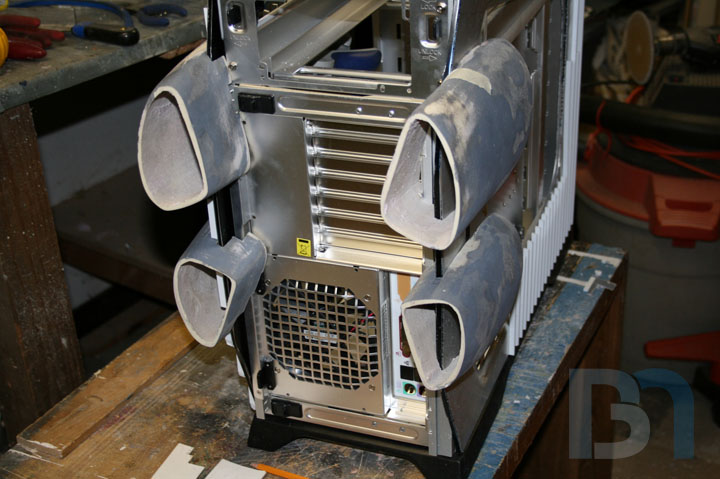

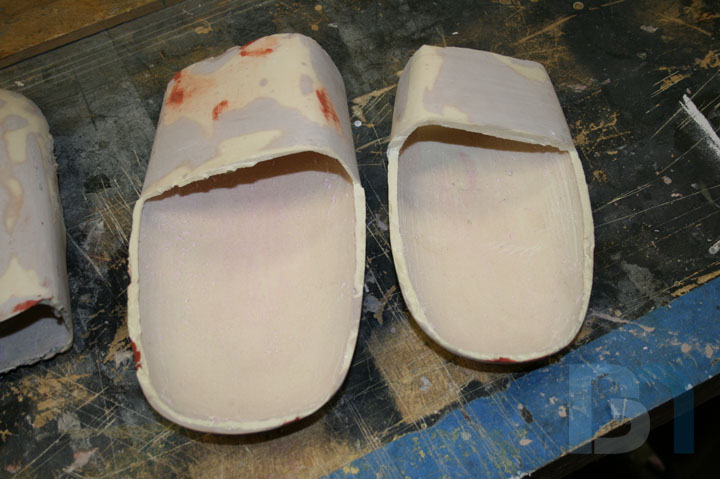
After a hectic week, I only managed to get the pods fitted better over the back of the side panels and that's about it. Maybe this week I will have better luck getting into the garage.