

|
|
|
|
|
|
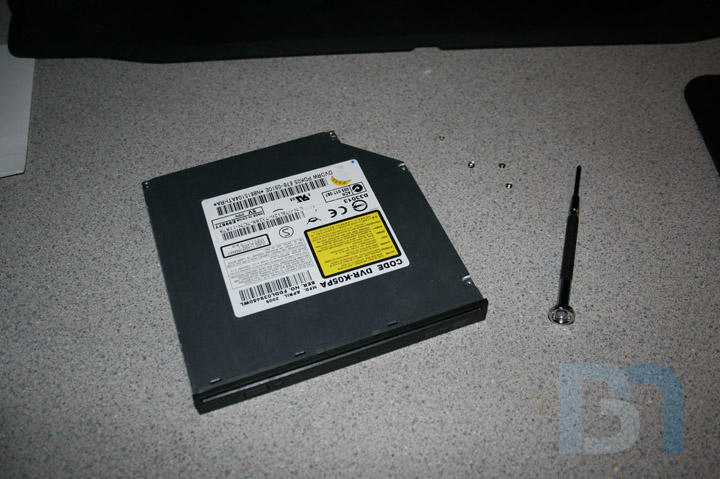
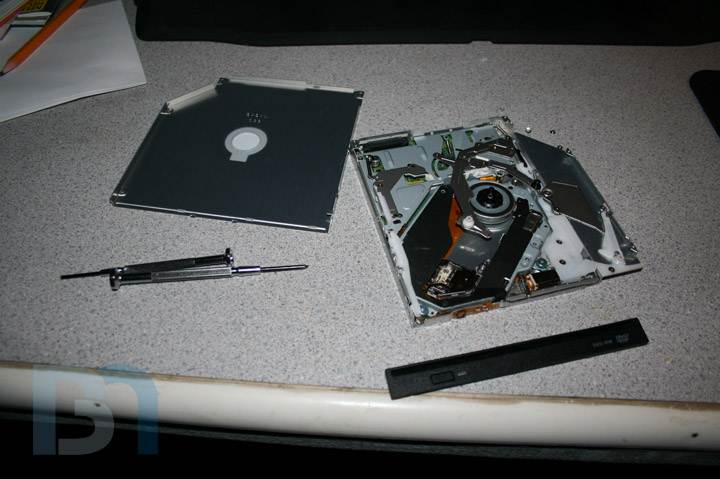
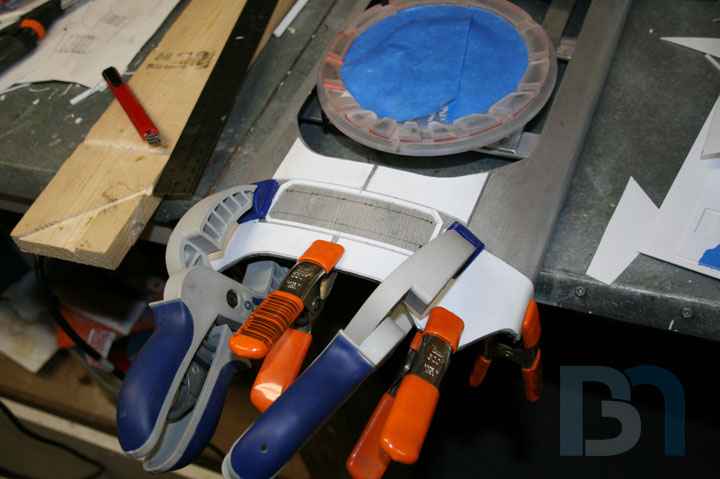
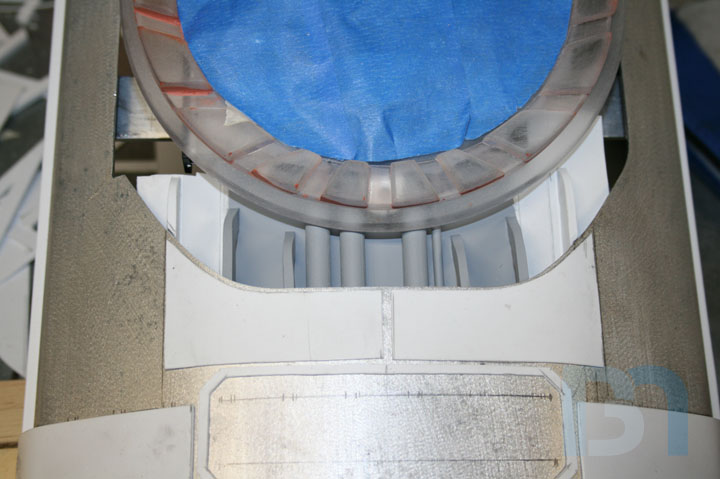
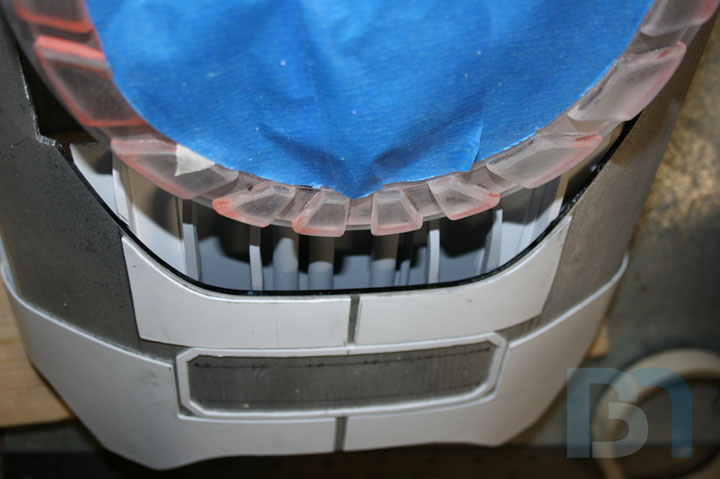
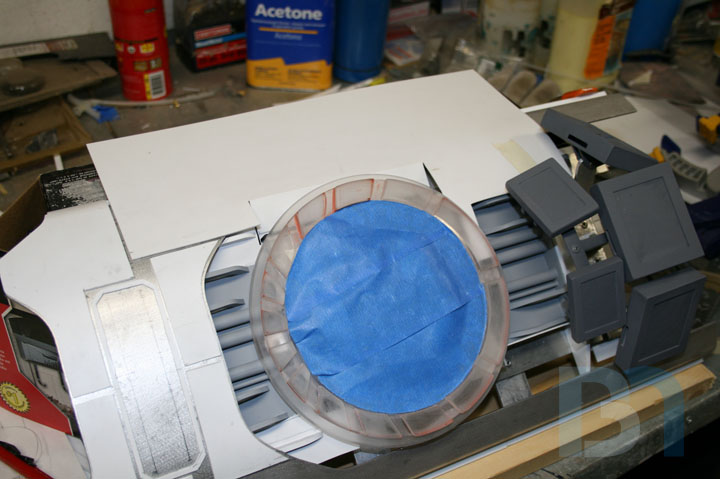
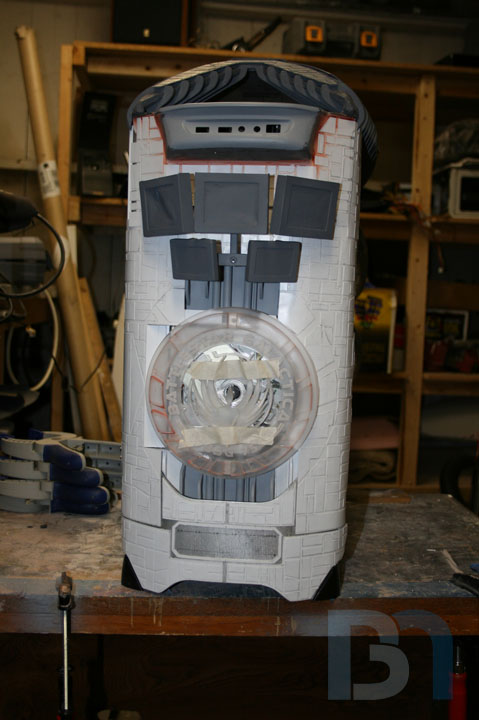
OPTICAL DRIVE. After getting the LCD cluster roughed in, I started on the optical drive portion of the front panel. I will be using a slot-loading dvd drive, mounted vertically behind the BSG logo insignia. Once finished, you will be able to see the disc turning through the insignia. Thanks to Brian at Moddersmart for getting all these pieces laser etched and cut for me. Basically, in order to get a 3 dimensional look, I had him cut several layers so I could build the height up. Some parts will be painted, like the center winged figure and the outer edge pieces. Then the background will be kept clear so you can see the drive in behind.
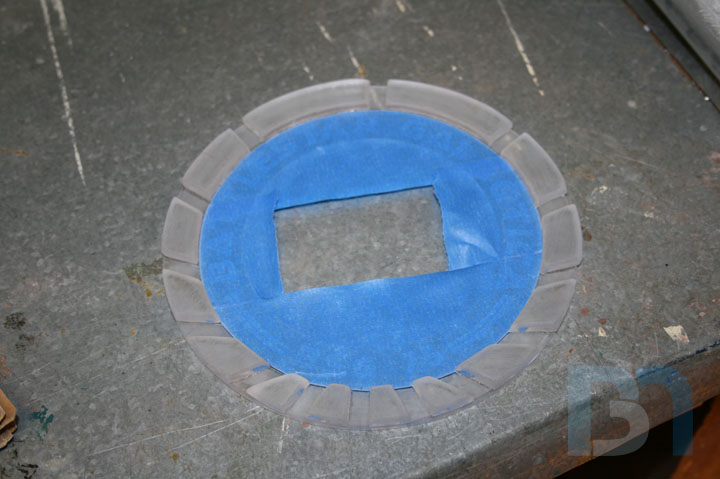
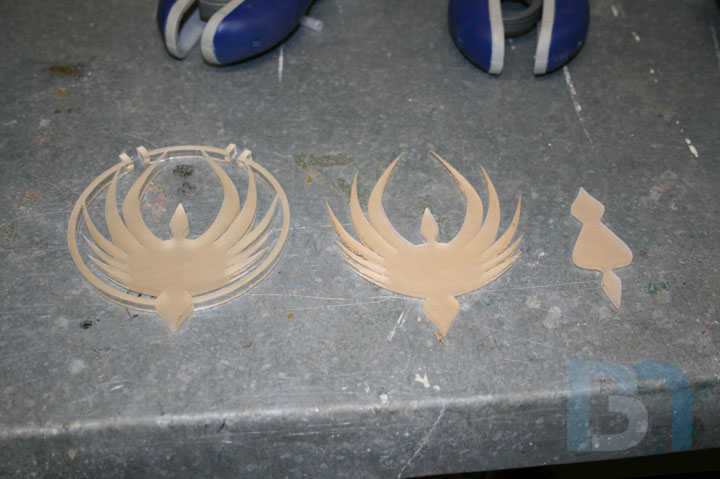
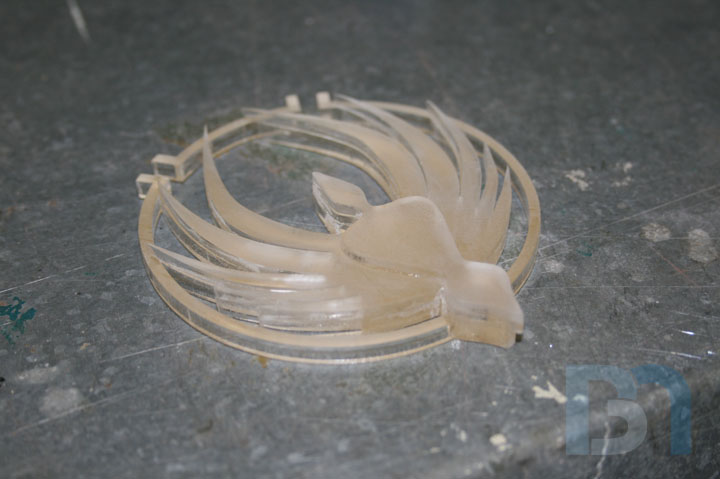
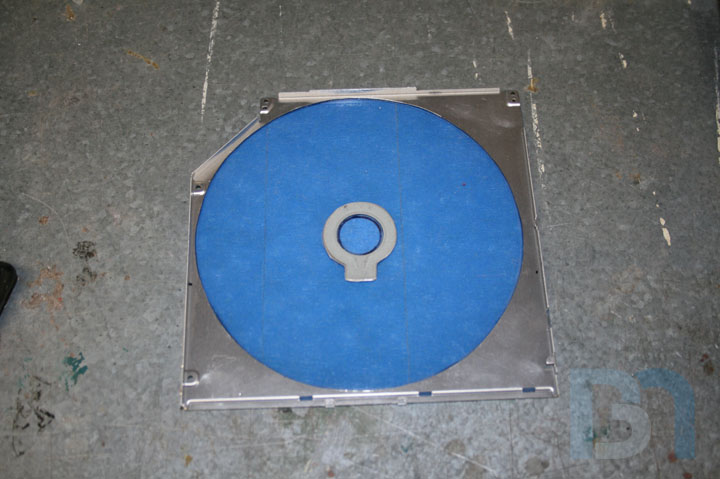

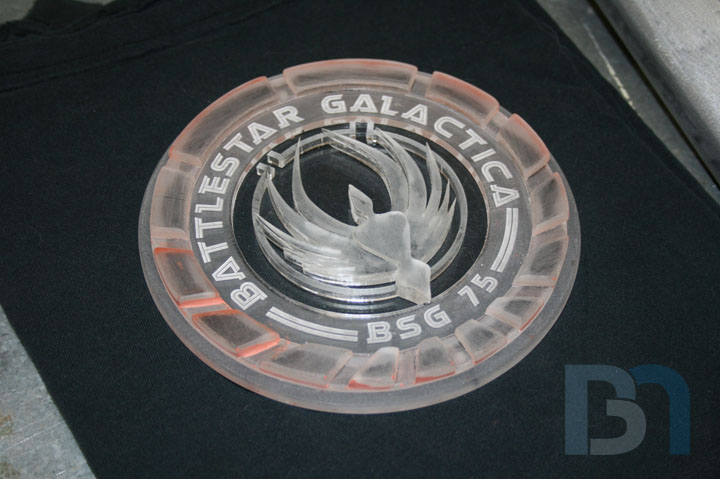
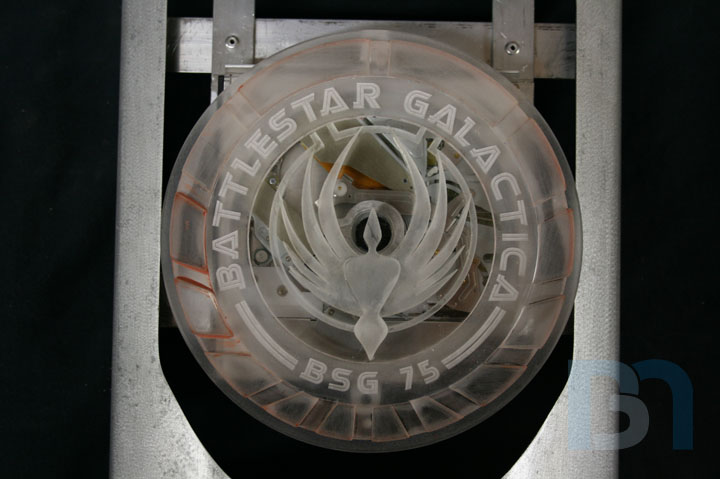
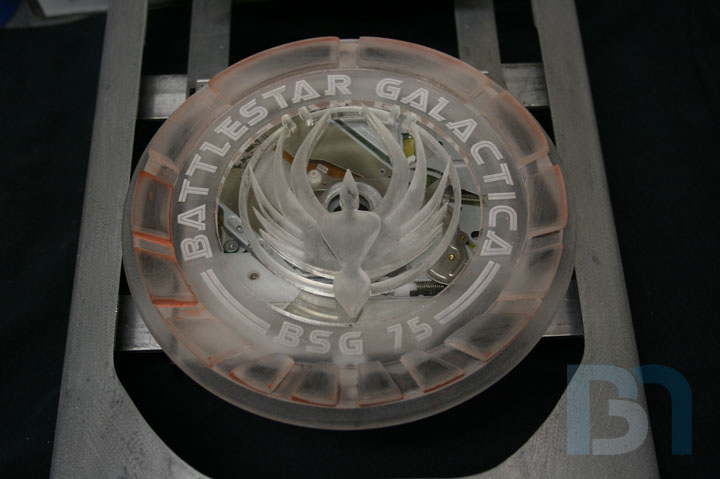
I rounded the corners of all the little edge pieces and get them glued down to the etched ring. The center consists of three pieces to be layered for that 3 dimensional look. I added a secondary bracket that will hold the insignia in place over the optical drive. The insignia won't stay totally clear. I will be painting everything but the background in the center. The leds that will light up the drive will be inset behind the center piece hidden from sight. Should light up the drive internals quite well, and give a nice back-lit effect as well. I just gotta figure out how to run the wires and integrate a small switch to activate them when the disc is inserted.

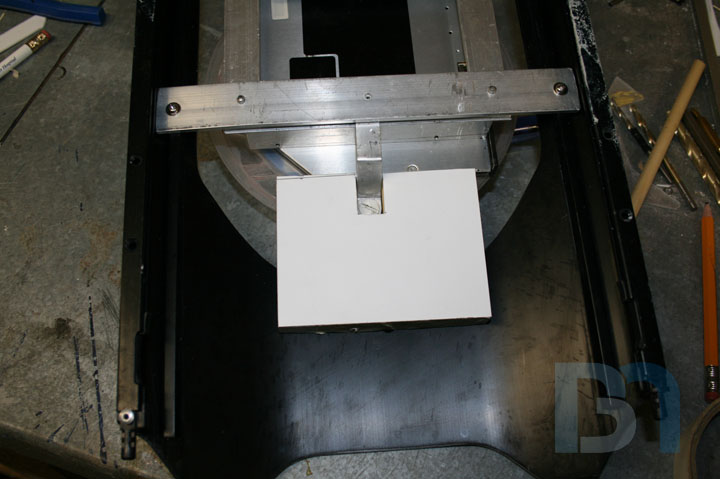
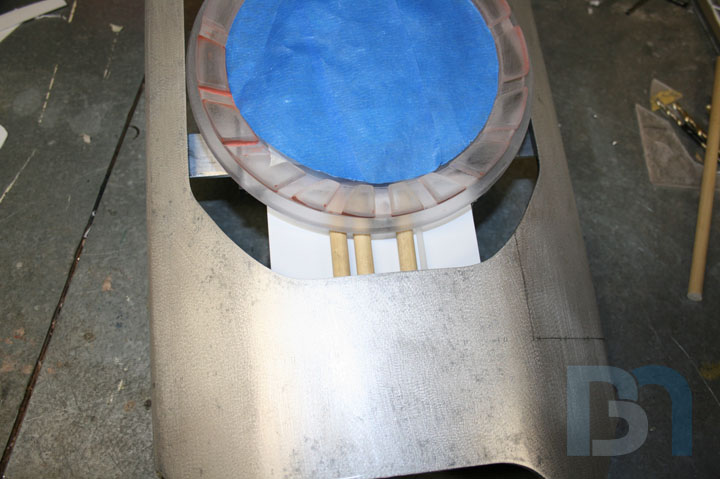
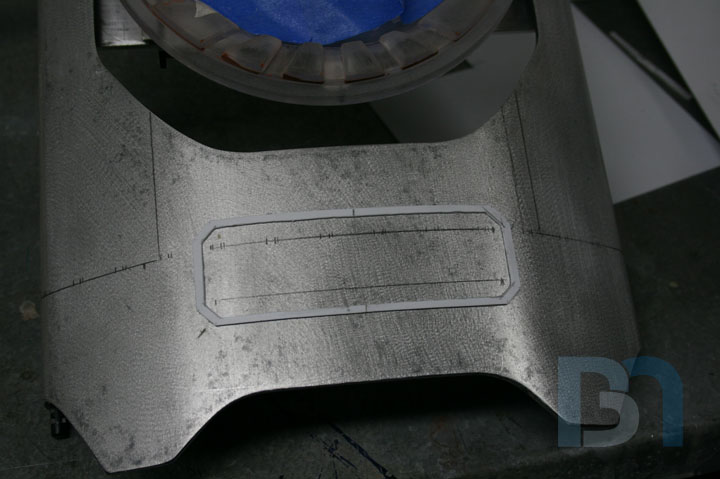

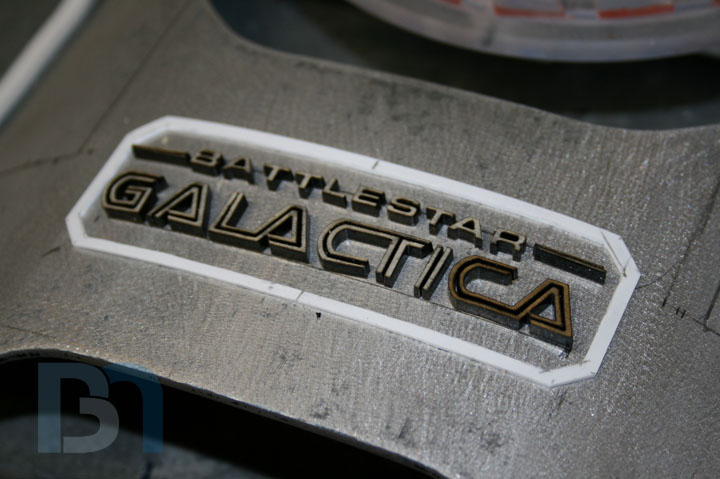
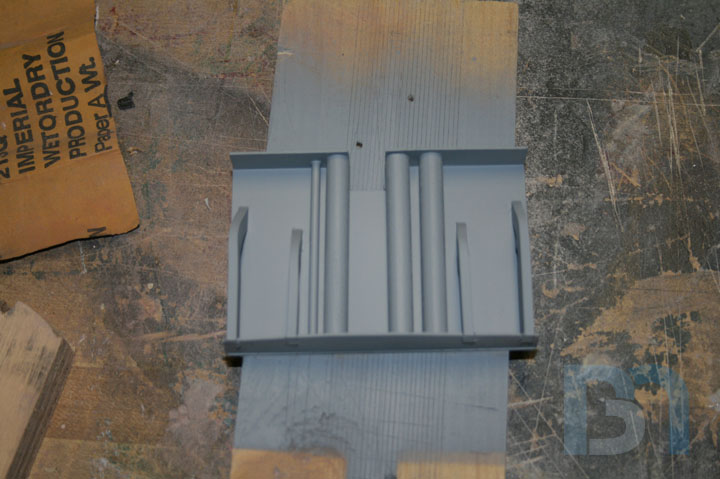
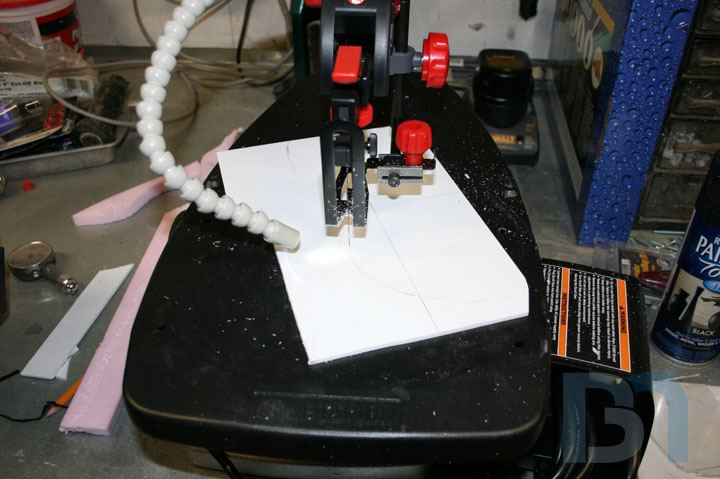
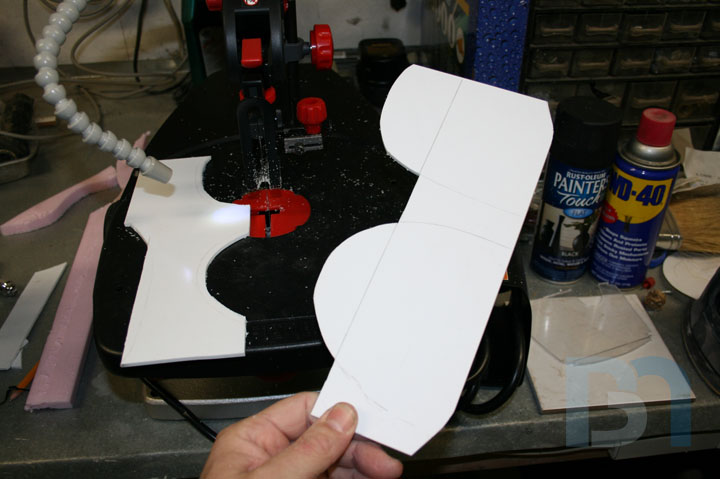
In the process of filling in the areas around the insignia, lcd cluster, and IO panel, I felt the need to add more detail elements (why break precedent, right?) These details will give more depth to the front panel, which will be consistent with the side panels and landing bay. So I started making a box with styrene, and threw in some wood dowels and acrylic rod for good measure. From the front, it looks like a bunch of conduit running up through the panel. It will get the rib treatment and more styrene to cover up the left and right sides. Just below that, the BSG ligature will be placed. I cut a styrene frame to mark its location. The lettering was laser cut from 1/8" black acrylic. Thanks again to Brian from ModdersMart! The entire ligature is only 4" wide. Before I permanently glue the lettering down, I wanted to lay down the remaining armor panels.
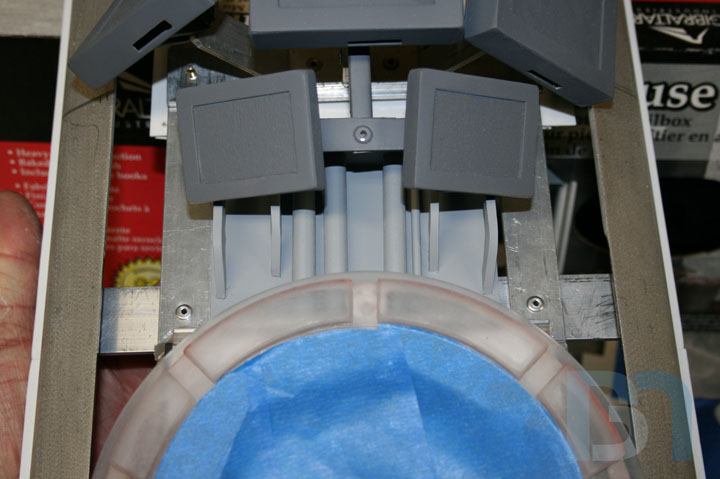
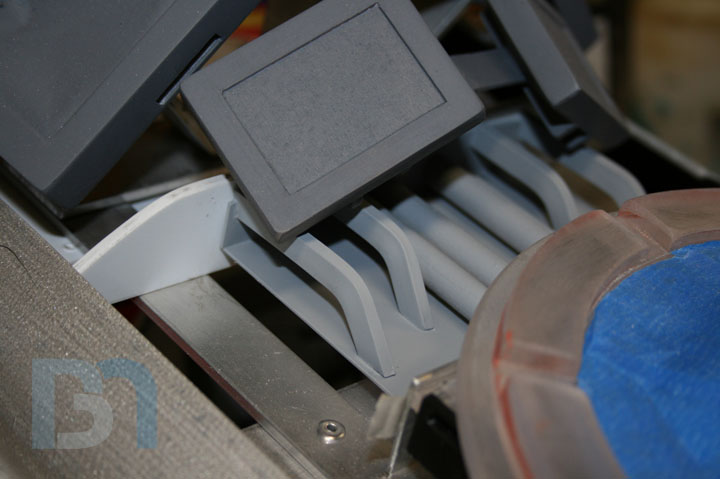
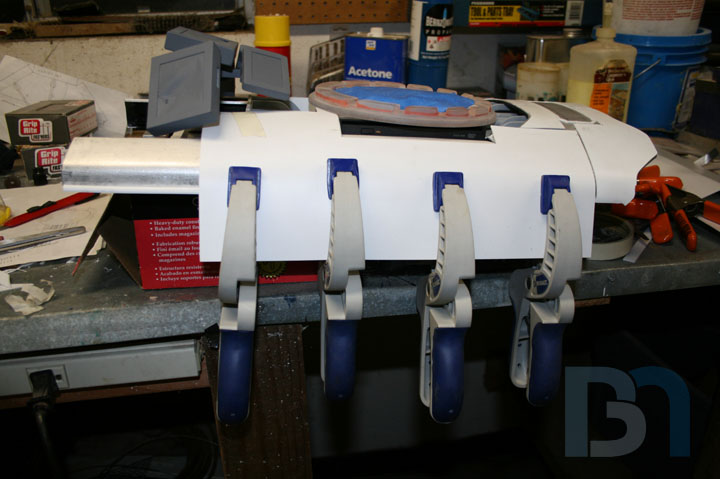
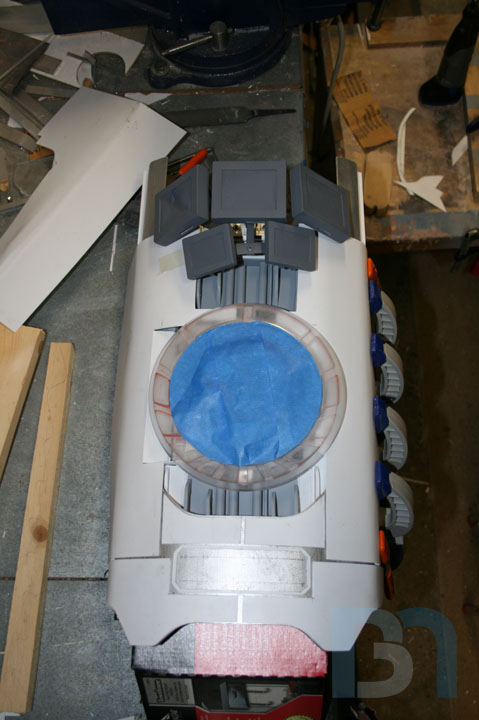
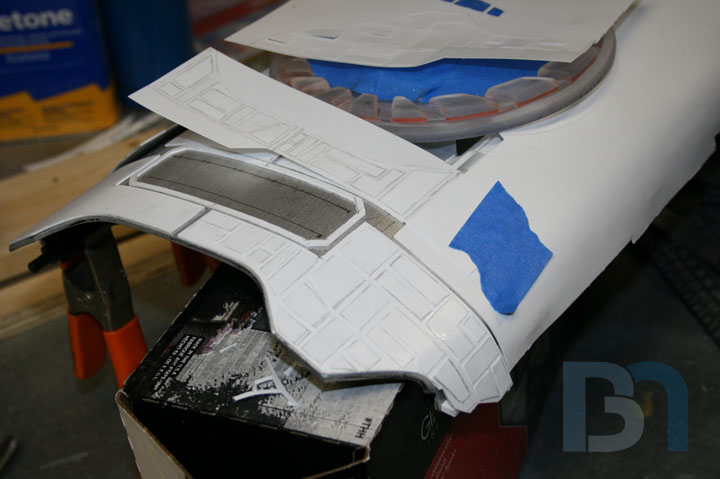
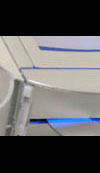
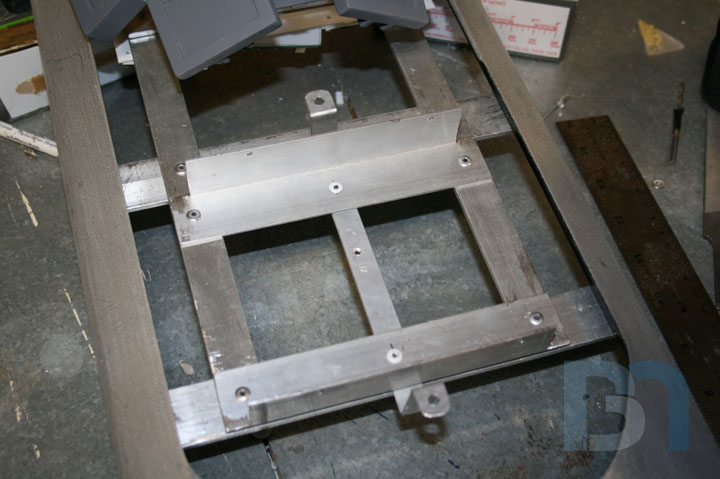
After finishing the bottom conduit box, I began to extend it on both sides to meet up with the curving panel. I also added ribs to look like they run vertically underneath the panel and terminate at the insignia. I made it tall enough so the bottom cannot be seen. I made a top conduit box to match the bottom one, that will go above the insignia. I made a 1/8" styrene bulkhead for it to mount to. Once that was in place, the arduous skinning process continued for both sides. A lot of test fitting was necessary to get them to fill in the areas with no gaps or overlaps. I glued a strip of styrene ribbing down the edges of the front panel to raise the armor up even with the side panels. The second layer of armor paneling goes on, same as before.

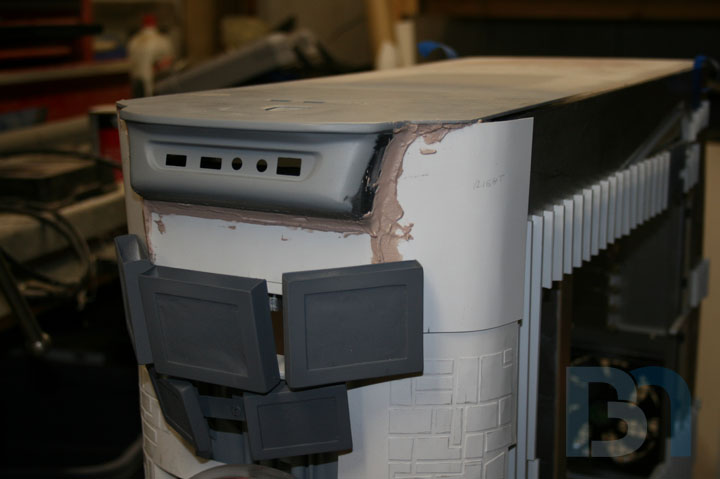
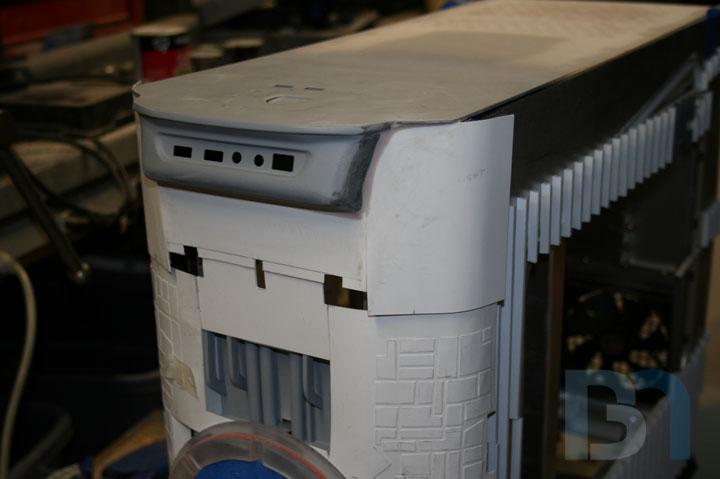

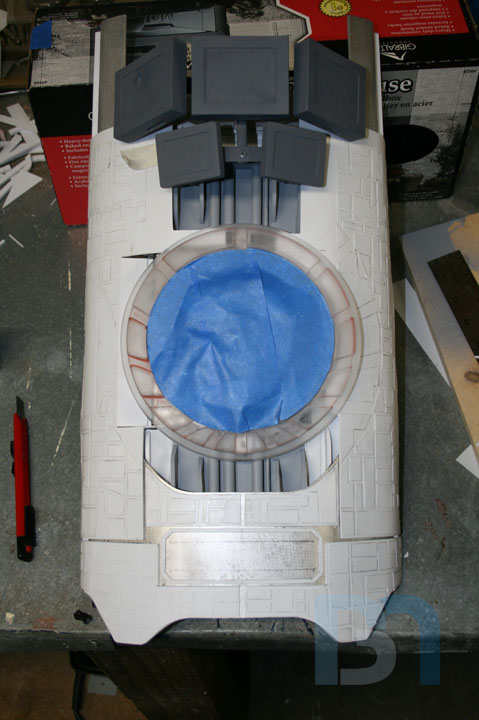
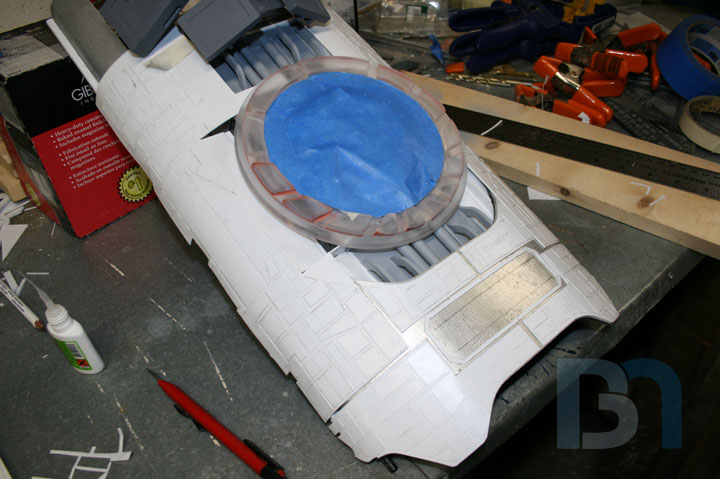
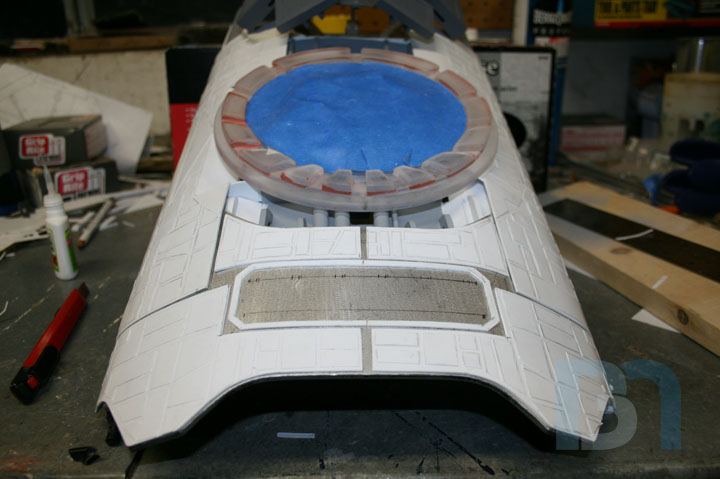
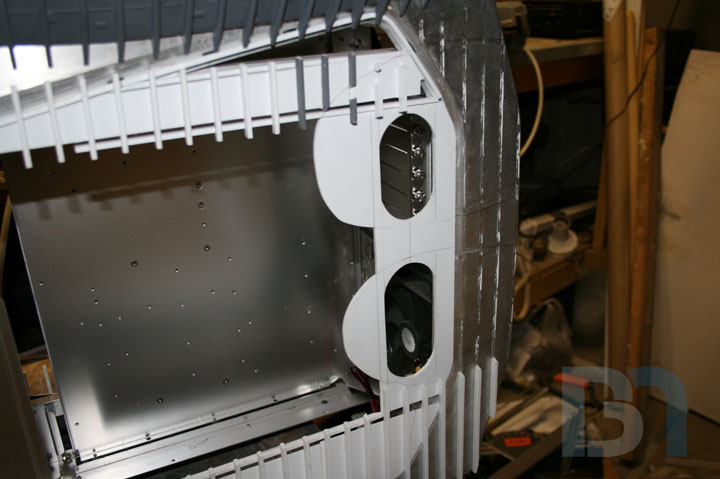
A bit more work done on the top, between the LCD screens and IO panel. I cut the side pieces so they fit around the IO panel. Then made another piece to go in between them. Tacked them in place, then used bondo to reinforce the joints. One shot shows the pieces without the screens in place. I also sanded down the joints. Still have to add the armor panels, and fit the pieces around the landing bay. The last two shots show the completed top section of the front panel. Work continues!
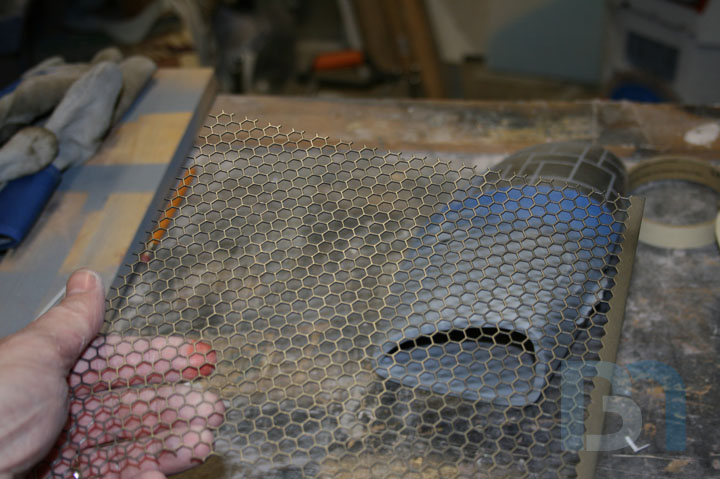
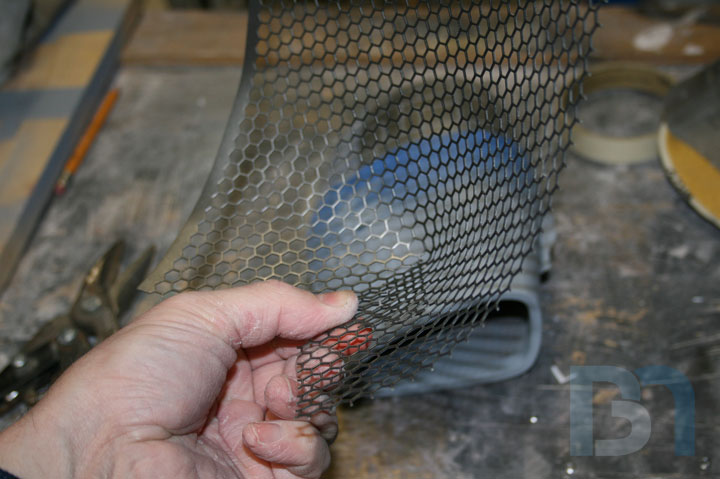
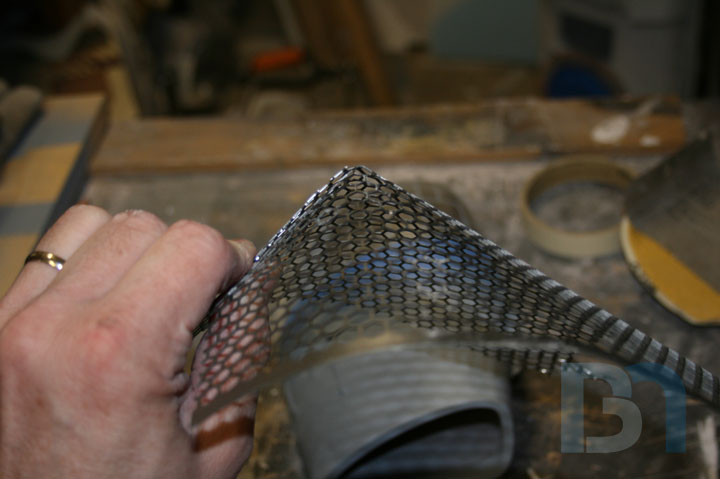
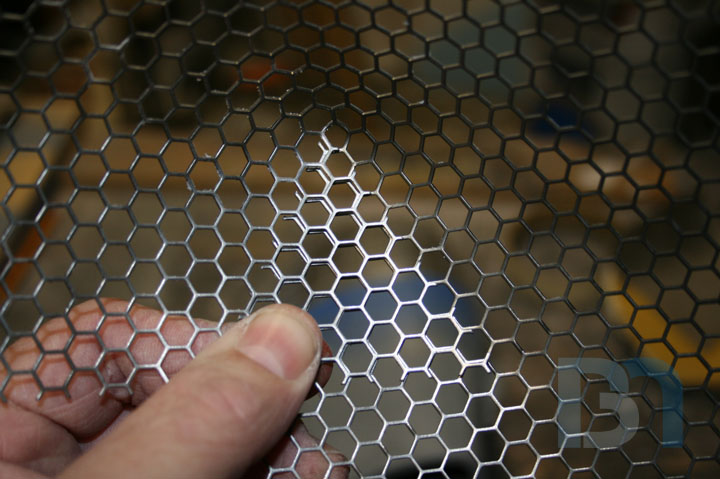
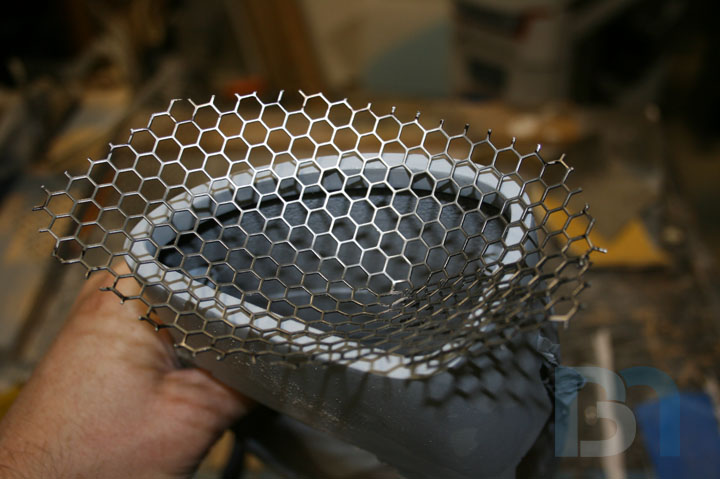
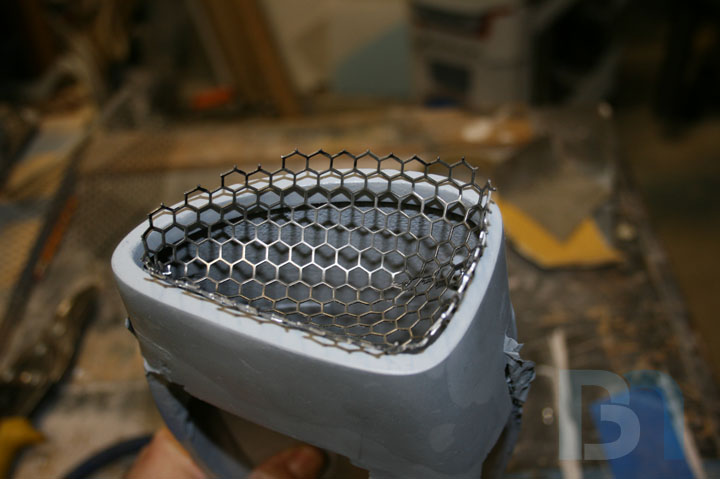
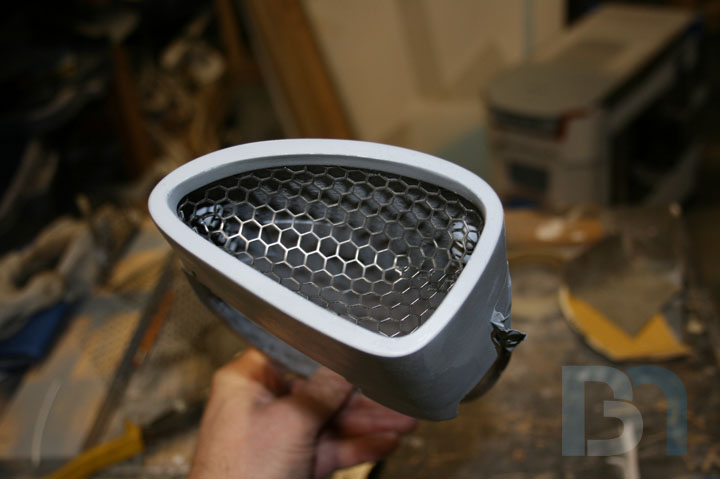
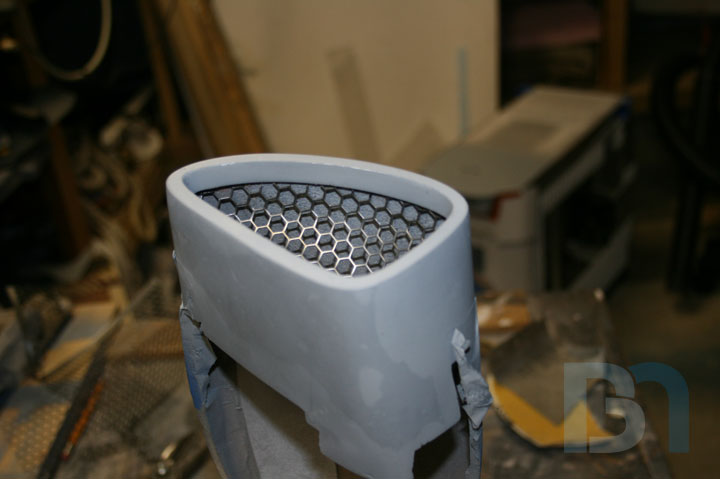
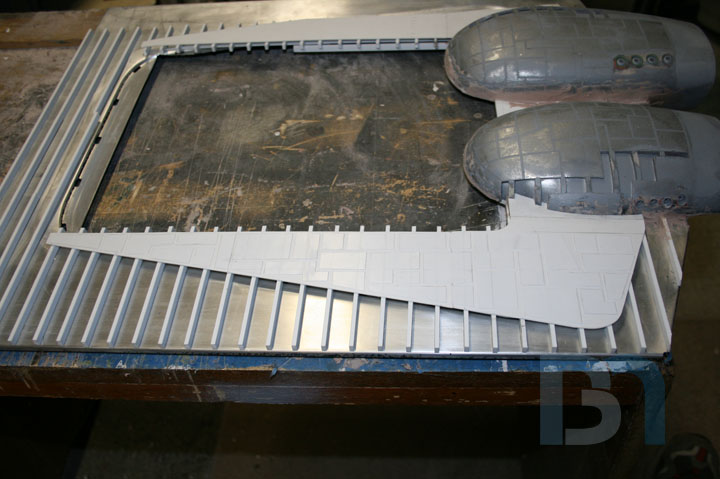
Got the mesh in, so I started on fitting it into the engine pods. I wanted a recessed cone shape, so it was a bit more involved than just cutting out a basic shape. Cut into it on one side and overlapped it to make a cone shape, making sure to match the hexagons pretty closely. After a few trial fits, I just need to trim a bit here and there. I've decided to take the easy route with the lighting, and just put a couple white cathodes inside the side panels throwing light into the pods. That should spill enough out the back, and I won't have to worry about wiring up individual leds in the center cones like I was planning earlier. I should be able to finally mount the pods to the side panels within the next day or so. Next update will show the mounting plates being made, and how they'll go on the side panels.
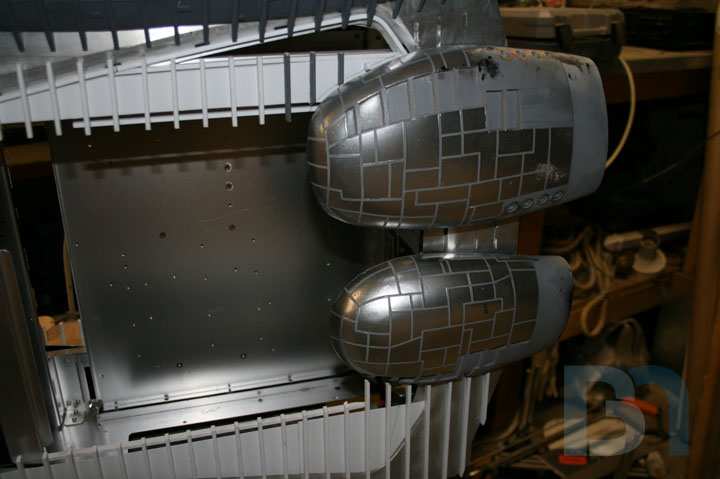
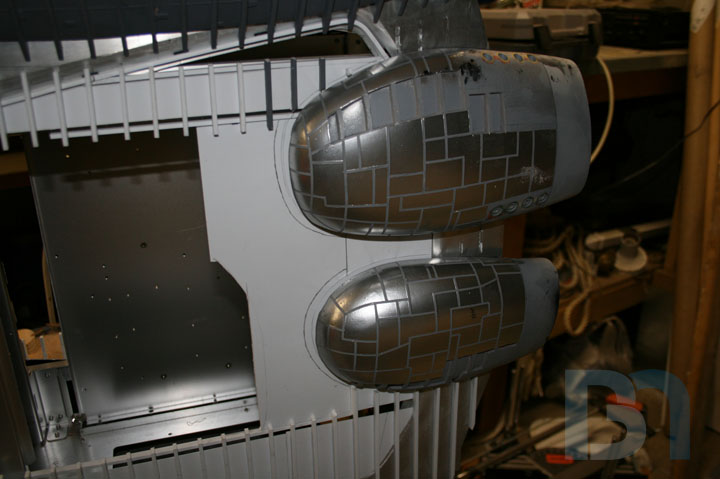

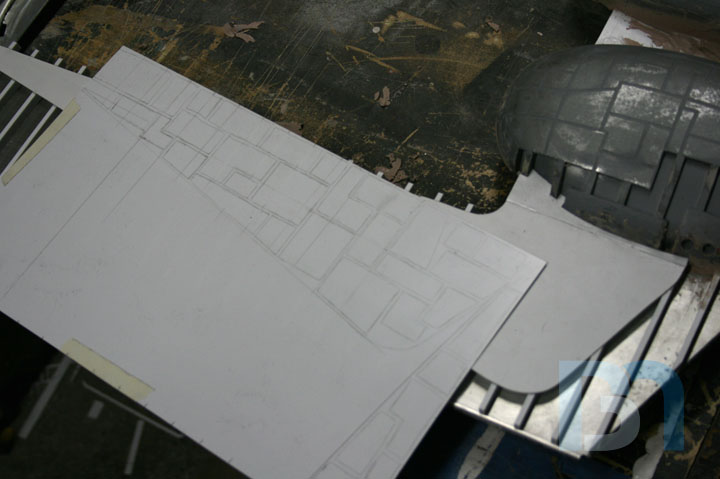
As promised, the pod mounting plate construction. Here are the pods positioned on the side panel. I guess I got a little carried away when I applied the ribbing on the side panels all those months ago. Turns out I had to remove some of them around the area where the pods are. Oh well, at least it's only one side. I took a sheet of 1/8" styrene, set it behind the pods and traced a line. Here's that sheet after cutting, including air vent holes and the pods in place over the mounting plate. Once glued in place, I can then go in and add ribbing around the pods, and addtional armor plating here and there. But before I permanently stick the pods on, I still need to do some work to the side panels. I'll get the other side ready to go too, and do them both at the same time. That will be in the next update, hopefully by the weekend.
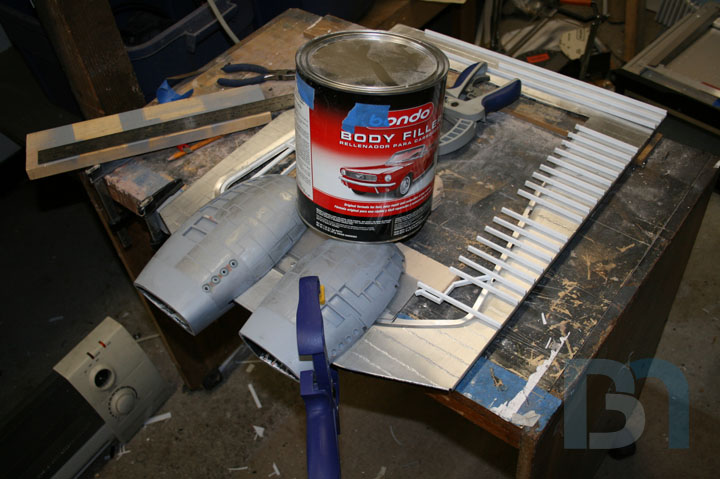

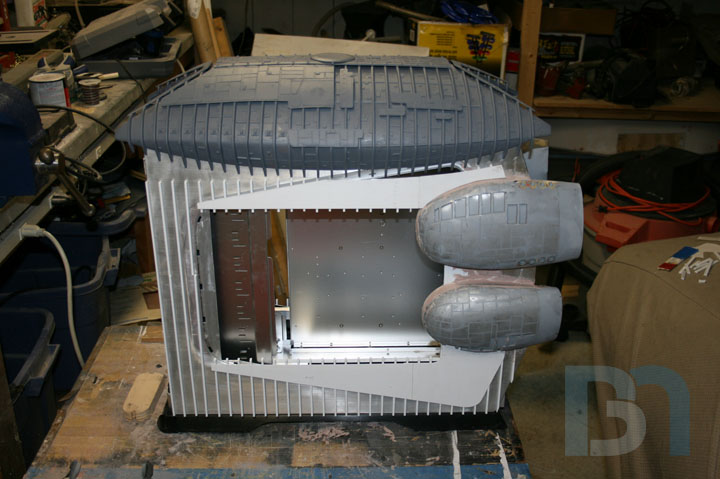
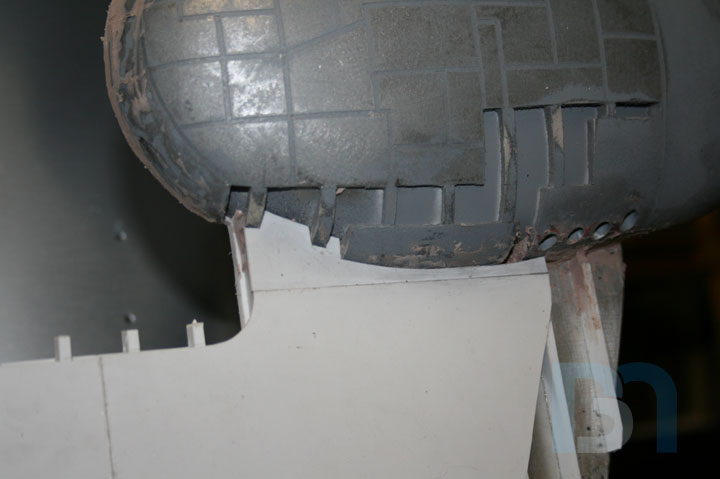
Well, here's what I got done tonight. A small, but significant update, as this documents the ceremonial joining of the engine pods and side panels! I first glued them down after roughing up the surface of the aluminum a bit. After they set up, I applied copious amounts of bondo around them, filling in all the gaps. Last shot is a closeup showing how I had to fit the armor to the shape of the pods.
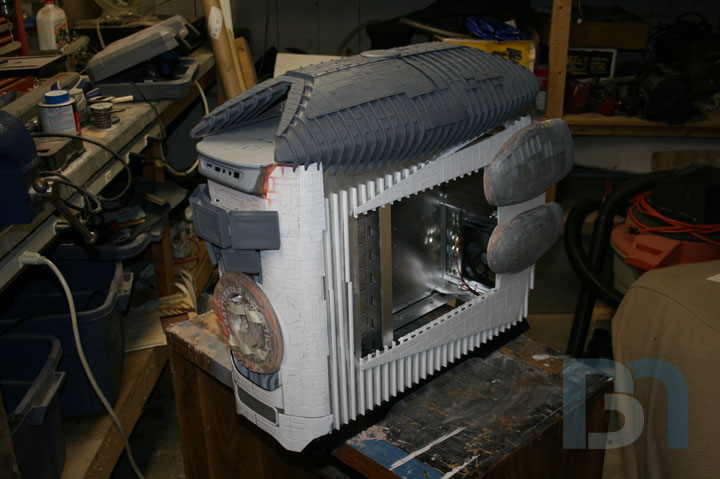

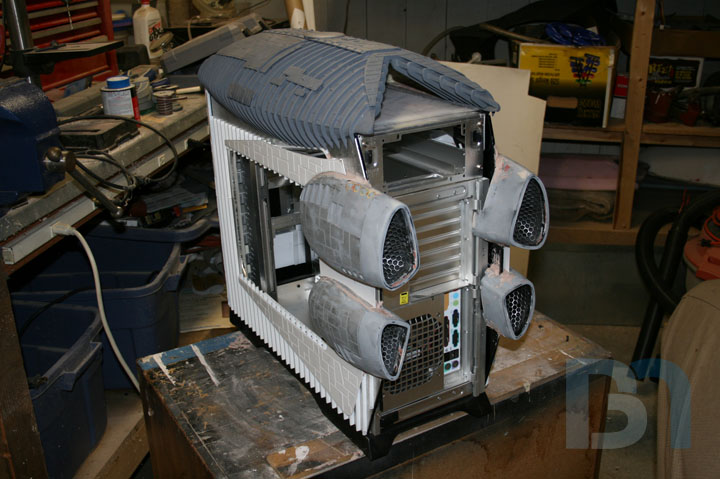
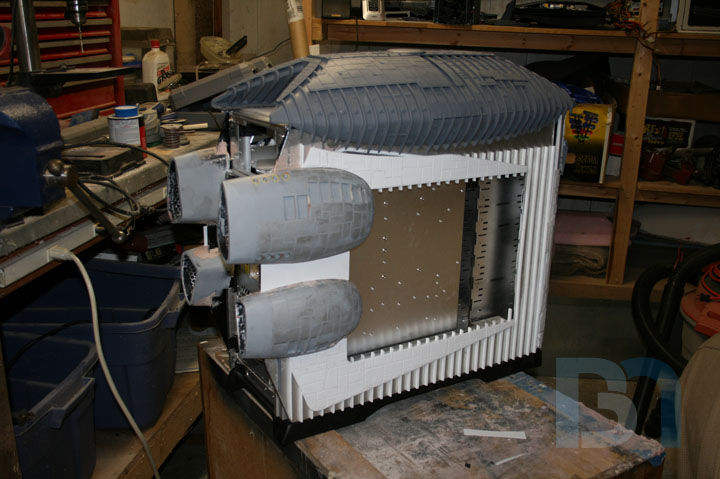
Got the second layer of armor paneling down. After getting the side panels to a point where they look half way decent, I thought I would take a few shots of the whole case together. It's good for me to take a step back every so often and get an overall view of it as a computer case. I've been so close to it ever since I started, working on small sections by themselves, that I forgot how important that is. Still got a long way to go, but it's real nice to see that the pieces actually fit together.