

|
|
|
|
|
|
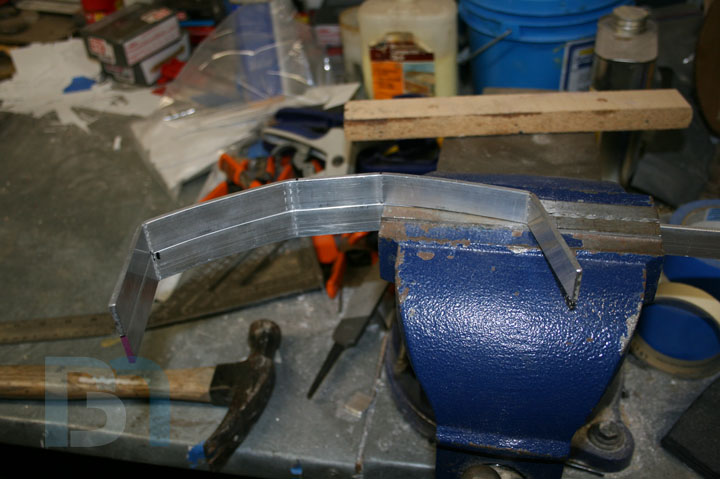
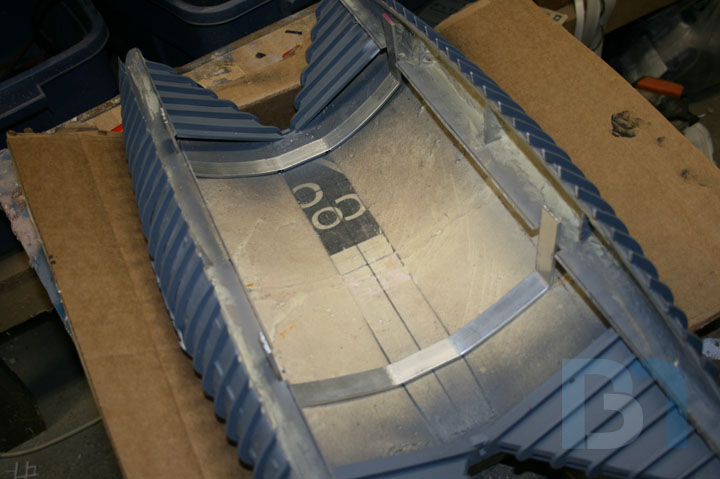
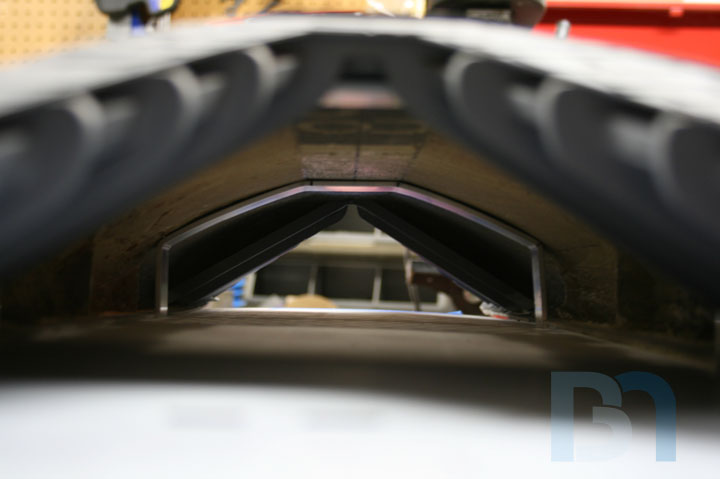
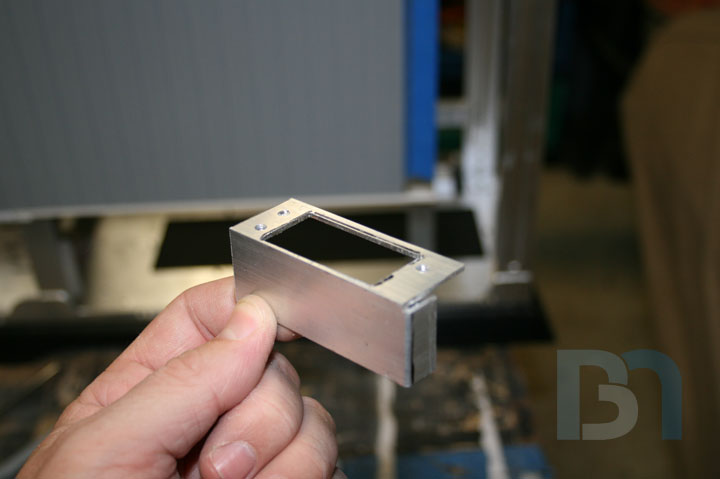
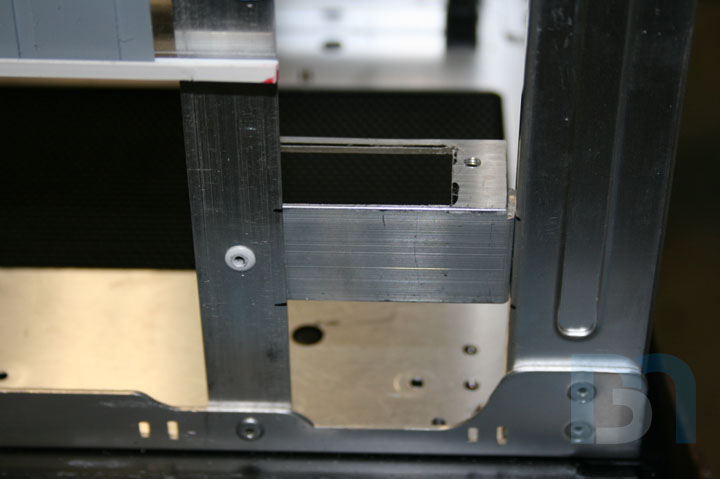
So I took a little break from the side panel detailing to work on the landing bay a bit more. I need to secure it down to the case somehow, so I came up with a simple frame that will bolt to the case, and the landing bay will bolt to that. Here's what I got so far: Bent two pieces of aluminum flat bar so they follow the contour of the landing bay's ceiling. Left enough length at the ends to extend down into the case at the sides. Positioned them so they pick up existing holes in the case frame that are already countersunk. Once I get the roll bars fastened to the case, I can drill holes through the top of the landing bay, then conceal them with some stealthy armor panel covers.
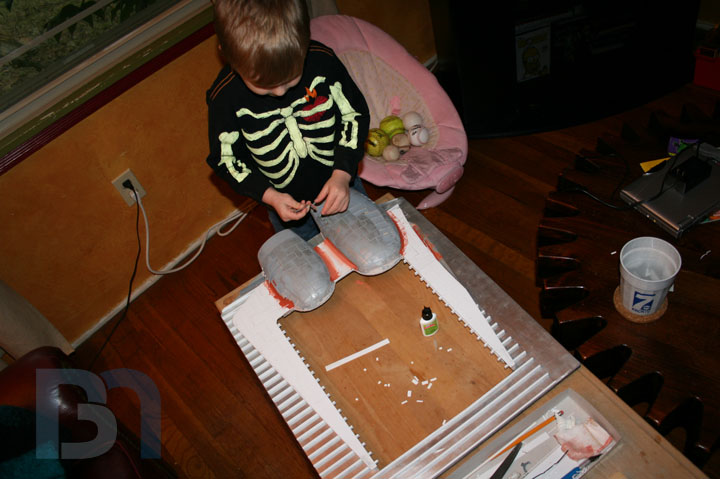


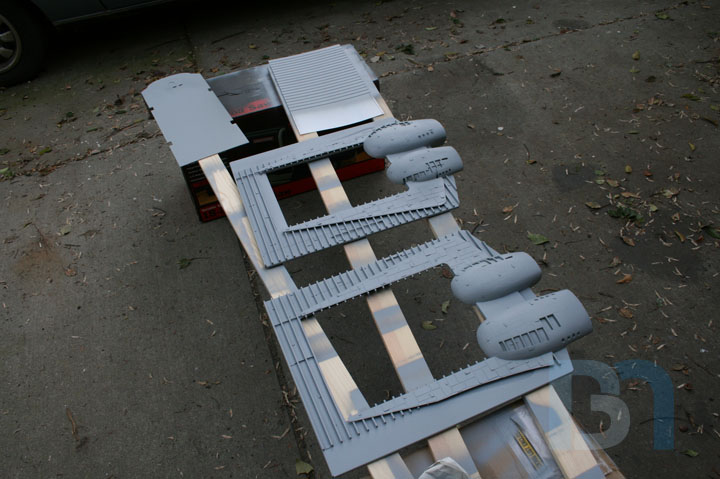
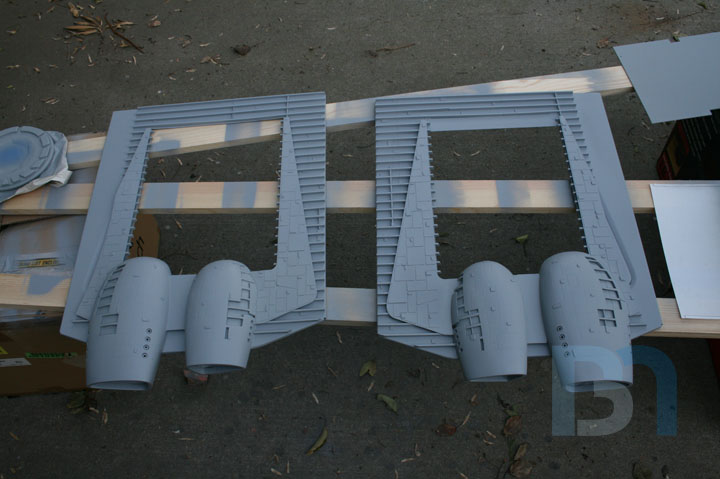
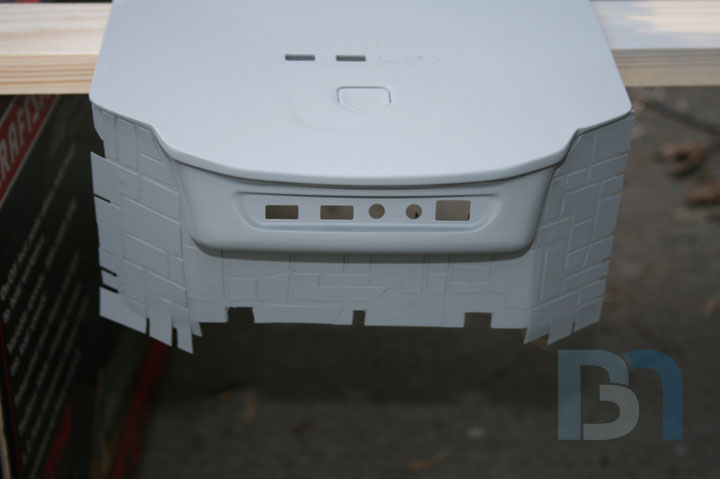
Ok here's what I got to show ya. While I was laid up in the house, I managed to get some details put on the side panels. Of course my son had to lend me a helping hand. He turned out to be a pretty good sander! I got both side panels detailed, as well as the front panel. Once I get a coat of primer on them I will take some more shots. (primer always makes things look so much better!)
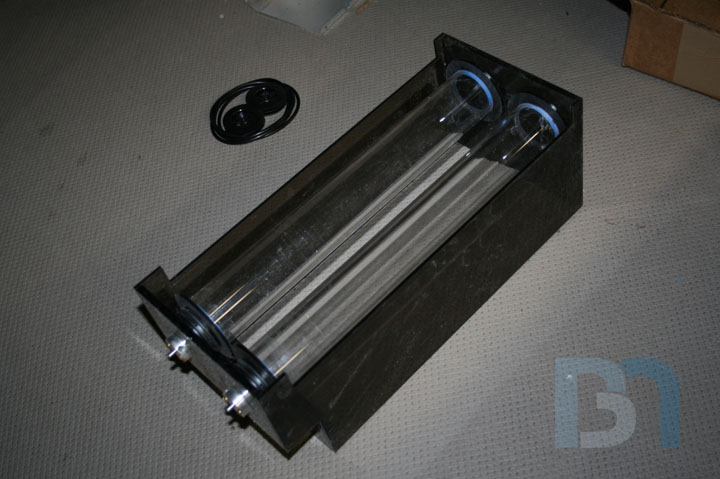


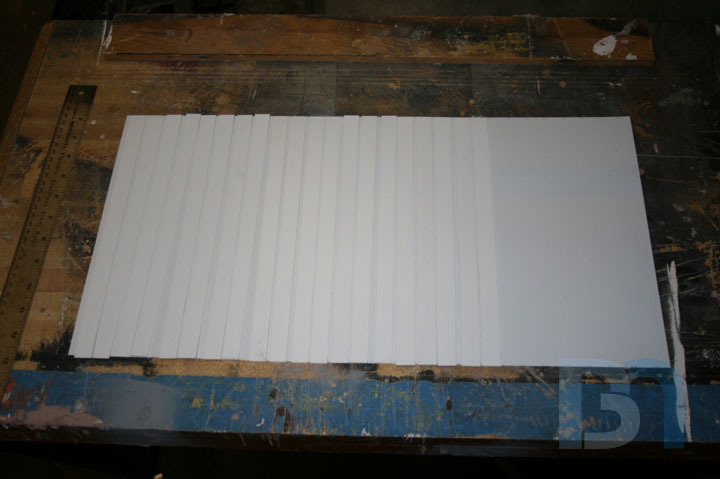
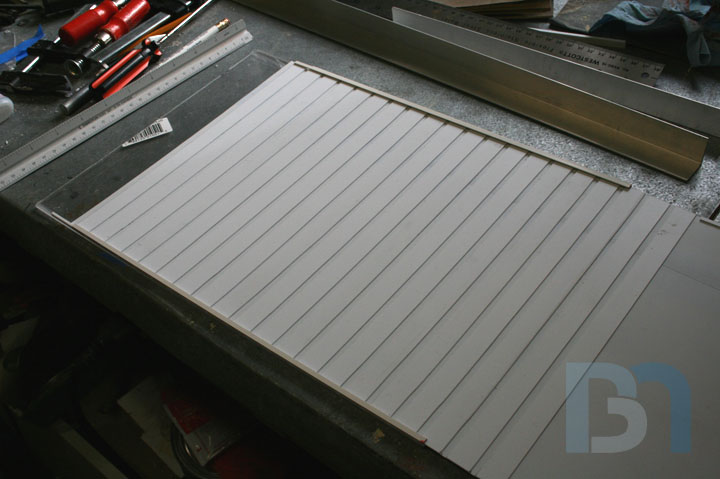
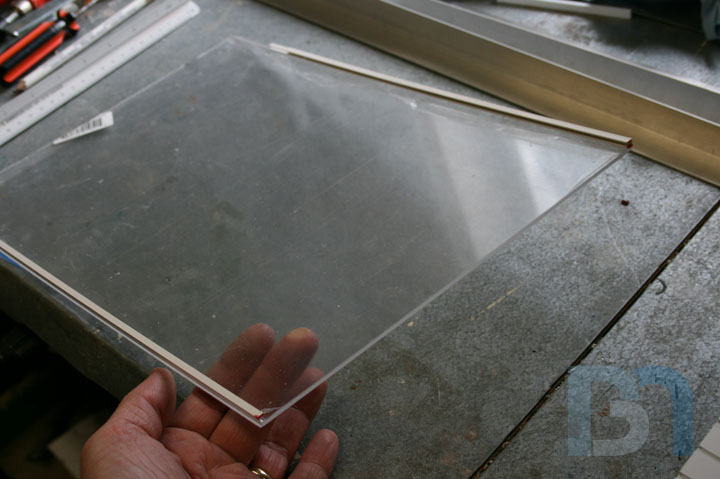

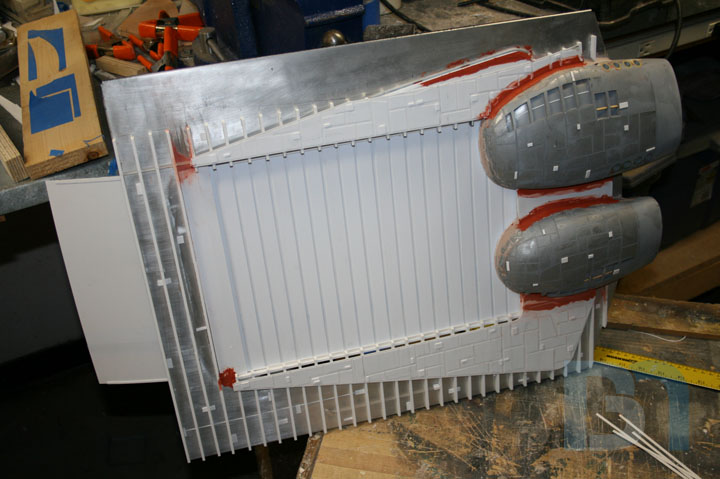


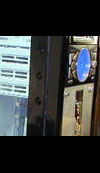
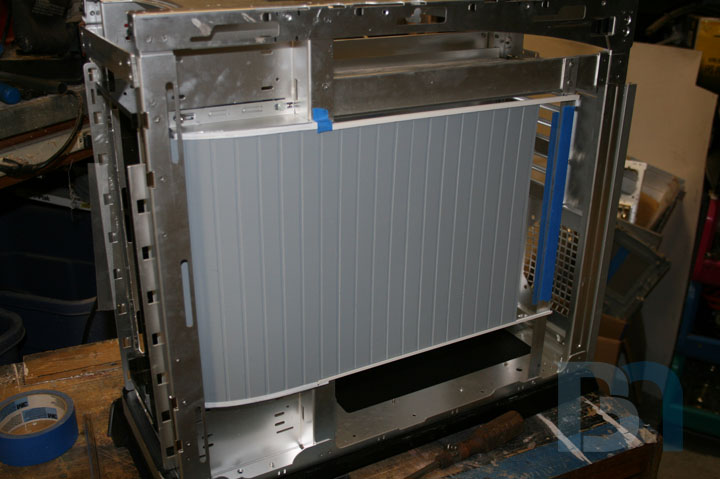
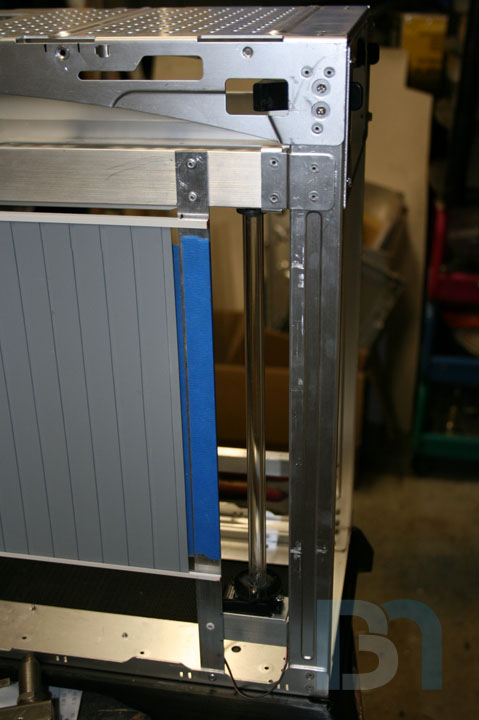
OK, here it is: BSG will have fully operational motorized blast doors, one on each side. So far I've got both doors built, and one side totally loaded up onto the spool. The doors themselves are made up of .010 sheets and .040 strips of styrene, spaced 1/8" apart. The result is a strong but flexible door that looks and acts like a segmented garage roll-up type door. I glued styrene C-channel to the top and bottom of a piece of clear acrylic. These will be the tracks in which the doors will travel. Here is the whole thing positioned in the side panel. I forgot to take pictures of it, but I added a gentle curve to the acrylic on the front end heading towards the hard drive cage. I had to cut away part of the drive cage to allow the doors to pass through to the spool. To provide a smooth corner for the doors to travel around, I cut a channel out of a piece of acrylic tubing and fit it over the sharp edge of the drive cage. Here is the panel on the case, with the blast door in its fully open position. It could open more, but the drive cage's posterior support beam is right there with nothing exciting to see beyond that, so there's no need to open any further. You can see the door reeled up on the spool, demonstrating how flexible it is. Now it's on to the other side to finish the tracks and door fitment. I'm still waiting on the servos and limit switches, so I won't be able to finish the blast door assembly until then. But it's not like I won't have any work to do while I'm waiting!
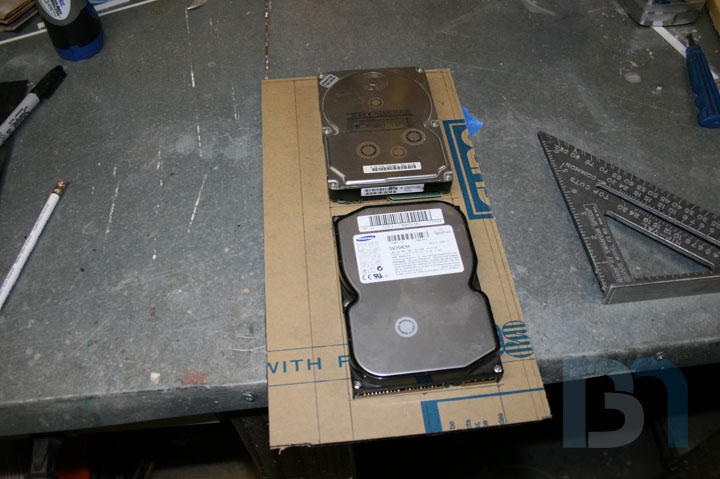
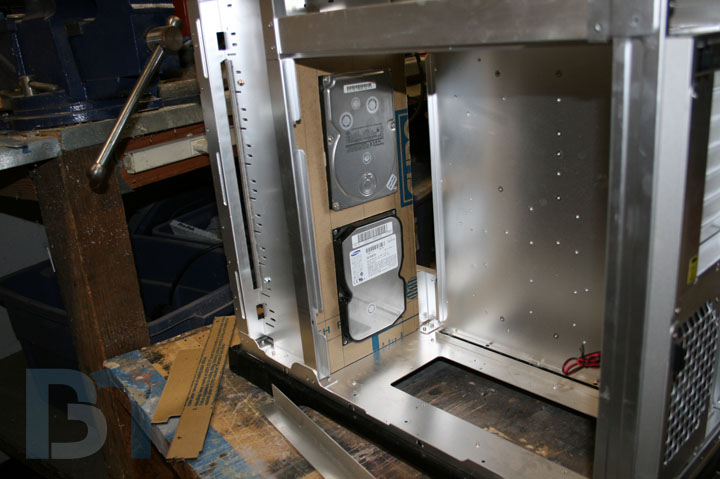
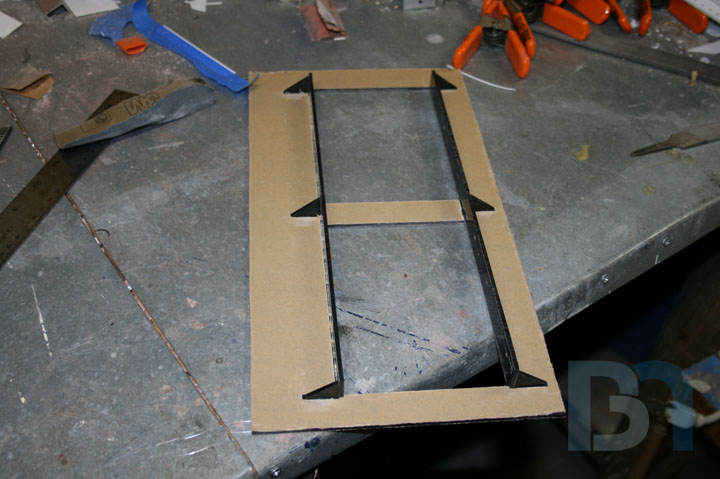
So since I obviously won't be finishing this case by this next weekend (PDXLAN11), I'm still going to bring it up and just throw my system into it as is. I just had to fab up a special hard drive mount for the dual Raptors. I cut some solid black acrylic pieces and fit them into the case. Then I took the largest piece and cut sections out for the drives. I used a couple spare drives as templates. Then I cut two more strips of acrylic, drilled the mouning holes, glued them to the main piece, and added some triangle gussets for strength. Here's a tip: in order to make sure eveything fits the way they're supposed to, screw the pieces onto the drives first, then glue them down. This will ensure the mounting holes will line up to the drives after the glue has dried. I'm building the system tonight, so hopefully I will have another update for you tomorrow, with pics of a fully primed, semi-complete rig!
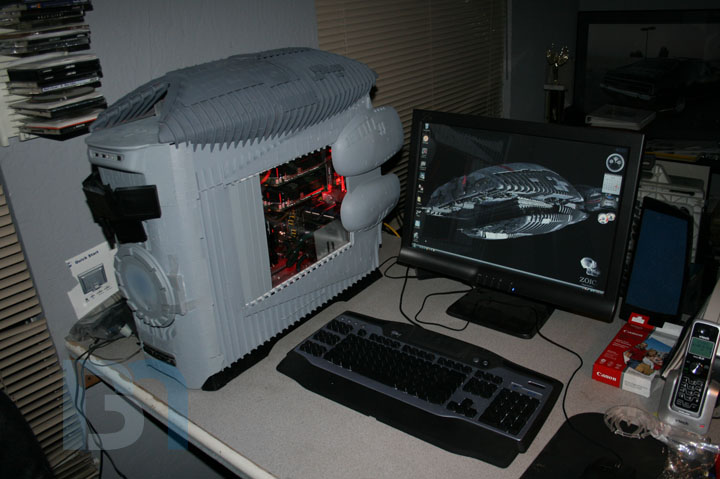
Well, here are the primed pics as promised. It actually doesn't look to bad in primer! So like I said, I'm by no means done with this case. Still got tons of work yet before I can call this thing done. But building it up like this really helped to point out some problematic areas that will need to be addressed. It's good to find out about those now, than during the final assembly.


Ok, it's been way too long since I last updated. Well, these last few weeks I have been silently working on the blast doors. And they have proven to be a lot more difficult than I had originally anticipated. The basic idea was to have them roll up onto spools that are housed in a removable module mounted in the drive cage, with the spools being connected to servos. Well, rolling them up is not the problem. The servo motors are more than capable of reeling up the doors. Where I ran into a bit of a snag is when the motors are reversed, and they attempt to push the doors back closed. Being as flexible as the doors are, this was not to be an easy task, as they would just buckle at the first sign of friction, regardless of the fact that they were contained in a set of tracks. So I devised a plausible solution: add another spool and servo on the opposite end that will pull the door closed.