
|
|
|
|
|
|

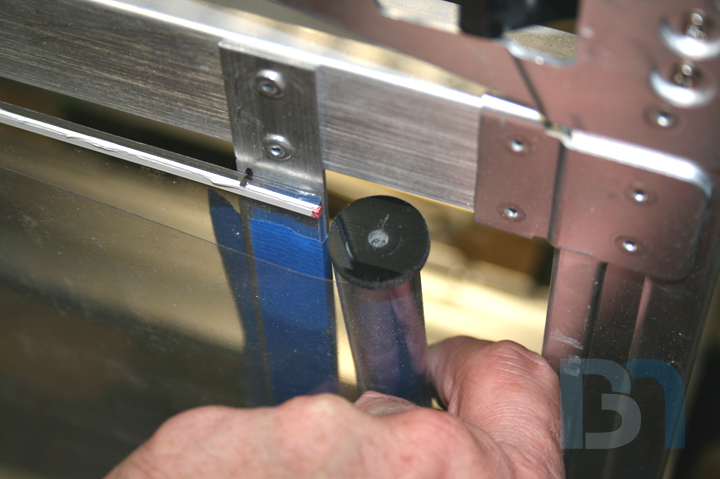
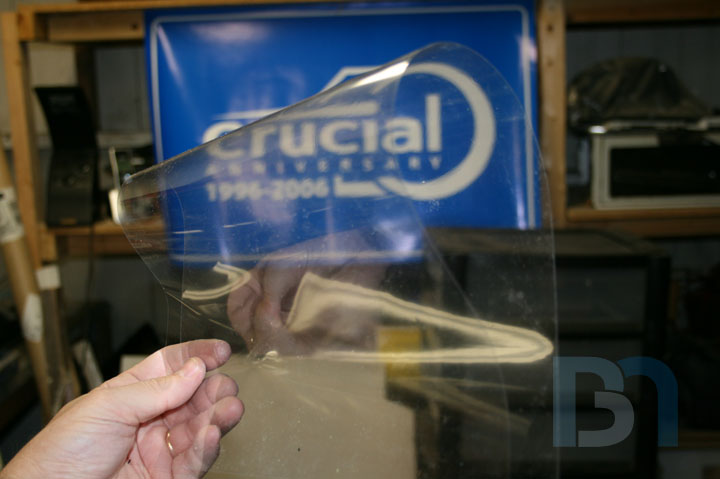
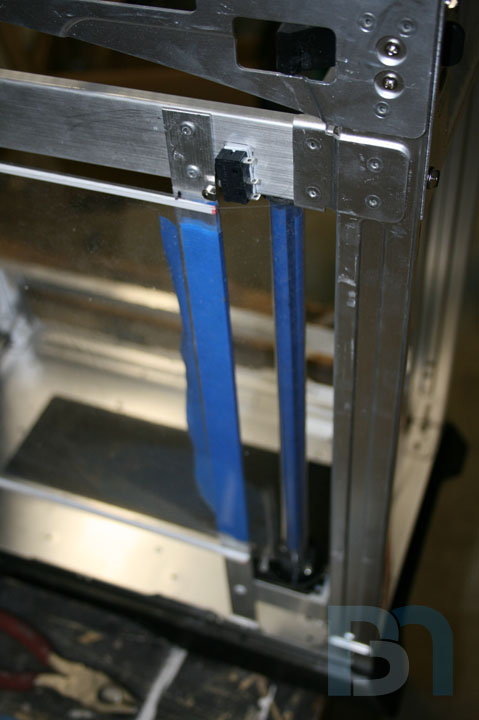
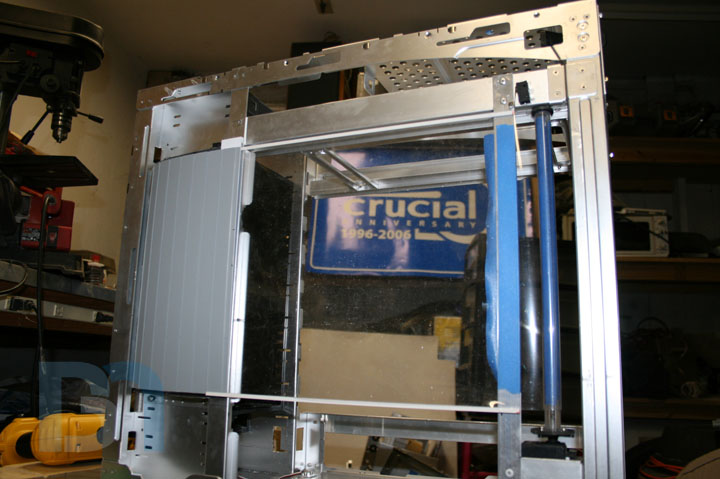

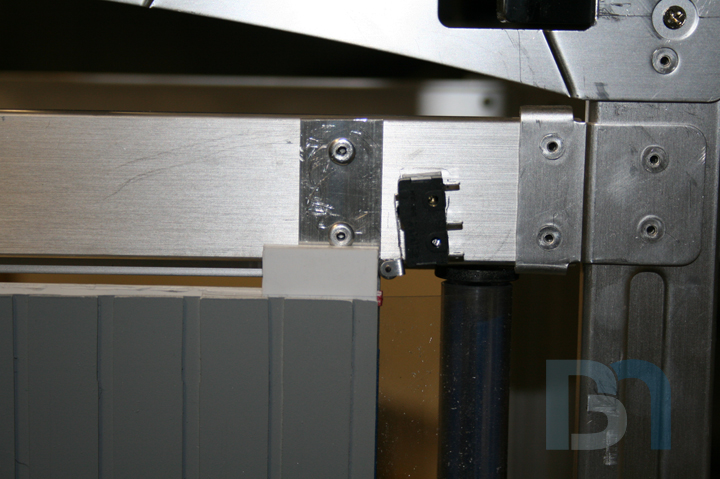
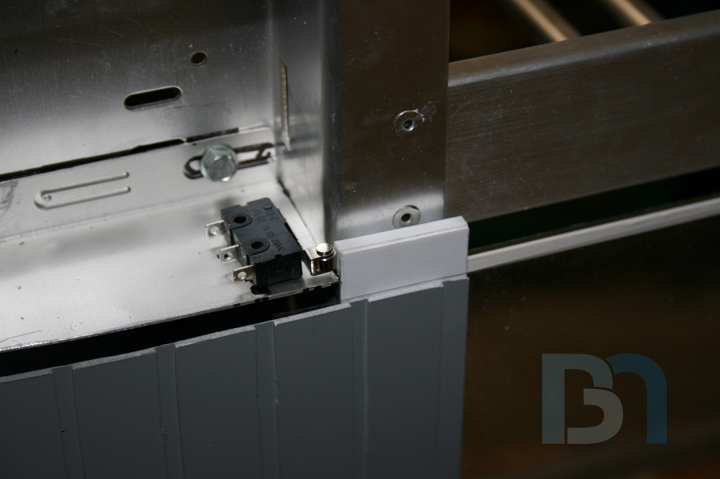
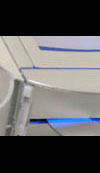
I'm slowly making progress on this blast door, creeping ever closer to a fully functional system. I wanted to show you how I made the pivot point for the smaller spool. Here is a shot of the piece I added above the spool that has a screw in the center. It's just a small piece of 1/8" aluminum riveted in place and tapped. I removed the threads off end of the screw so it wouldn't screw into the top of the spool. You can also see that huge factory-made hole to the left which was why I had to add that extra piece of aluminum over it. To remove the spool, I simply unscrew the set screw and lift it out. Ok, so with the smaller spool in place I added the clear film. Got this sheet from my local drafting supply store. It's 5mils thick. Taped one end to the blast door, and the other I wrapped around the small spool. Next, I got the limit switches mounted. They "limit" the movement of the door by cutting power to the servos once the door reaches a set position. I extended the leading edge of the door with some styrene, which will serve to trip the limit switches.

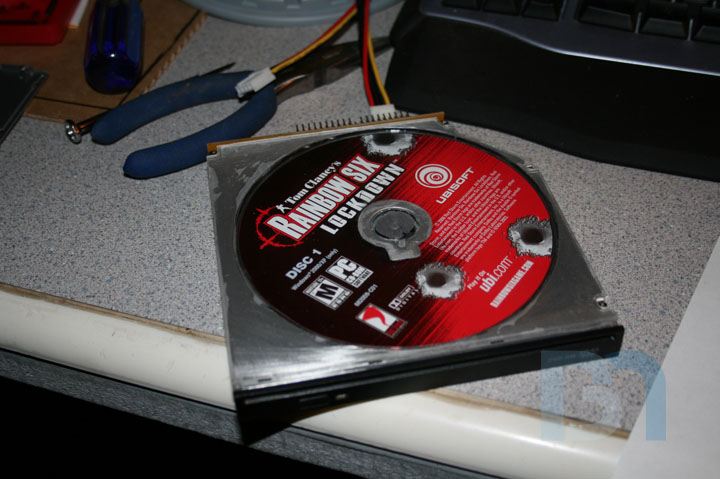
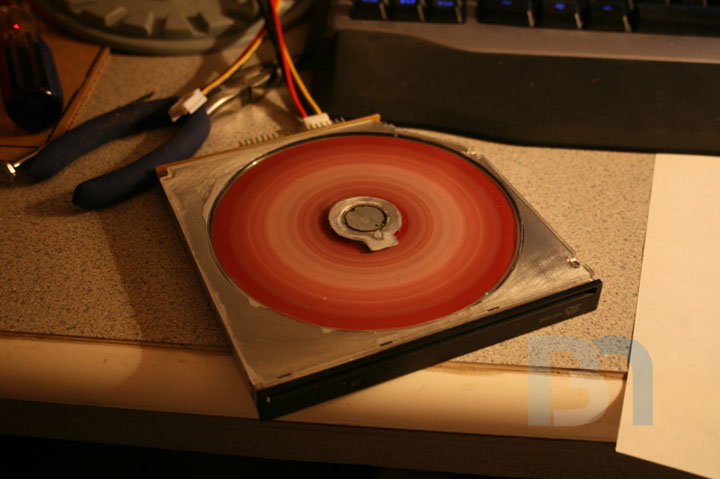

So while I'm waiting for things, I thought I would delve back into my windowed slot loading dvd drive, and see if I could fix it. If you remember, the disc wouldn't fully load into the drive. It would go in and try to mount, but would just spit back out. I pretty much knew what I had done wrong, that I hadn't gotten the center ring positioned correctly. So after taking the drive cover off again, I carefully unstuck it off the acrylic window. Then I removed the cover off my spare drive and proceeded to take more precise measurements. Once I got the measurements, I transferred them to the window and re-glued the center ring back down. After ample drying time, I powered the drive up and loaded a disc in. This time it took the disc all the way, but didn't quite seat it onto the hub. As a consequence, it spit the disc back out. After a few more tries, I figured out that with just a slight bit of downward pressure on the window, it will seat. The center ring is merely there for the drive's actuating arm to press against momentarily in order to seat the disc onto the spinning hub. So all I have to do is apply a little bit of pressure on the window for it to work. I will accomplish this by adding a small acrylic washer in between the medallion and the window, so when i secure the medallion down, it will apply that pressure and should solve the problem.
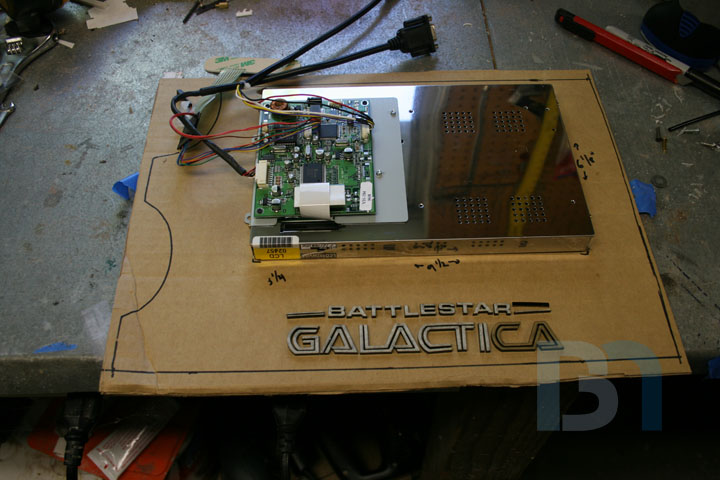
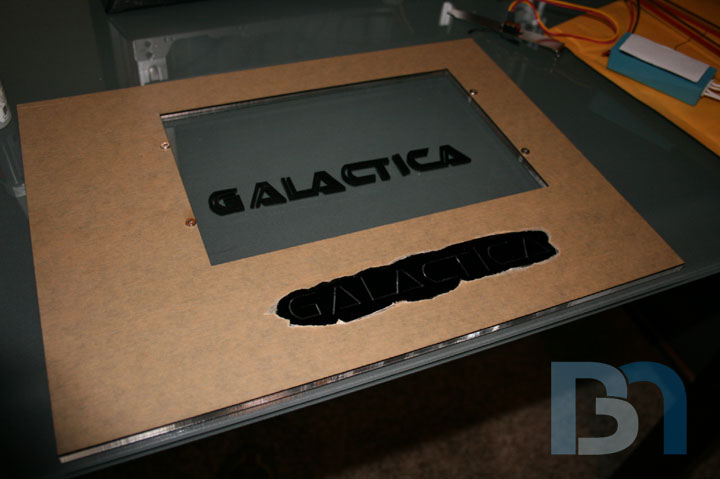
I made up a cardboard template for the other side panel's opening, so I could place the 10" LCD screen along with the larger BSG lettering I had cut way back when I did the small lettering for the front. When I got the panel back from Moddersmart, I immediately set the lettering in place to see how it will look. First I tore the paper backing off around the cutouts, and got the lettering lined up and ready. The lettering faces will be painted to match the logo, so it will be easier to read. Also, not shown is the smaller "BATTLESTAR" lettering that will eventually be placed above it.
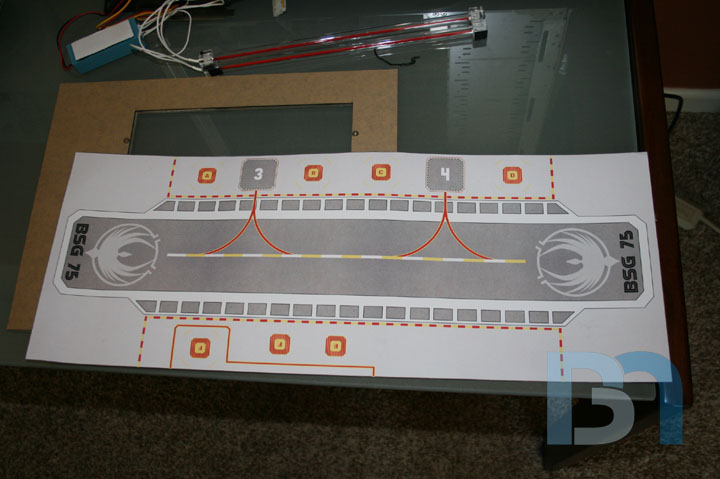

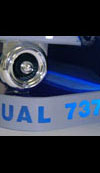
The other item I got in was the vinyl landing deck decal I had made up. I drew up a vector image in Illustrator and sent it to Liquid Sticker Designs to be printed on vinyl. Special thanks go to Lee Stringer for helping me out with the design! He was nice enough to send me a few reference pics of the actual CG model. It will obviously be trimmed down, and the power/reset buttons will be cut out as well. Time permitting, I will be adding some chase led's for running lights down both sides.

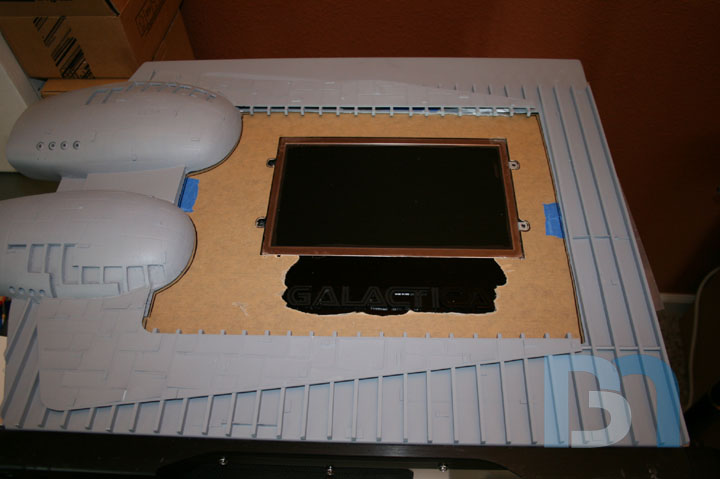
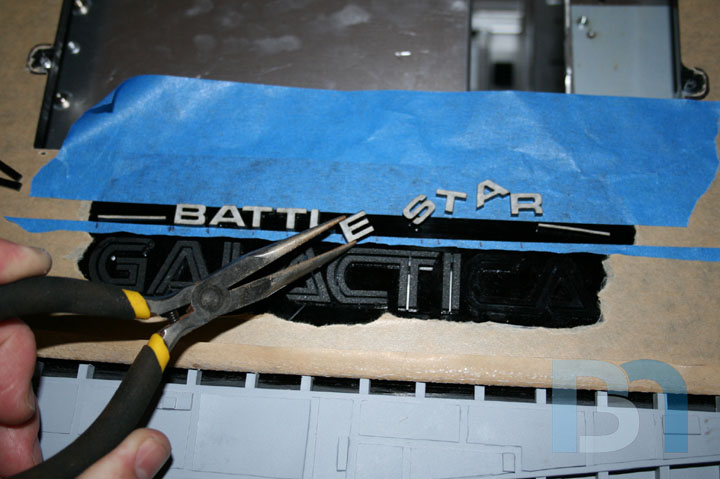

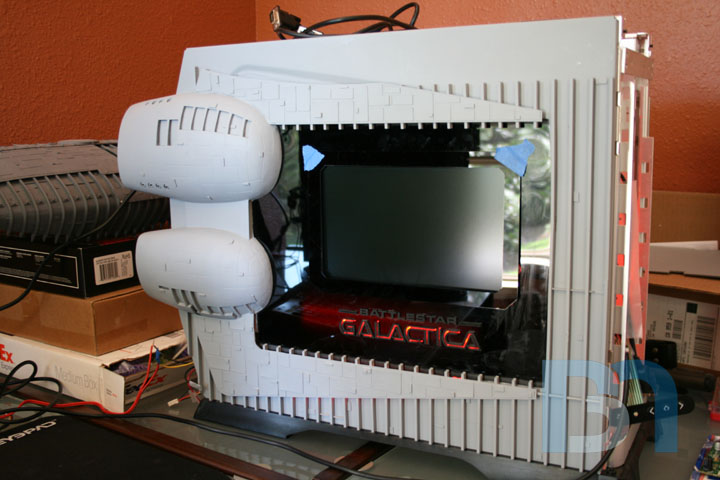
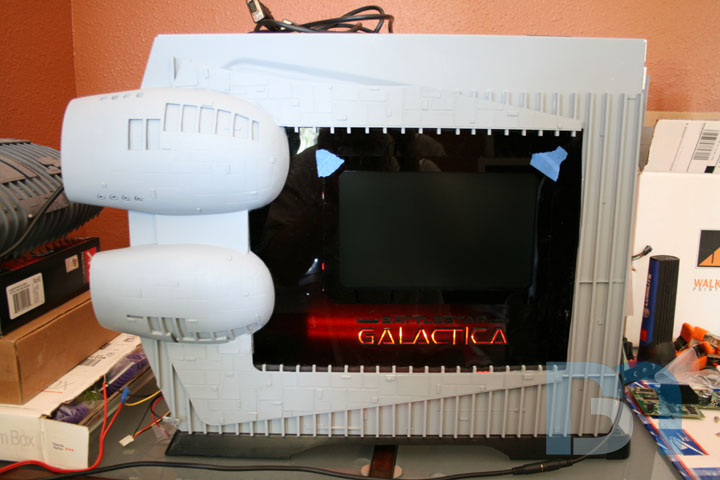
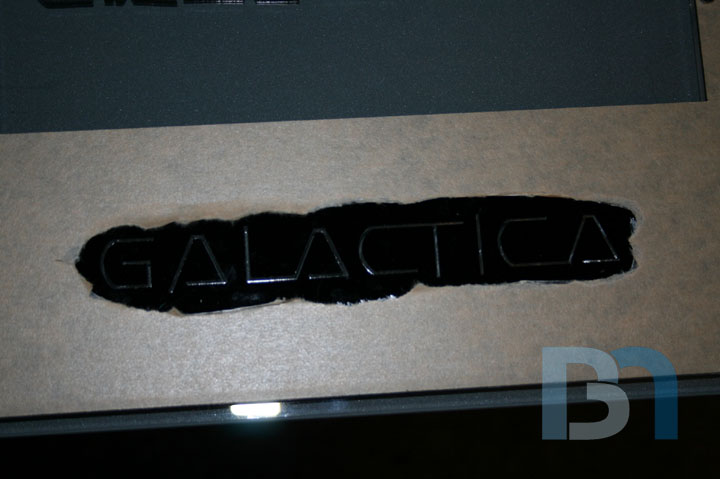
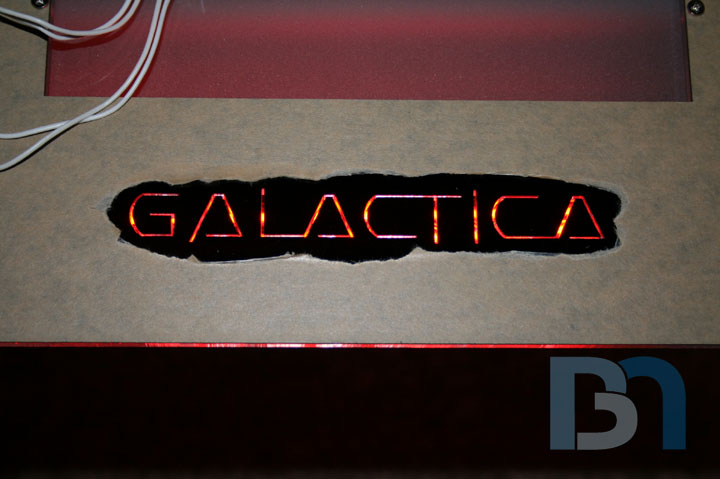
Work continues on the LCD panel. Placed it on the case with the side panel for positioning and tested for clearance. After that I decided to get the smaller lettering glued on. I screwed up by spilling CA glue all over the front of the panel. Now I got some polishing to do! Looks like the opaque black acrylic isn't as opaque as I thought. Will have to cover the back of it with something to keep the red from showing through.
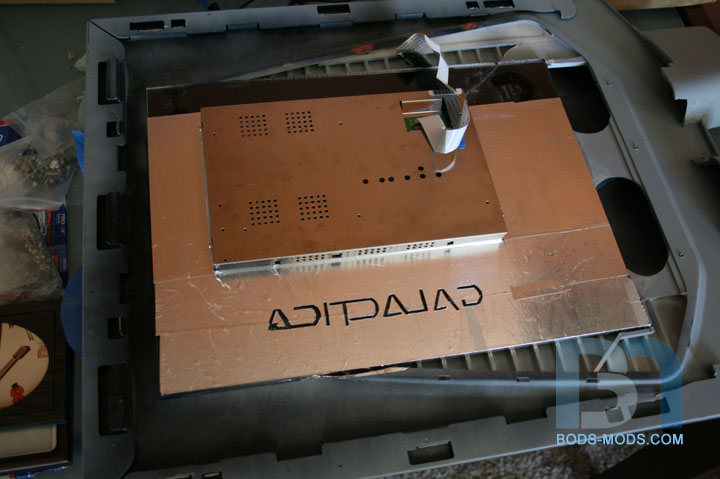
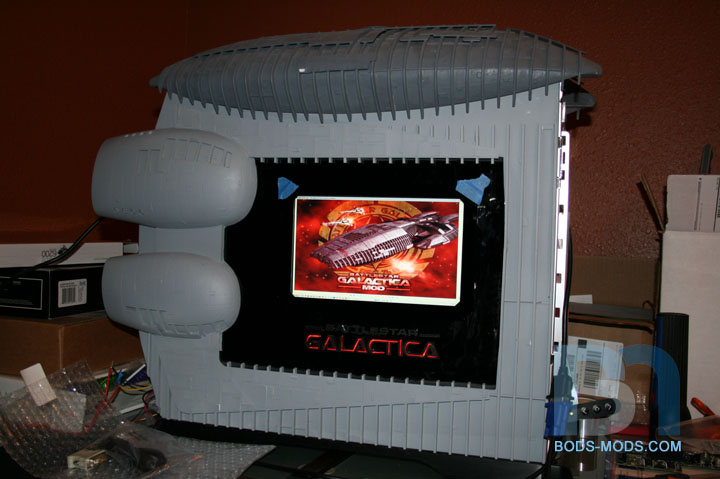
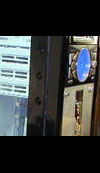
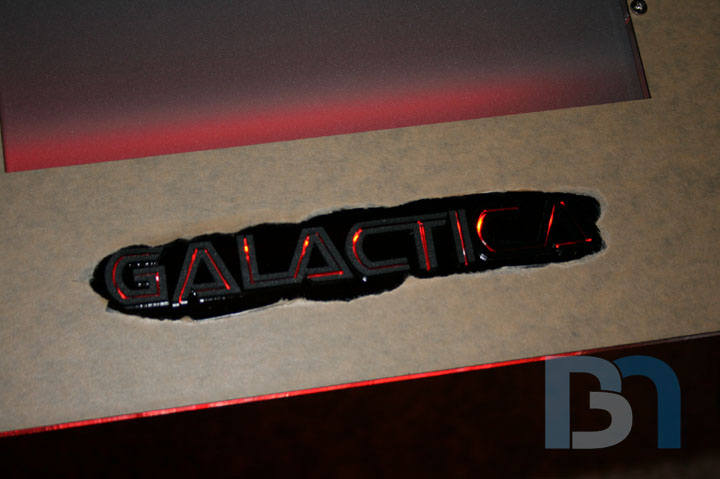
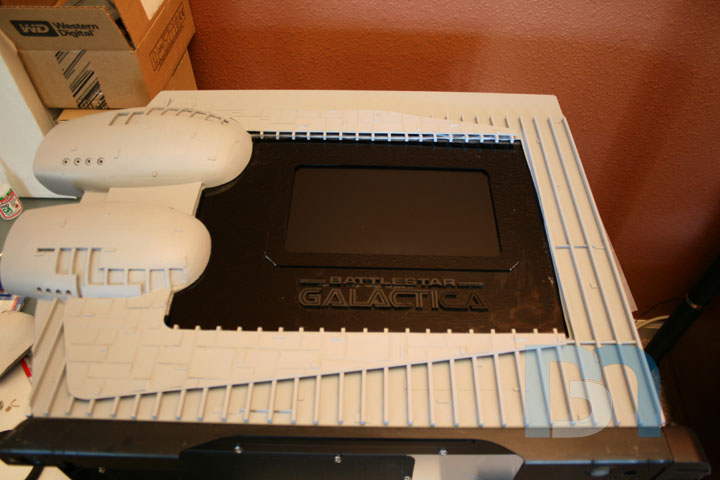
Got the foil tape from my friendly neighborhood Pep Boys. Only $3.49 for a 2" x 10' roll. Applied it to the back side of the panel and cut away the area around the lettering holes. No more red showing through! I also hooked up the LCD screen to make sure it worked, and threw on the landing bay for grins and giggles.